


Returnstar Interactive Technology Group Co., Ltd.
20
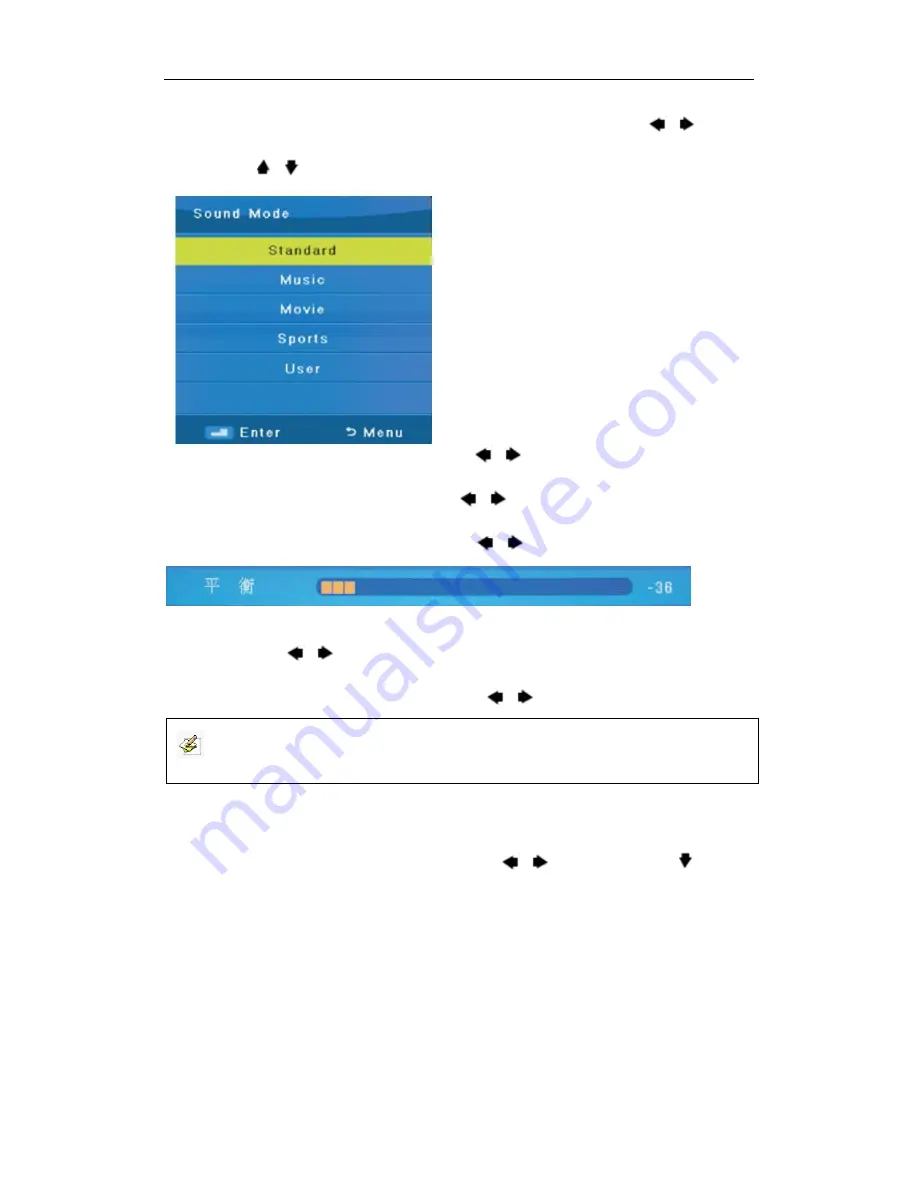
Sound Mode:
Select a Sound Mode to achieve ideal sound. Press [
]/[
]/[OK] to
enter. Press [ ]/[
] to select. Press [OK] to confirm.
Standard
: Produces a balanced sound in all
environments.
Music
: Preserves the original sound. Good
for musical programs.
Movie
: Enhances treble and bass for a rich
sound experience.
Sports
: Enhances vocals for sports.
User
: Select to customize audio settings.
Treble:
Adjust high frequency sound. Press [
]/[
] to adjust.
Bass:
Adjust low frequency sound. Press [
]/[
] to adjust.
Balance:
Adjust sound to left or right. Press [
]/[
] to adjust.
Auto Volume:
Automatically adjusts volume to be consistent across programs and
channels. Press [
]/[
] to select.
SPDIF Mode:
Select the SPDIF Mode. Press [
]/[
] to select (PCM/OFF/AUTO).
7.2.4 Time Menu
Press [MENU] to enter the main menu. Press [
]/[
] to select. Press [
]/[OK] to
enter, and press [EXIT] to exit.
Note:
This option is according to your product model.


