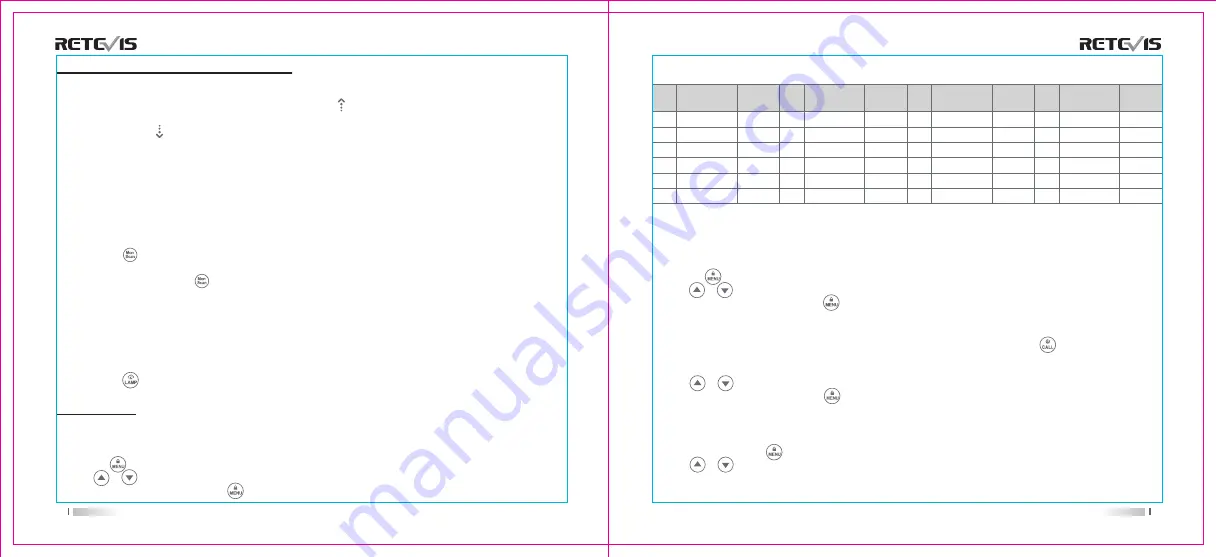
Channels and Frequences
Selecting the Interference Eliminator Code
Sub-Codes help minimize interference by blocking transmission from unknown sources. Your radio has 121
Sub-Codes. To set the code for a channel:
1. Press the button until the code number starts to flash.
2. Press or button to select code number.
3. Press the PTT button to exit menu or button to continue setup.
Setting and Transmitting Call Tones
Your radio can transmit different call tones to other radios in yourgroup when you pressed button. The radio has
10 call tones.To set a call tone:
1. Press button until call tone 'CA' appears. The current call tone setting flash.
2. Press or button to change and listen to the call tone.
3. Press the PTT button to exit menu or button to continue setup.
Voice Operated Transmission (VOX)
Transmission is initiated by speaking into the microphone of the radio instead of pushing the PTT button.
1. To activate VOX, press button until 'VOX' appears on the display. The current setting (0, 1-3) will flash.
2. Press or button to select the sensitivity level.
3. Press the PTT button to exit menu.
RECEIVING AND TRANSMITTING
To communicate, all radios in your group must be set to the same channel and sub code.
1. To talk, press and hold the PTT button. When transmitting, the icon is shown. Release the PTT button when you
are finished talking. Do not use the radios closer than five feet apart.
2. When receiving, the icon is shown.
For maximum clarity, hold the radio 2 to 3 centimeters away from your mouth and speak directly into the microphone.
Do not cover the microphone while talking.
Talk Range
Your radio is designed to maximize performance and improve
transmission range. Do not use the radios closer than five feet apart.
Monitor Button
Press and hold button for 3 seconds to enter monitor mode and listen for weak signals on the current channel.
You can also listen to the volume level of the radio when you are not receiving. This allows you to adjust the volume, if
necessary. You can also press button to check for activity on the current channel before you talk.
Push-to-Talk Timeout Timer
To prevent accidental transmissions and save battery life, radio will stop transmitting if you press PTT button for 60
seconds continuously
.
Mode Button
Press and hold button for 3 seconds, the user will be seamlessly switching between two-way and weather mode.
FEATURES
Setting the Channel
The channel is the frequency of the radio uses to transmit.
1. Press the button until the channel number starts to flash.
2. Press or button to change the channel number.
3. Press the PTT button to exit menu or button to continue setup
.
0.5W
0.5W
0.5W
0.5W
1
2
3
4
5
6
462.5625
462.5875
462.6125
462.6375
462.6625
462.6875
0.5W
0.5W
0.5W
0.5W
0.5W
0.5W
7
8
9
10
11
12
462.7125
467.5625
467.5875
467.6125
467.6375
467.6625
0.5W
0.5W
0.5W
0.5W
0.5W
0.5W
13
14
15
16
17
18
467.6875
467.7125
462.5500
462.5750
462.6000
462.6250
0.5W
0.5W
0.5W
0.5W
0.5W
0.5W
19
20
21
22
462.6500
462.6750
462.7000
462.7250
CH
Frequency
(MHz)
Max
Power
Output
CH
Frequency
(MHz)
Max
Power
Output
CH
Frequency
(MHz)
Max
Power
Output
CH
Frequency
(MHz)
Max
Power
Output
05
06
Dual Channel Monitor
EnableTo set another channel and start Dual Watch.you to scan current channel and another channel alternately.
1. Press button until '2CH' appears on the display. The current setting (OF, 1-22) will flash.
2. Press or to select channels.
3. Press the PTT button to exit menu or button to continue setup.
4. Press the PTT button or wait until the time out menu to activate Dual Watch. The screen will alternate between
Home Channel and Dual Watch Channel.
To end Dual Watch mode, re-enter Dual Watch menu to select the OFF setting.
Note:
If you set the same channel and code as current channel, Dual Watch does not work.
Содержание RT49B
Страница 1: ...RT49B Room 700 ...
Страница 12: ......


