


11
camera assigned to the SAME location will start recording. Therefore you
should plan beforehand and assign the location group to the correct
camera(s).
b) If the Location is set to ‘None’ this camera will record whenever ANY detector
is triggered.
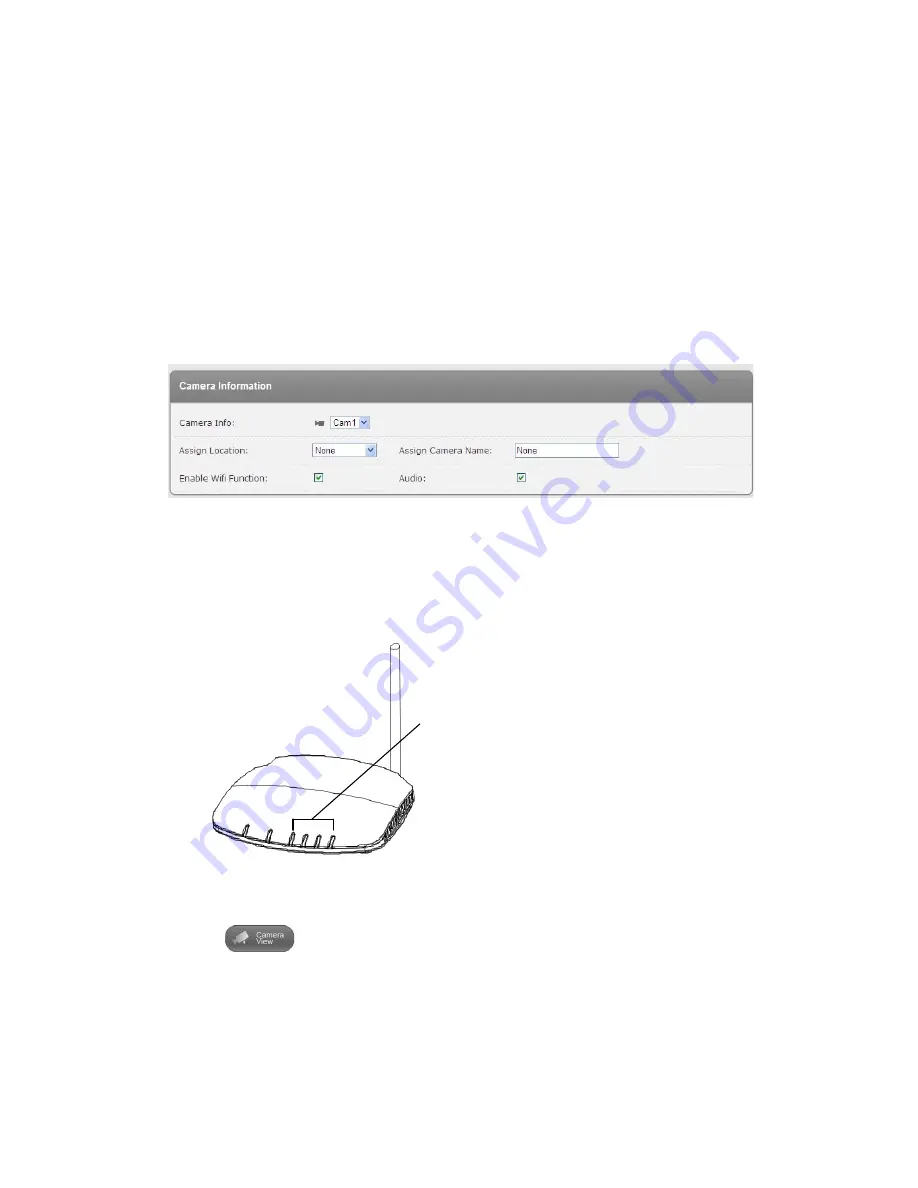
Assign Camera Name:
Enter a name for easy identification.
Enable Wifi Function
: Set wireless Wifi feature ON/OFF
Audio:
Set audio ON/OFF.
Figure 1-8: Advanced settings for the IP camera
3) View the image from the IP camera
After a camera is added to your system, the LED on the Gateway will also light up to indicate
that a new camera has been added to your system (Figure 1-9).
Figure 1-9: LED status on the Gateway
Click on
to enter the camera view page. Select the camera added and click on
“View” to display live video. In this window, you can adjust the volume or stop the playing
(Figure 1-10 on next page).
Note: If the volume setting on your PC is set too high and the camera is located close to
it, then you may hear a loud whistling sound which is microphone feedback. Please
The 4 camera connection LEDs indicate the status of up to 8
cameras:
1. When connecting 1-4 cameras, LEDs 1-4 will turn green
2. When the 5
th
camera is added, LED 1 will turn amber
(and so on).
3. If camera 1 is disconnected but camera 5 is still active,
LED 1 will turn red (and so on).


