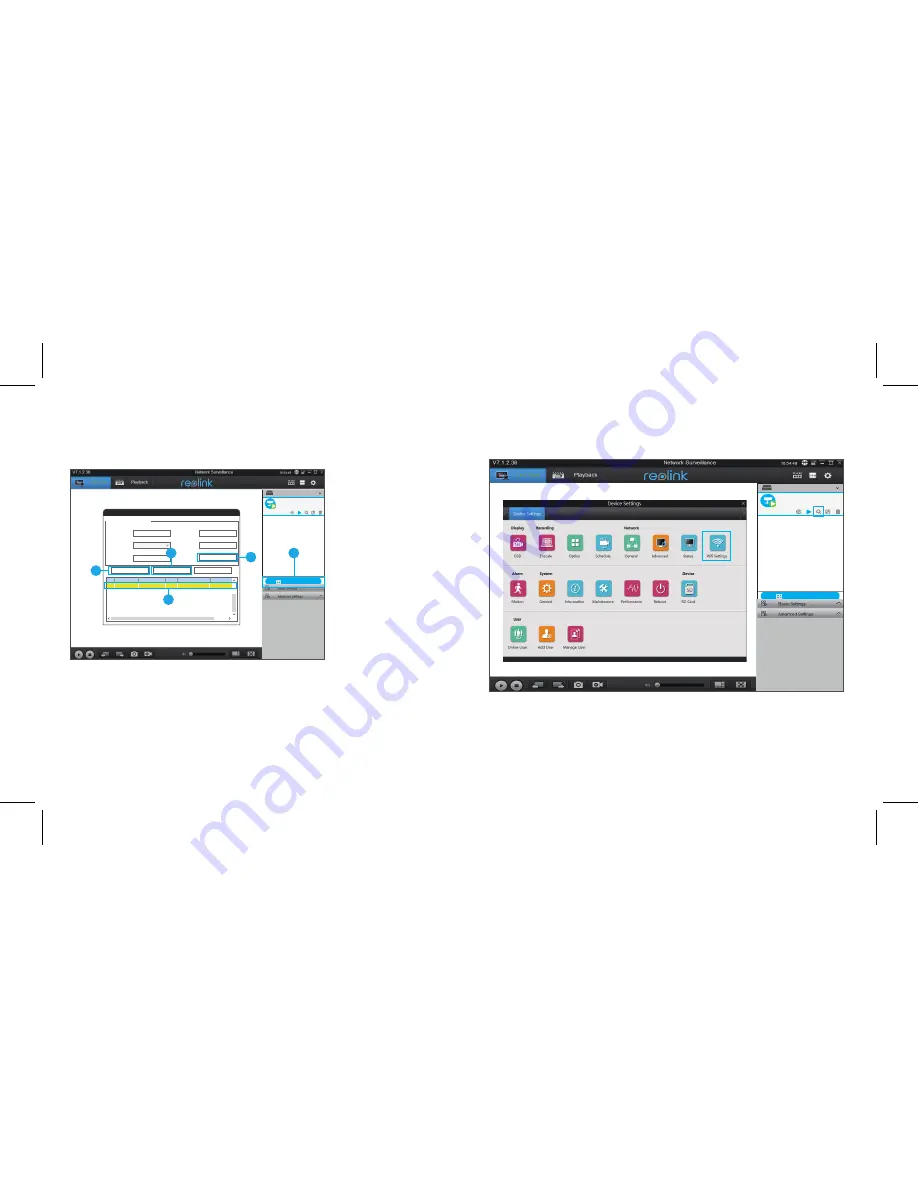
Launch the Reolink Client software on the PC. By
default, the client software will automatically search
the cameras in your LAN network and display them in
the “Device List” on the right-side menu.
Click the “Start” button, and you can view the live
streaming now.
Wi-Fi Settings
Alternatively, you can manually add the camera to the client.
Please follow the steps below.
Add the Device
Add Device
Device list
Add Device
Device Basic Infomation
Device Name
Register Mode
User Name
Media Port
IP Address
Password
Cancel
OK
Scan Device In LAN
NO. Device Name
IP Address
Port
Mac Addr
UID
Camera1
Camera1
1
admin
9000
9000
192.168.10.10
******
192.168.10.10
EC:71:DB:B1:6D:85
IP Address
1
2
4
3
5
Camera1
Stae: login success
1. Click “Add Device” on the right-side menu.
2. Click "Scan Device in LAN".
3. Double click on the camera you want to add. The information will be filled in automatically.
4. Input the password for the camera. The default password is blank. If you have created
the password on Reolink App, you need to use the password to log in.
5. Click “OK” to log in.
Add Device
Device list
1
Camera1
Stae: login success
Click the “Basic Settings” button, and go to Network >> Wi-Fi Settings.
Note:
The SD card icon only displays after you’ve inserted the SD card into your camera.


