4
English
3
English
Set up Camera Via Reolink App on Smartphone
Add the Camera to Reolink Client on PC
After setting up the camera, you can add it to Reolink Client and access the camera on your PC.
Here is a detailed how-to guide:
1. Download and install the Reolink Client from Reolink official website:
https://reolink.com/software-and-manual/
2. Launch Reolink Client, click “ ” on the far right side of the menu bar to add the device. Next,
choose "
Scan Device in LAN
".
3. Double click on the camera you want to add.
NOTICE:
If the computer is not under the same LAN of the camera, you need to choose “
UID
” and
type in the information to add the device.
Available on the
Get it on
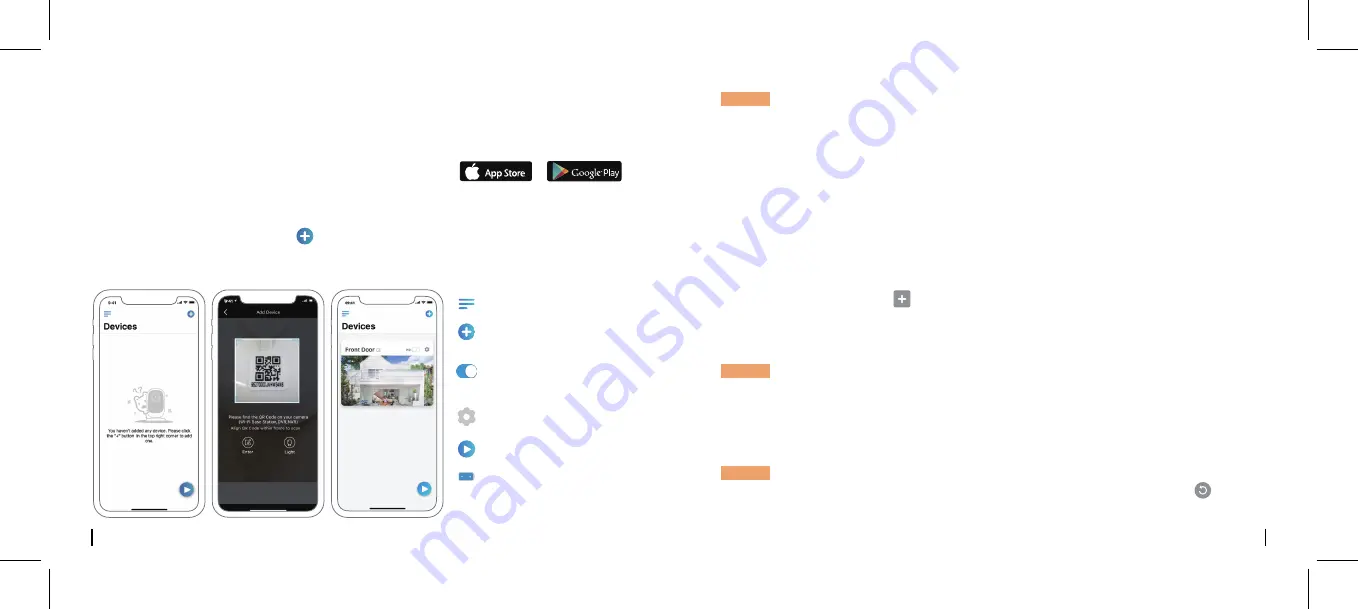
Add New Device
Menu
Device Settings
Live View
Enable/Disable PIR Motion
Sensor (The PIR sensor is
enabled by default.)
To set up Reolink camera, please follow the steps below:
1. Download and install the Reolink App on App Store (for iOS) or
Google Play (for Android).
2. Power on the camera.
3. Launch the Reolink App, click the “ ” button on the top right side and scan the QR code to add
the camera. Then, follow the onscreen instructions and camera voice prompts to complete the
setup procedure.
4. Input the password that you created via Reolink App earlier.
5. Click “
OK
” to log in.
NOTICE:
To save power, the camera will be logged out automatically if no operation is conducted
for about five minutes. Once it is logged out, you have to log in again by clicking the “ ” button.
NOTICE:
• Reolink Argus 3 camera only supports 2.4 GHz Wi-Fi. 5 GHz is not supported.
• Your family can click "Access Camera" for live view after the initial setup.
Battery Status


