- 3 -
EN
1.5 Curing
The oven has already been cured at the factory
during manufacturing.
This can be determined by the discolouration around
the door panel, the ceramic in the oven and the door
jamb.
These discoloured areas are not quality faults.
2. Operation
2.1 Operating Elements
A
Main power switch (Figure 2)
2.1.1 K
eys
(Refer to Figure 3, 4)
Increase value
Decrease value
Cursor to the next stage
Cursor to the previous stage
“P” key, programme selection
Timer key (casting time / clock)
ESC key, exit current mode without saving mod-
ifications
ENTER key, accept and permanently save the
input values
Start/Stop key
Catalyser key
2.1.2 s
TaTus
LeD
s
(Refer to Figure 3, 4)
Selection indicator in the upper display:
- Temperature display (°C / °F)
- Programmed heating rate display (°/min)
- Date display
Selection indicator in the lower display:
- Time display
Heating status LED:
- OFF:
Heater off
- Red:
Oven temperature LOWER than the setpoint
- Green:
Setpoint reached or exceeded
Programme LED:
-
LED flashing:
Programme being copied (refer to Sec. 4.3)
- LED continuously on:
Input modifications have not yet been saved.
Catalyser status LED
- Flashing:
Catalyser heating
- Continuously on:
Catalyser has reached its operating temperature.
Heating phase LEDs:
- 4 increase phase LEDs
- 4 holding phase LEDs
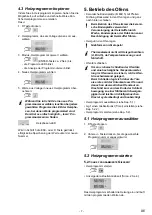
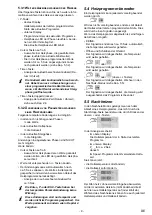
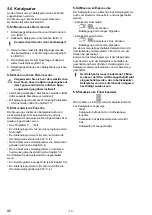
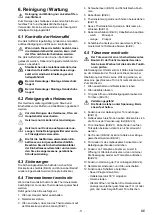
2.2 Switching the Oven ON / OFF
The oven is switched on and off at the main power
switch A (Figure 2).
If the clock has not been set, the oven will
automatically go into the “Set system date /
time” mode when it is switched on (refer to
Sec. 2.3.1).
You can only exit this mode by chang-
ing the default system date / time
(01.01.2000 / 00:00).
Once the oven has been switched on, the following
are shown:
• Upper display (approx. 2 sec. each)
- The selected unit of temperature, °C or °F
(Refer to Sec. 2.3.2 for instructions on how to
modify the displayed units.)
- The actual temperature.
After this, the most recently selected programme is
called up. The heating phase LEDs for which a value
has been stored go on for approx. 2 sec.
The controller switches to the normal display which
indicates the following:
• Upper display:
- The last stage holding temperature.
• Lower display:
- The programme number.
If no key is pressed within 30 seconds, the controller
returns to the standby mode (refer to Sec. 2.5).
If the oven was switched off during a heating pro-
gramme, the mains power failure detection takes
effect (refer to Sec. 2.6).
2.3 Basic Settings
The following are part of the basic settings:
• Setting the system date / time with a choice of the
date format (Day:Month / Month:Day);
• Selection of the unit of temperature measurement
(°C / °F);
• Switching the acoustic signal generator on and off.
Содержание Magma 2300-0000
Страница 2: ......
Страница 3: ...1 3 2 4 5 6 7 8 ...
Страница 4: ...9 11 10 12 13 14 15 16 ...
Страница 5: ...17 19 18 20 21 22 23 24 ...
Страница 6: ...25 27 26 28 29 30 31 ...
Страница 24: ... 18 DE ...
Страница 110: ... 18 PT ...
Страница 144: ... 16 FI ...
Страница 160: ... 16 CS ...
Страница 192: ... 18 AR ...
Страница 195: ......

