background image

Only fit if the signal is to go to the  connector

HSIF0_TXDN

HSIF0_TXDP

HSIF0_REFCLK

EVTI

LED - P33<7..0>  

EVTO

Min 5ms from

VCC up to resetz up

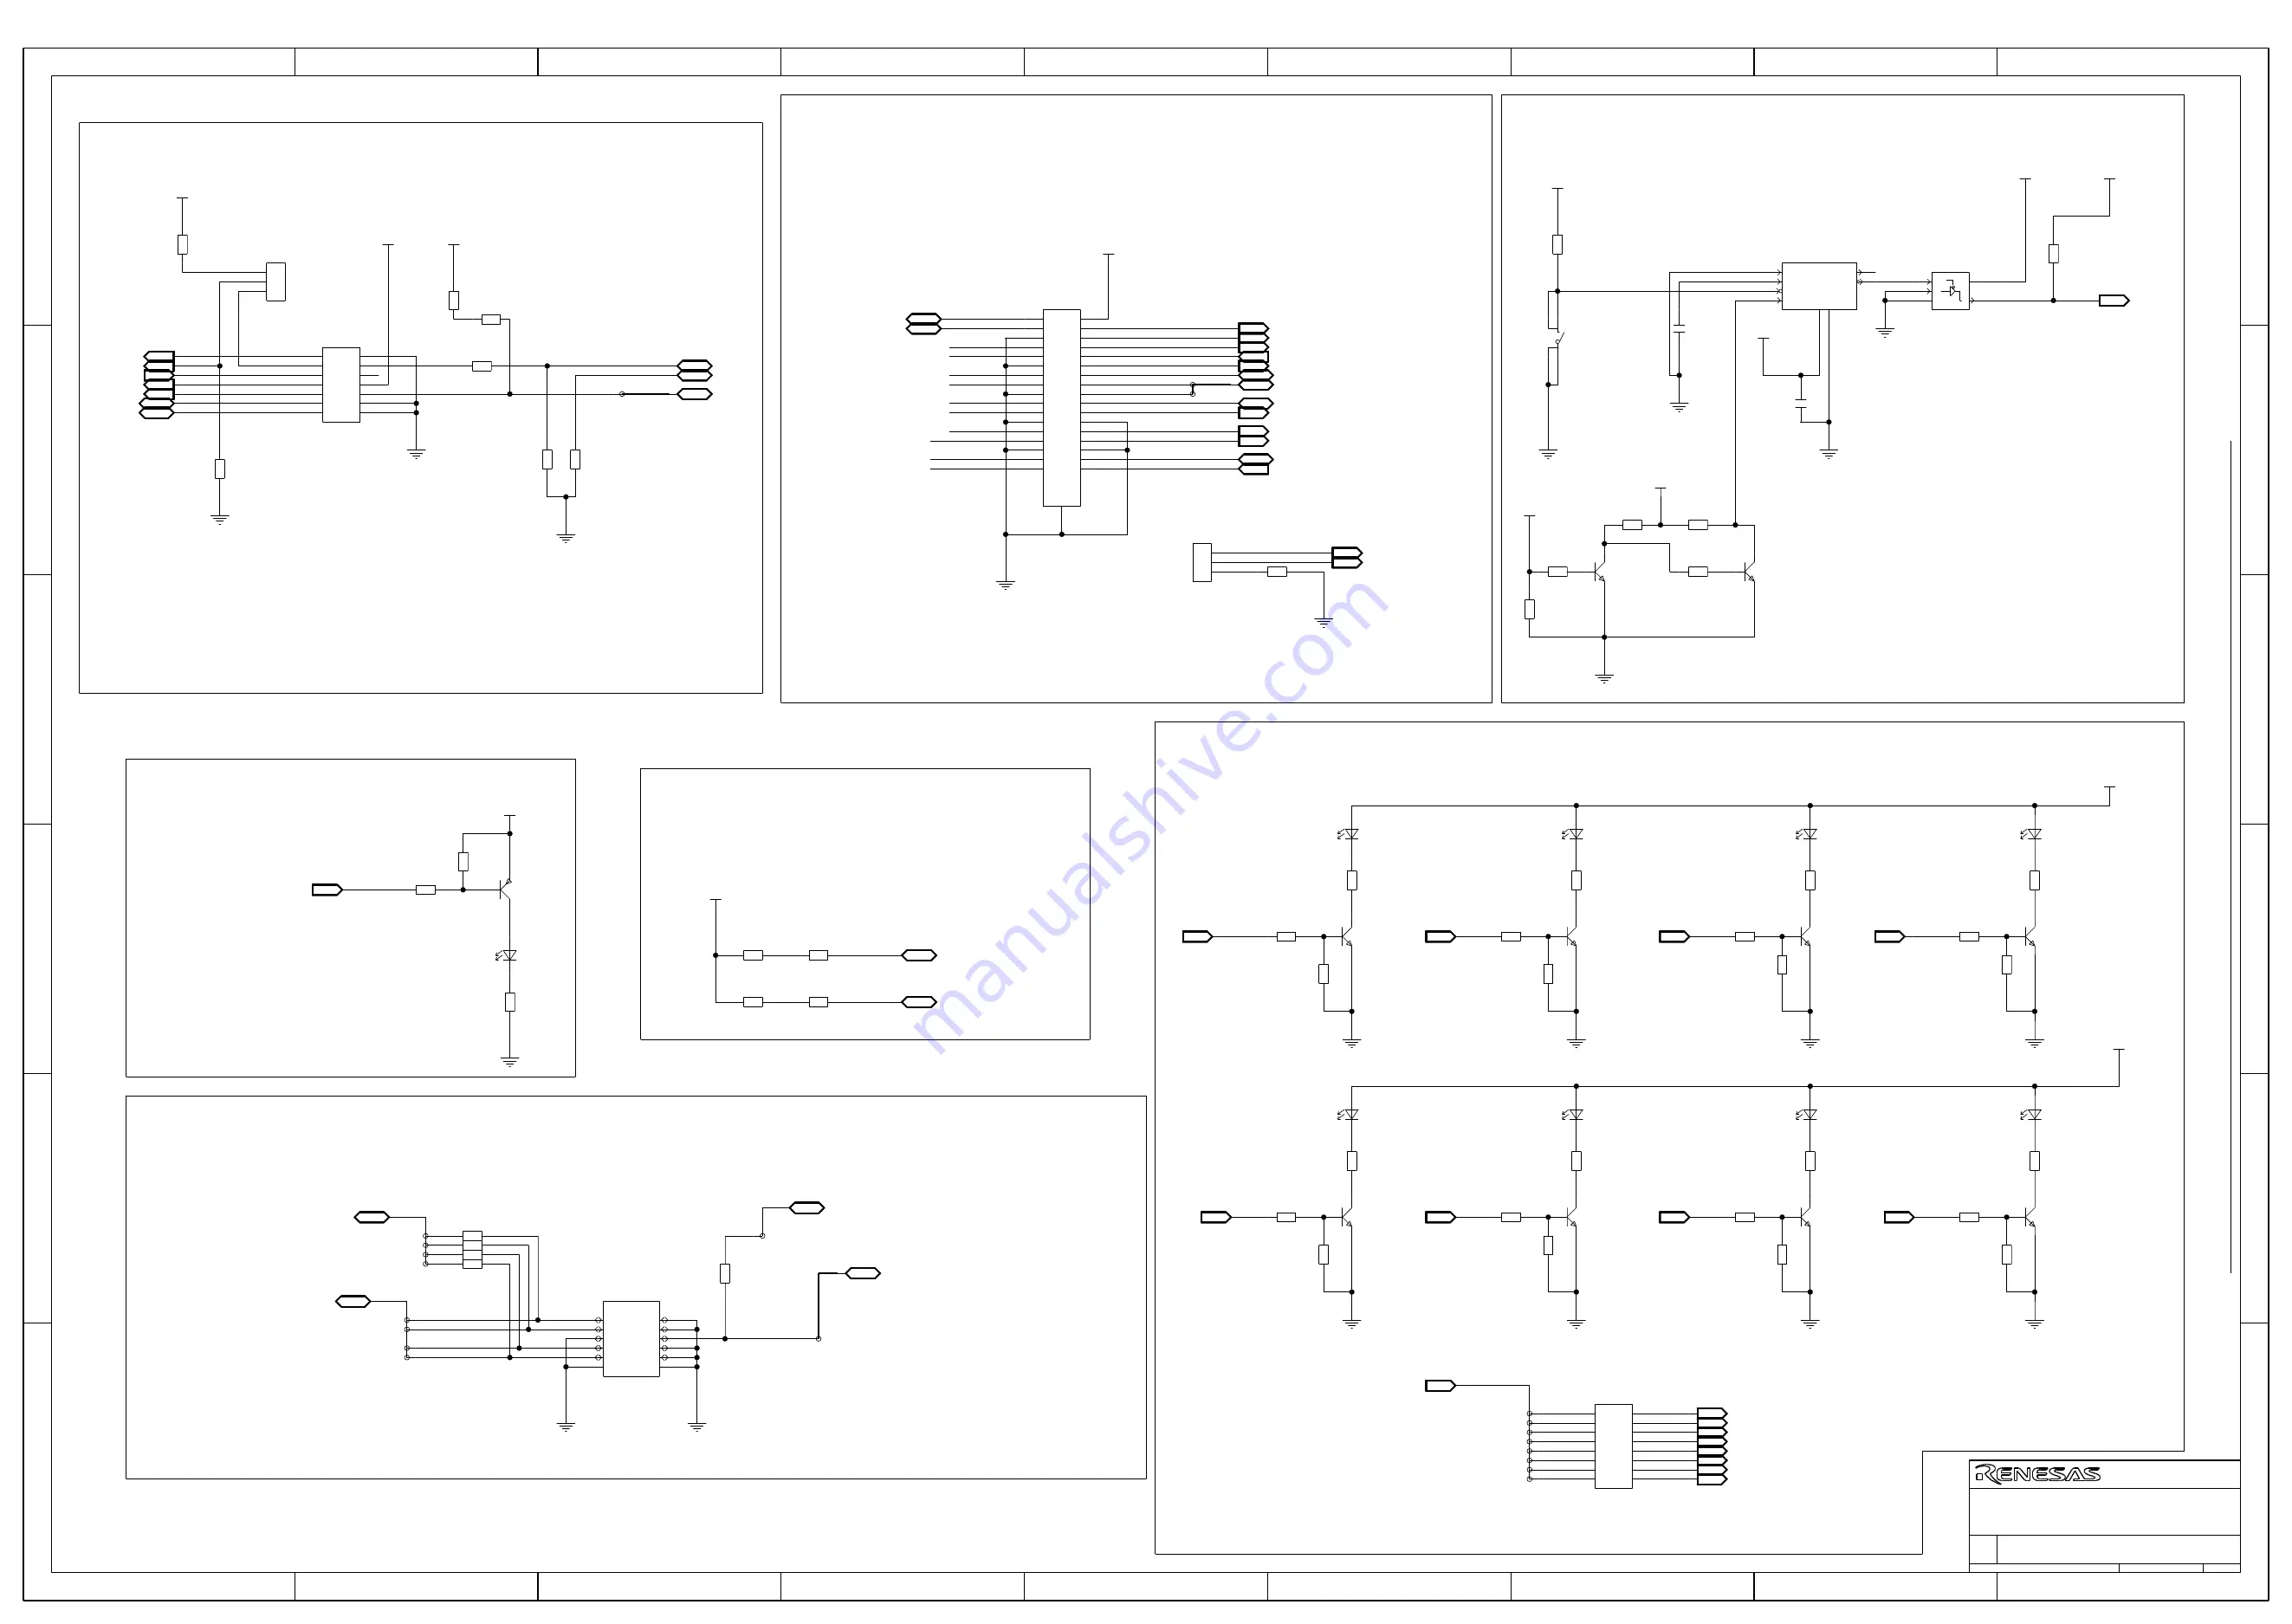
PUSH BUTTON FOR RESET

HSIF0_RXDP

HSIF0_RXDN

RHSIF I/F

Only fit if the signal is to go to the  connector

EVTO

MODE Jumper

EVTO-PU

DEBUG  AND PROGRAMMING INTERFACE

Signalling for  ERROROUT

Aurora I/F

WDTDIS

ETK-BREQ
ETK-BGNT

AURORES

Fri Jul 14 14:01:33 2017

PAGE 4 OF  5

CR-4 : @RH850_E2X_292PIN_PB_T1_V1_LIB.RH850_E2X_292PIN_PB_T1_V1(SCH_1):PAGE4

1.00

EESS-0400-153-0

2

rh850_e2x_292pin_pb_t1_v1

Electronics Europe GmbH

10K

10K

56K

1.25V

VDDs

VCC

header 3way long jumper 2.54mm

10K

3.3V or 5V

BOARD_VCC

3.3V or 5V

BOARD_VCC

2K2

SYSVCC

3.3V or 5V

10K

56K

NXP_BC847C

1K5

red

10K

2PB709ART

56K

150

BOARD_VCC

3.3V or 5V

10K

10K

3.3V or 5V

BOARD_VCC

yellow

yellow

yellow

3.3V or 5V

BOARD_VCC

1K5

NXP_BC847C

56K

10K

yellow

1K5

NXP_BC847C

10K

56K

1K5

NXP_BC847C

10K

56K

yellow

1K5

NXP_BC847C

10K

1K5

NXP_BC847C

10K

56K

yellow

1K5

NXP_BC847C

56K

10K

56K

header 16way

0
1
2
3
4
5
6
7

yellow

yellow

1K5

NXP_BC847C

10K

56K

1K0

0

0

10K

SYSVCC

4

4

2
3

SN74LVC1G125DCK

9

TLC7701ID

VCC

0

0

0

0
0

3

2

5

3.3V or 5V

5

0

10K

10K

NXP_BC847C

10K

BOARD_VCC

3.3V or 5V

NXP_BC847C

470n

3.3V or 5V

BOARD_VCC

100n

PUSH BUTTON 4 PIN SMD

HEADER 14WAY SHROUDED

3.3V or 5V

1K0

SYSVCC

1K0

8

3.3V or 5V

3.3V or 5V

E0VCC

10K

header 2way long jumper 2.54mm

9

ERF8-005-05.0-L-DV-L-TR

header 3way long jumper 2.54mm

3.3V or 5V

ASP-137973-01

R106

JP31

R125

R123

TR12

R124

R82

TR10

R81

R99

JP34

CN10

JP28

R37

R47

IC2

LED9

IC3

C42

R10

SW1

C21

LED8

LED7

R73

TR4

R71

R69

LED13

R74

TR8

R70

R72

R67

TR3

R63

R65

LED12

R68

TR7

R64

R61

TR2

R57

R59

LED11

R62

TR6

R60

R58

R66

CN4

LED6

R55

TR1

LED10

R56

TR5

R51

R53

R52

R54

JP26

JP27

R7

R9

R3

R34

R77

CN25

R15

R29

TR11

LED4

R27

R26

R78

CN11

R31
R50
R75
R76

4B1> 

1D4< 

5B5> 

5B3< 

4F6< 

2D8<> 

1C7<> 

2D6<> 

4B6<> 

5B5< 

2B3<> 

5B8> 

5B8< 

5B8< 

5B8< 

5B6<> 

5B6< 

2A2<> 

1C7<> 

4B1> 

1C4< 

4B1> 

1D4< 

4B1< 

1D4> 

4F7> 

4B6<> 

1D4<> 

4D5< 

4E7< 
4E8< 

4E6< 

4E5< 

4D8< 

4D7< 

4D6< 

5B5> 

5B5< 

5B3< 

5B3> 

4B6<> 

4B3<> 

2D8<> 

2D6<> 

1C7<> 

4F7> 

4B6< 

1D4> 

4B6> 

1D4< 

4B6> 

1D4< 

4B6> 

1C4< 

5A1> 

4B6> 

4B1<> 

2B2< 

1C4< 

4B6> 

4B1> 

1C4< 

2B3<> 

2B2> 

1D7> 

1D9<> 

1C7<> 

1D4<> 

1D4<> 

4B3<> 

5B5> 

5B5< 

5B3< 

5B3> 

4F6< 

4B3<> 

2D8<> 

2D6<> 

1C7<> 

4B3<> 

1D4< 

4B1<> 

1D4<> 

1D4< 

5A1> 

4B1<> 

4A9> 

2B2< 

1C4< 

2B2< 

1D4< 

4B6> 

4B1> 

1C4< 

5B3> 

4B6<> 

2B2> 

1D7> 

4B6<> 

TCK

S_P21<5..2>

P20<7..0>

TMS
TDI
TDO

Port0

MD0

DRDY

Port3

Port7

Port6

Port2

Port0

Port6
Port7

Port5

Port4

Port3

Port2

Port1

P33<13..0>

Port1

Port5

Port4

TDO
TDI

TCK

RES_IN

TMS

RES_IN

TRST

S_P20<7..0>

NC

NC

ERROROUT_M

RESET_IN

TRST

P21<5..2>

MD0

MD1

MODE0
P33<13..0>

MODE1

CICREFN

DRDY

CICREFP

RES_IN

AURORES

TRST

P33<13..0>

MODE0

NC

NC
NC

NC

NC

RES_OUT

MODE1

NC

NC
NC

TODN0

TODP0

3

2

1

2

3

1

2

3

1

3

2

1

34

33

32

31

30

29

28

27

26

25

24

23

22

21

20

19

18

17

16

15

14

13

12

11

10

9

8

7

6

5

4

3

2

1

2

1

4

5

1

3

2

8

7

2

5

6

4

3

1

2

3

1

2

3

1

2

3

1

2

3

1

2

3

1

2

3

1

16

15

14

13

12

11

10

9

8

7

6

5

4

3

2

1

2

3

1

2

3

1

2

1

2

1

14

13

12

11

10

9

8

7

6

5

4

3

2

1

2

3

1

12

11

10

9

8

7

6

5

4

3

2

1

IN

B

E

C

IN

B

E

C

IN

IN

IN

BI

2

1

2

1

BI

BI

BI

BI

14

13

12

11

10

9

8

7

6

5

4

3

2

1

OUT
OUT

OUT

IN

OUT

BI
BI

B

E

C

BI

BI

BI

3

2

1

B

E

C

B

E

C

IN

OUT

OUT

3

2

1

BI
BI

OUT
OUT
OUT

OUT

IN

OUT

OUT

OUT

BI

GND[1..0]

34

32

30

28

26

24

22

20

18

16

14

12

10

8

6

4

2

33

31

29

27

25

23

21

19

17

15

13

11

9

7

5

3

1

BI

BI

BI

2

1

BI

12

10

8

6

4

2

11

9

7

5

3

1

OUT

OEZ

VCC

Y

GND

A

RESET_Z*

RESET

GND

VCC

SENSE

RESIN*

CT

CONTROL

B

E

C

IN

B

E

C

IN

B

E

C

B

E

C

IN

B

E

C

IN

B

E

C

OUT
OUT

OUT

OUT

OUT

OUT

OUT
OUT

16

15

14

13

12

11

10

9

8

7

6

5

4

3

2

1

IN

Size

Document Number

A2

Title

Date:

9

8

7

6

5

4

3

2

1

9

8

7

6

5

4

3

2

1

A

B

C

D

E

F

A

B

C

D

E

F

Содержание RH850/E2 Series

Страница 1: ...ct at the time of publication and is subject to change by Renesas Electronics Corp without notice Please review the latest information published by Renesas Electronics Corp through various means inclu...

Страница 2: ...nector 10 5 2 34 Pin Aurora Connector 10 Chapter 6 Connectors for ports of device 12 6 1 Push button for RESET 12 6 2 Mode Selection 12 6 3 Connectors to MainBoard 12 6 3 1 Assignment of CAN Pins 12 6...

Страница 3: ...for extended functionality Main features Socket for mounting of device Standalone operation of the board Direct supply of device voltage typ 5V 3 3V and 1 25V enabling single power supply and dual po...

Страница 4: ...0 E2X 292PIN PB T1 V1 Figures 1 and 2 provide a schematic view of the Y RH850 E2X 292PIN PB T1 V1 PiggyBack board Figure 1 PiggyBack Board Top View The red arrow denotes the position of socket pin 1 F...

Страница 5: ...vice must be placed inside the socket IC1 To insert the device align the device package 1pin with the 1pin of the socket The 1pin of the socket is marked with a circle near to the IC1 label see also r...

Страница 6: ...es 5V CN15 3 3V CN23 and 1 25V CN24 A black connector for ground GND connection CN22 Note The four connectors are supplied with the board but not assembled For details about voltage distribution refer...

Страница 7: ...g voltage regulator on the PiggyBack board The following figure shows the configurable voltage distribution on the PiggyBack board All power supply lines can be interrupted by jumpers This provides th...

Страница 8: ...ed to either LVDVCC or E0VCC according to the device pinout Please check the device HW user s documentation for more details For more details please refer to Chapter 11 Schematic For typical configura...

Страница 9: ...5 pins 24 and 26 via connecting with 0Ohm resistances R48 and R49 For details please refer to Chapter 11 Schematic 4 1 2 Programmable Oscillator It is possible to mount a programmable crystal oscillat...

Страница 10: ...14 Pin Debug Connector For connection of the microcontroller to debug and flash programming tools the connector CN25 with fourteen pins is available The signal connection of the connector CN25 is sho...

Страница 11: ...6 EVTI P33_8 17 GND 18 EVTO P33_9 19 Reserved NC 20 MD1 21 Reserved NC 22 RES_IN 23 GND 24 GND 25 Reserved NC 26 CICREFP 27 Reserved NC 28 CICREFN 29 GND 30 GND 31 Reserved NC 32 DRDY 33 Reserved NC 3...

Страница 12: ...r JP26 MD1 via jumper JP27 To apply a High signal to the mode pins the corresponding jumpers can be set CAUTION Be careful in configuration of mode related pins as wrong configuration can cause irregu...

Страница 13: ...a pin header in order to minimize disturbance on the signal If needed the signals can be connected to CN5 pins 14 16 18 20 and 22 via connecting with 0Ohm resistances R31 R50 R75 R76 and R78 For detai...

Страница 14: ...B1FCLN P10_1 2 RHSB1CSD0 P10_7 3 RHSB1FCLP P10_0 4 RHSB1EMRG P12_0 5 GND 6 RHSB1SI0 P12_2 7 RHSB1SON P10_3 8 RHSB1SI1 P12_4 9 RHSB1SOP P10_2 10 RHSB1CSD1 P10_6 11 RHSB0FCLN P13_0 12 RHSB0CSD0 P12_6 13...

Страница 15: ...and JP32 configure the voltage connected to the uneven pins to 3 3V or 5V JP25 configures uneven pins 1 9 and JP32 configures uneven pins 11 19 By connecting device port pins from CN5 8 to CN9 it is t...

Страница 16: ...only A2VREFH Config 14 1 2 only 1 2 only ADSVCC 15 1 2 only 1 2 only ADSVREFH 16 1 2 only 1 2 only VDDIOF 17 1 2 1 2 Pin W3 Config 18 2 3 only 2 3 only 1 25V Source 22 1 2 1 2 VDD 23 o o EMUVDD 1 24 o...

Страница 17: ...nd on the allowed specification of the used device A small circle near the jumper on the board and a rectangular representation of the pin in the overview picture in sec 2 1 identifies the 1 pin of th...

Страница 18: ...shut down release the push button SW1 9 2 Changed Pin Number on Jumper JP18 There are 2 versions of the pcb for Y RH850 E2X 292PIN PB T1 V1 The old version is marked EESS 0400 153 01 The revised versi...

Страница 19: ...19 R20UT4084ED0130 Rev 1 3 2020 05 12 Chapter 10 Mechanical dimensions All dimensions given in mm Figure 6 Dimensions of the PiggyBack Board...

Страница 20: ...ponsibility of the customer The following components described in the schematic are not provided with the board Oscillator OSC1 Capacitors C29 and C33 Resistances o R30 R35 R48 and R49 o R31 R50 R75 R...

Страница 21: ...1 4B6 4B1 4B6 4B1 4B6 4B1 4B6 4B6 4B1 4D2 2B2 4B6 2B2 5C3 5C3 5C3 5C1 5C1 5C1 5B3 5B3 5B3 5B1 5A4 5A4 2D1 2D3 5C3 5C3 5C1 2D6 1C3 5C3 5C1 5C1 5B1 2D1 1E3 1D3 2B3 5E5 5E1 5E8 5C3 5C3 5C1 5C1 5C1 5C1 5B...

Страница 22: ...S_P21 5 2 P23 7 0 P32 6 0 X1_C X2_C NMI ERROROUT_M RES_OUT P20 7 0 AURORES RES_IN P22 13 0 S_P10 8 0 S_P13 3 0 P15 8 0 P14 7 0 P10 8 0 P12 9 0 AN22 3 0 AN24 3 0 P00 7 0 P01 7 3 AN22_ 1 P32 6 0 P33 13...

Страница 23: ...0 0 22u 340K NXP_BC847C 3 3V 0 300K 10K 10K 10K 5 0V P3V3 100U 1SMA5919BT3G_5 6V 1K0 1K0 1K0 1K0 5 0V 100U 3 3V 5 0V P3V3 P3V3 0 P5V0 22u EN5322 1K0 3 3V or 5V header 20way 1 25V VDDs STD POWER LAB SO...

Страница 24: ...TR6 R60 R58 R66 CN4 LED6 R55 TR1 LED10 R56 TR5 R51 R53 R52 R54 JP26 JP27 R7 R9 R3 R34 R77 CN25 R15 R29 TR11 LED4 R27 R26 R78 CN11 R31 R50 R75 R76 4B1 1D4 5B5 5B3 4F6 2D8 1C7 2D6 4B6 5B5 2B3 5B8 5B8 5B...

Страница 25: ...NC P01 3 NC P11 0 NC P11 4 P12 3 NC NC NC NC NC P11 1 P11 2 P12 4 P12 8 NC P22 1 P22 4 SEL AN04 0 NC AN05 1 AN04 2 AN03 1 AN05 3 AN05 0 P02 11 P00 7 P01 7 P01 5 P11 8 P12 9 P12 1 P12 2 P12 6 P11 10 P1...

Страница 26: ...tial release Chapter 6 3 1 Added assignment of CAN pins Chapter 9 1 Added precaution 2017 10 25 1 2 Chapter 11 Added resistor R106 to circuit Push Button for Reset 1 3 Chapter 3 2 and chapter 8 Correc...

Страница 27: ...n is error free Renesas Electronics assumes no liability whatsoever for any damages incurred by you resulting from errors in or omissions from the information included herein 7 Renesas Electronics pro...

Страница 28: ...10 Please contact a Renesas Electronics sales office for details as to environmental matters such as the environmental compatibility of each Renesas Electronics product Please use Renesas Electronics...

Отзывы: