8
2. Once the kindling has begun to burn, add a small
amount of fuel.
3. Wait until this has burned through. Now the pre-
fuelling process can be done continuously.
4. Keep all furnace doors closed while the unit is heat-
ing up and during operation.
5. Only open the air slide plate for secondary air (item
2 in the figure under “Device Functionality”) a little
bit to prevent air blockage.
Starting
Important hints about operating the unit for the first
time!
Because burned refractory bricks also contain residual
moisture, proceed as follows when operating the unit for
the first time:
1. Heat the unit up gradually.
2. Open the filling flap a little bit while the unit is cool-
ing so that the steam from the refractory bricks can
escape.
This prevents the refractory bricks from splitting or
breaking later.
3. Repeat this heating process 3 to 4 times to get rid
of any remaining moisture from the refractory bricks.
Important Information on Burning Wood.
Wood is a fuel that is very gaseous and produces large
flames when burned. With enough combustion air, it
burns extremely rapidly. As a result, when wood is in its
final burning stages, it is not possible for combustion to
be weak or slow until it has become glowing embers.
Only after it has become embers continued burning can
be delayed by lowering the supply of combustion air via
the BIMATIK heat output regulator and closing the pri-
mary air slide plate.
When adding more pieces of wood, be careful not to
damage the refractory.
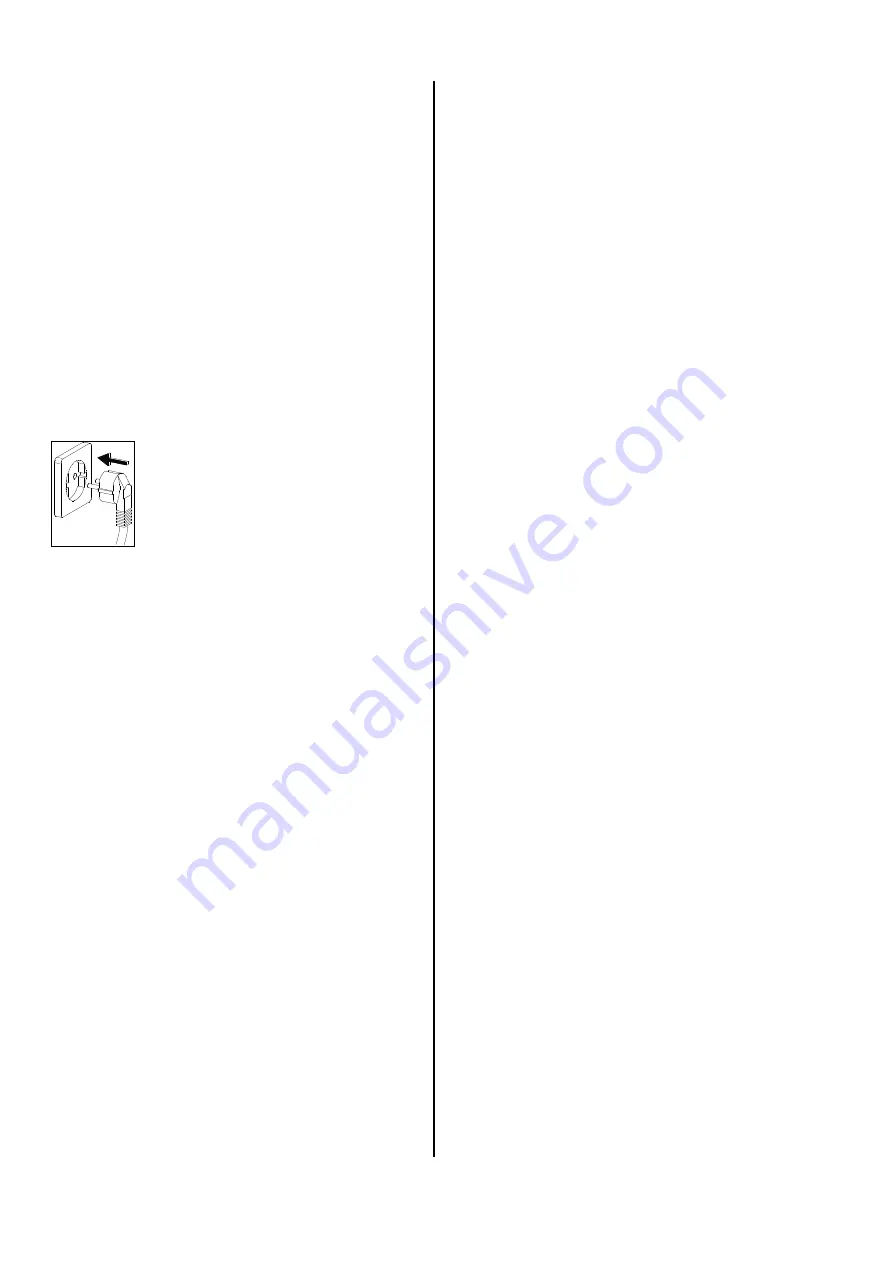
1. Connect the unit plug to a power
socket with the right connection.
230V/1~ 50Hz.
2. Keep in mind that the circulating air
fan automatically switches on and off
depending on the unit temperature.
3. If you are using a chimney draught stabiliser, plug it
into a power socket with the right connection.
The 230 V / 1~ / 50 Hz power connection is only
necessary for heating mode.
4. If applicable, adjust the draught limiter of the chim-
ney draught stabiliser using a draught gauge.
Only necessary for initial operation
.
5. Open the waste gas flap in the waste gas connection.
6. Set the BIMATIK heat output regulator to the “max.”
position with the regulating knob.
7. Clean the furnace and empty the ashpan.
Not necessary for initial operation
.
Preparations prior to heating.
Heating Up the Unit
1. Ignite the fire with paper or fire starter and small
pieces of wood on the fire grate.
5. Keep in mind that the circulating air fan only
switches on automatically once the target tempera-
ture has been reached.
6. Only open the filling flap to add more fuel once the
initial fuel has burned down to glowing embers.
Now the gasification process is complete. During
this process, problems can occur with smoke if the
feeder flap is opened while burning wood (similar for
other fuels). It is now possible to add more fuel with-
out a problem.
7. Stoke the fire grate with pokers to keep it clear of
ash from time to time depending on the fuel and
amount of ash during heating operation; empty the
ashpan.
Heating Mode
1. Fill up the feeder chute completely once approx. 50%
of the fuel from the pre-fuelling process is burning.
2. Adjust the primary air slide plate in increments to
the appropriate setting for the fuel.
3. Set the heat output in the “min / max” range using
the regulating knob of the BIMATIK heat output
regulator.
4. Adjust the flue gas flap in the waste gas connection
according to the fuel being used and the chimney.
draught.
Information on Refractory Lining.
The life expectancy of the refractory lining is largely de-
pendent on the operating conditions and how the unit is
treated.
Due to natural temperature fluctuations, small cracks
can appear in the refractory bricks but this does not ad-
versely affect the functioning of the unit.
G
Do not subject the refractory to mechanical over-
load, e.g. from stoking the fire or throwing in fuel.
Damaged or broken refractory bricks are not cov-
ered by the guarantee.
The unit may not be unplugged from the power
supply while in heating mode as this can damage
the unit due to overheating.
G
Never use petrol, thinning agents or other highly
flammable materials.
G
If you are using a chimney draught stabiliser, the
flue gas flap must always be open all the way.
G


