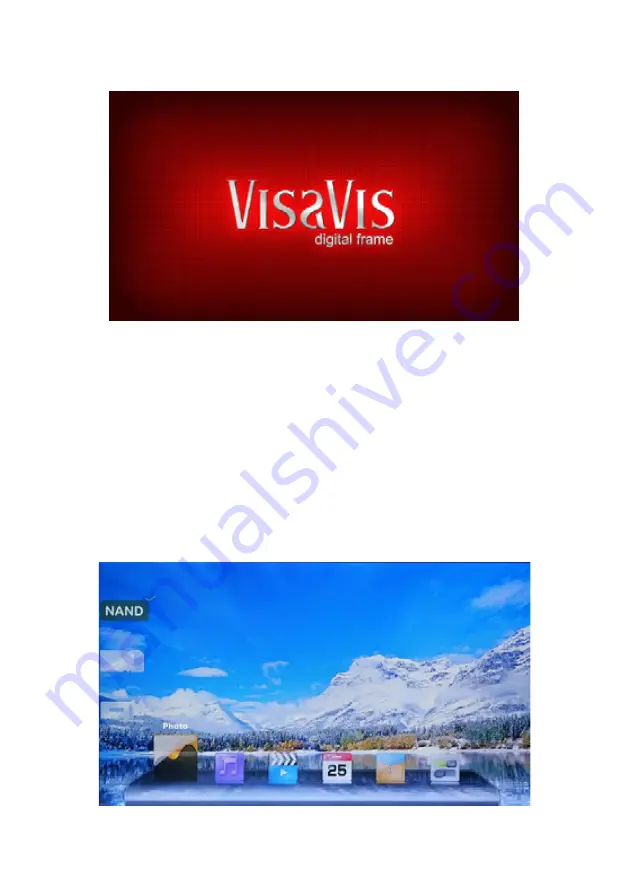
background image

26

4. 

OPERATING INSTRUCTION


After turning on the unit, it will display startup logo, and then show the Main 

interface after 3-5 seconds. If there are pictures and music’s in USB device or the 

card, it will play the slideshow. For entering into the main menu after pressing 

RETURN

 button three times.

4.1 

Card and USB

It supports SD/SDHC/MS/MMC and USB 2.0 and Mini USB. After inserting a card 

or USB device, slideshow will play with background automatically, then press 

RE-

TURN

 three times to access to 

photo

music, video, files, calendar

 and 

settings


choose interface. Press 

OK

 to confirm the item you want.


Содержание VisaVis L-170

Страница 1: ...L 170...

Страница 2: ...2 USB...

Страница 3: ...3 1 JPEG 2 MP3 WMA 3 MPEG1 MPEG2 MPEG4 Xvid AVI M JPEG H 264 4 4Gb 5 SD MMC SDHC MS 6 USB USB 2 0 HOST Mini USB 7 8 9 10 11 12 13 2x2 14 10 15 16 17 1 2 3 4 5 6 USB 7...

Страница 4: ...4 1 5 1 1 5 2 7 3 7 4 8 4 1 USB 9 4 2 9 4 3 10 4 4 11 4 5 12 5 13 6 13 6 1 14 7 14 8 15 9 PC 16 10 16 11 17...

Страница 5: ...5 1 1 1 6 8 1 2 4 5 9 7 12 11 14 13 16 10 15 17 18 3 1 POWER 2 BGM 3 MUTE 4 MENU 5 6 RETURN 7 8 9 10 SETUP 11 PLAY PAUSE 12 OK 13 ZOOM ZOOM...

Страница 6: ...6 14 15 VOL 16 ROTATE 90 17 18 1 2 3 4 6 7 5 1 2 3 4 5 OK 6 7 1 2 3 USB 4 Mini USB 5...

Страница 7: ...7 2 CR2025 3 3 1 110 240 DC IN 8 3 2 3 3 2 3 4 POWER...

Страница 8: ...8 4 1 1 3 5 USB RETURN 2 2...

Страница 9: ...9 4 1 USB SD MMC SDHC MS USB c USB 2 0 USB Return USB USB 3 RETURN 3...

Страница 10: ...10 4 2 4 4 1 OK Return 4 OK OK Return 5 OK 5...

Страница 11: ...11 4 3 90 OK SETUP OK OK...

Страница 12: ...12 4 4 6 4 1 6 VOL Return OK SETUP OK OK 4 5 7...

Страница 13: ...13 4 1 OK VOL Return OK OK OK SETUP OK OK 5 8 OK 8...

Страница 14: ...14 6 9 9 OK 6 1 11...

Страница 15: ...15 12 7 13 OK OK Return...

Страница 16: ...16 8 14 14 9 PC USB A USB B...

Страница 17: ...17 3 43 94 1600 900 16 9 TFT LED cd m2 450 650 1 4Gb SD SDHC MMC MS US USBx1 mini USBx1 USB2 0 JPEG 2 2 MP3 WMA MPEG1 MPEG2 MPEG4 Divx4 0 Divx5 0 Xvid AVI M JPEG H 264 720P 820P 1080P RMVB H 264 420 2...

Страница 18: ...110 240 50 60 USB 11 USB USB USB USB Mute...

Страница 19: ...L 170 USER MANUAL Thank you for your purchase of the Digital Photo Frame Please read this User Manual carefully to learn the correct way to use the Digital Photo Frame...

Страница 20: ...al Photo Frame is made of glass and it would be easily broken or scratched You can use a soft non abrasive cloth such as a camera lens or glass cloth to clean the LCD screen If fingerprints or dust ac...

Страница 21: ...slideshow preview zoom rotate function 10 Auto Slideshow when inserting Memory Card 11 Support slideshow with background music 12 Support viewing pictures in thumbnail mode 13 Built in stereo speaker...

Страница 22: ...ATTERY 25 3 GETTING STARTED 25 4 OPERATING INSTRUCTION 26 4 1 Card and USB 26 4 2 Picture Mode 27 4 3 Music Mode 29 4 4 Video Mode 30 5 CALENDAR 30 6 FILE 31 6 1 Copy and Delete function 31 7 SETTING...

Страница 23: ...ter Main Menu interface 5 Move cursor Up 6 RETURN Return to up page 7 Move cursor Left 8 Move cursor Right 9 Move cursor Down 10 SETUP Go directly to Setup mode or show the small Operation interface 1...

Страница 24: ...olve the picture 90 in clockwise direction each time 17 Move back to previous music or video file 18 Move forward to next music or video file 1 2 Back of Frame 1 2 3 4 6 7 5 1 Power 2 UP 3 VOL LEFT 4...

Страница 25: ...t position stability then plug one end of the AC adapter into a standard 100 240V AC electri cal outlet and the other end into the DC IN slot on the frame Note The bracket installing and standing meth...

Страница 26: ...ill play the slideshow For entering into the main menu after pressing RETURN button three times 4 1 Card and USB It supports SD SDHC MS MMC and USB 2 0 and Mini USB After inserting a card or USB devic...

Страница 27: ...ture Mode Choose Storage Device Press OK to enter into the main menu choose Photo and press OK to start slideshow press Return twice to enter into the Thumbnail Mode use to choose the picture and pres...

Страница 28: ...ess to revolve the picture 90 in counter clockwise every time In picture browse mode press to magnify picture dis play size Previous picture Next picture Start slideshow Delete picture Copy picture Pi...

Страница 29: ...device in the Card Selection Menu Press OK to en ter into the main menu Choose Music Icon and press OK to start music Press VOL to turn up down the volume In the music playing mode press Return and t...

Страница 30: ...fast backward and fast forward Press OK to pause repress again continue playback Press to enter the previous or next video playing directly Press Setup You can set different settings inVideo Setup and...

Страница 31: ...6 FILE Choose File in the main menu and press OK to Enter you can browse all files in your selected storage device You can press to choose the file then press OK to confirm 6 1 Copy and Delete functi...

Страница 32: ...ess again it will enter the Copy Operation and then press OK to confirm 7 SETTING Select Setting in the main menu press OK to enter the Setup interface and press to highlight the main item and press O...

Страница 33: ...opy delete or edit Operation A Please turn on the digital photo frame then connect it with your PC by using USB cable B The unit will be automatically detected and it will display PC Connected Icon th...

Страница 34: ...t operation way 10 TECHNICAL SPECIFICATIONS Display Size inch cm 17 3 43 94 Resolution pixels 1600 900 16 9 Panel TFT LED Screen digital Brightness cd m2 450 Storage Build in 4Gb build in memory Memor...

Страница 35: ...0 60Hz Accessories AC DC adaptor user manual remote control USB cable 11 TROUBLESHOOTING GUIDE If you have problems with your player please consult both this guide and manual If you need further assis...

Страница 36: ...yer Display too bright or too dark Please adjust the brightness or contrast in the setup menu The color is light or no color Please adjust the color and contrast setup No sound Please check whether th...

Отзывы: