Assembly instructions
Instructions d’assemblage
Instrucciones de Ensamblaje
2019-11-13
www.rejuvenation.com
1/15
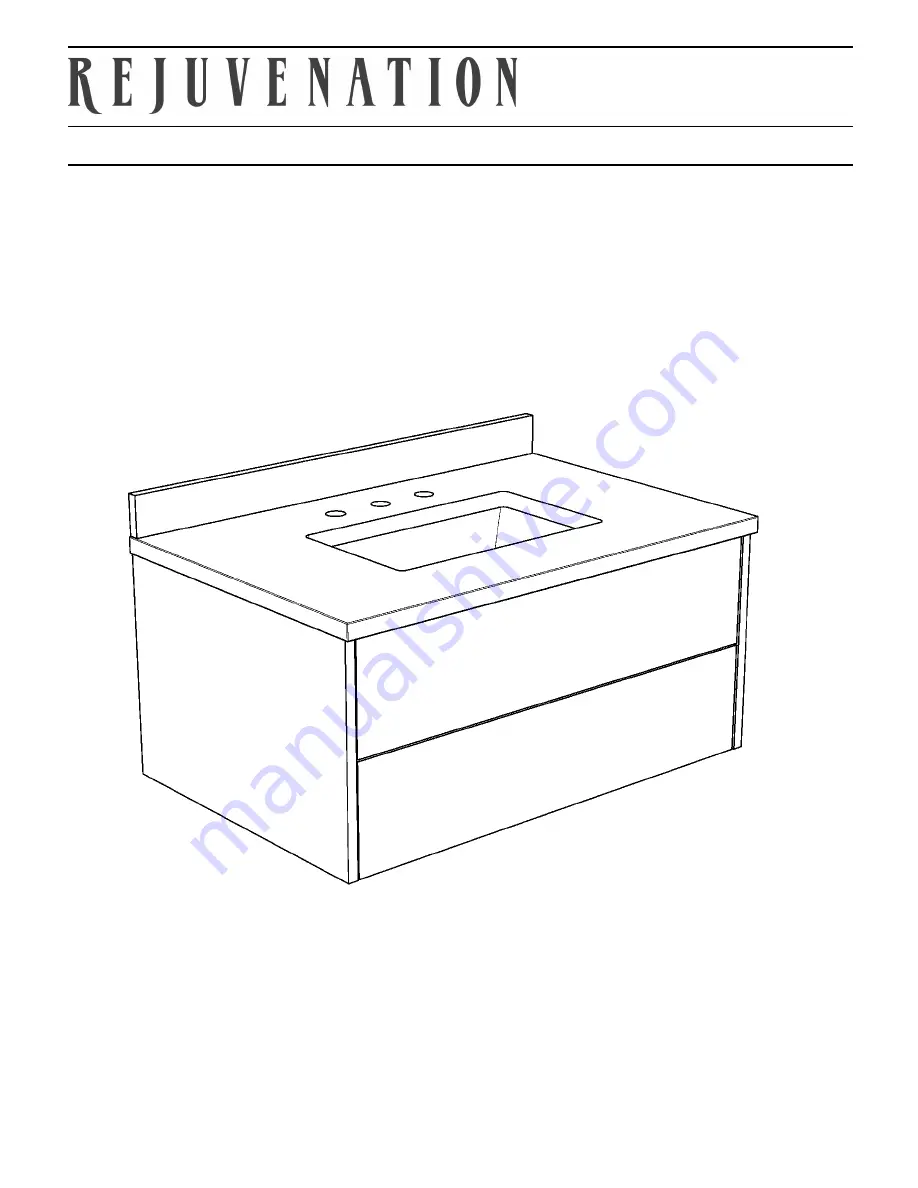
GENEVA 36in Vanity
Страница 1: ...Assembly instructions Instructions d assemblage Instrucciones de Ensamblaje 2019 11 13 www rejuvenation com 1 15 GENEVA 36in Vanity...
Страница 2: ...Instructions d assemblage Instrucciones de Ensamblaje 2019 11 13 www rejuvenation com 2 15 BEFORE YOU BEGIN Marble top is both heavy and until installed fragile Please have a helper and use caution w...
Страница 3: ...evel Please make appropriate adjustments for other conditions Remove any molding that may prevent the console from being set flush to the finished wall TOOLS AND MATERIALS Tape measure Pencil Level Dr...
Страница 4: ...Assembly instructions Instructions d assemblage Instrucciones de Ensamblaje 2019 11 13 www rejuvenation com 4 15...
Страница 5: ...THE WALL DO NOT INSTALL WITH SHEETROCK ANCHORS 1 Remove drawers and set aside in a safe place No tools are needed Make a note of their original location 2 Mark the desired height of the marble top 34...
Страница 6: ...n your wall 4 In each of the shaded areas mark 2 fastener locations that align with studs and avoid plumbing pipes If you can t locate studs at the fastener locations or you have steel studs remove dr...
Страница 7: ...of the vanity base and drill 3 8 diameter fastener clearance holes 7 With a helper secure the vanity base to the studs or blocking using the fasteners and washers supplied see page 8 for cross section...
Страница 8: ...Assembly instructions Instructions d assemblage Instrucciones de Ensamblaje 2019 11 13 www rejuvenation com 8 15 ATTACH THE VANITY BASE TO THE WALL CONT D...
Страница 9: ...Assembly instructions Instructions d assemblage Instrucciones de Ensamblaje 2019 11 13 www rejuvenation com 9 15 ATTACH THE UNDERMOUNT SINK TO THE TOP...
Страница 10: ...Assembly instructions Instructions d assemblage Instrucciones de Ensamblaje 2019 11 13 www rejuvenation com 10 15 ATTACH THE UNDERMOUNT SINK TO THE TOP CONT D...
Страница 11: ...Assembly instructions Instructions d assemblage Instrucciones de Ensamblaje 2019 11 13 www rejuvenation com 11 15 ATTACH TOP TO VANITY BASE...
Страница 12: ...s de Ensamblaje 2019 11 13 www rejuvenation com 12 15 INSTALL BACKSPLASH Apply a bead of caulk at the back edge of the top and the BACK of the backsplash Press against wall and align evenly side to si...
Страница 13: ...Assembly instructions Instructions d assemblage Instrucciones de Ensamblaje 2019 11 13 www rejuvenation com 13 15 CONNECT FAUCETS AND PLUMBING Keep these clearances in mind when routing plumbing...
Страница 14: ...Assembly instructions Instructions d assemblage Instrucciones de Ensamblaje 2019 11 13 www rejuvenation com 14 15...
Страница 15: ...Assembly instructions Instructions d assemblage Instrucciones de Ensamblaje 2019 11 13 www rejuvenation com 15 15 REINSTALL DRAWERS...