


67
jetStamp graphic
970
GB
5.4. Replace Protective Nozzle Seal
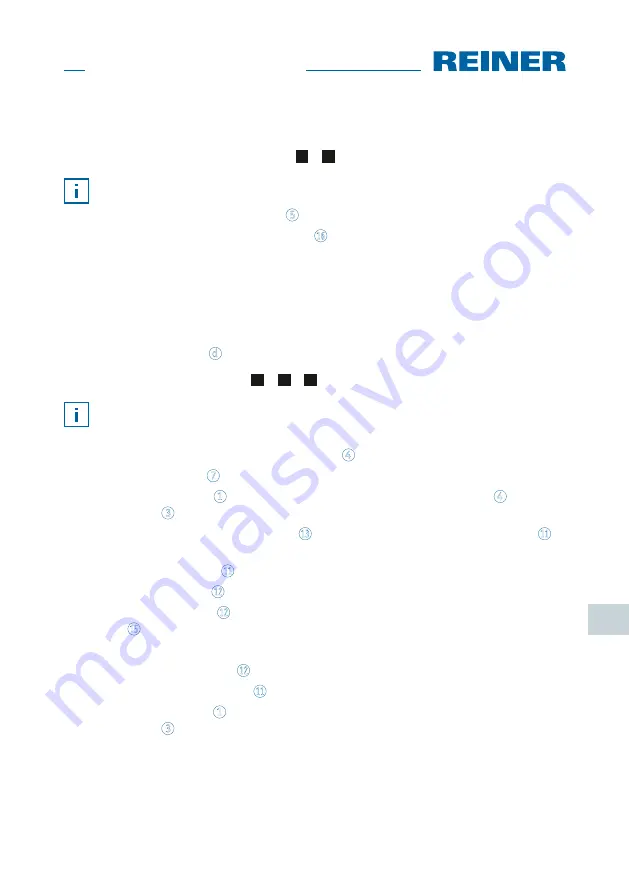
Replace Protective Nozzle Seal
Fig.
A
+
D
Depending on ink type used, different Protective Nozzle Seals are required.
f
Push down the Protective Nozzle Seal
5
slightly at the front edge.
f
Take it out at the Protective Nozzle Seal tip
16
.
f
Insert a new Protective Nozzle Seal into the holder.
f
Slightly push down the Protective Nozzle Seal until it latches in the holder.
5.5. Replace Print Cartridge
The ink level of the print cartridge can be determined in the status display of
the PCSet graphic software
d
.
Replace print cartridge
Fig.
A
+
B
+
D
Depending on ink type used, different Protective Nozzle Seals are required (see “Re-
place Protective Nozzle Seal”).
f
Put the
jetStamp graphic
970 in the base station
4
.
f
Turn the setting wheel
7
to position
1
.
f
Keep the trigger button
1
pushed and take the device from the base station
4
.
Print carriage
3
moves to the middle position.
f
Slightly push the lock of print cartridge
13
to the right, until the print cartridge flap
11
can be opened.
f
Open print cartridge flap
11
.
f
Remove print cartridge
12
from the device.
f
Take new print cartridge
12
from the packaging and remove protective film from the
nozzles
15
.
f
Put the
jetStamp graphic
970 on a fixed flat surface.
f
Inserting printing cartridge
12
.
f
Closing the print cartridge flap
11
.
f
Push the trigger button
1
.
Print carriage
3
moves to the home position.
Содержание jetStamp graphic 970
Страница 2: ......
Страница 3: ...1 jetStamp graphic 970 A 1 2 3 4 5 6 7 ...
Страница 220: ...Award for Operational Excellence ZN 970088 000 A 06 2013 ...


