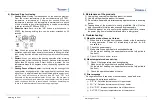
6) Start and Stop for Heating
①
Heating Start
: Heating is started based on the selected program.
From the current temperature to the set temperature of STEP1,
temperature is increased at 3 degree per second. When set
temperature is reached, the temperature is maintained for a period
of time of setting values. After that, heating is carried out according
to the set values of STEP2 and STEP3.
②
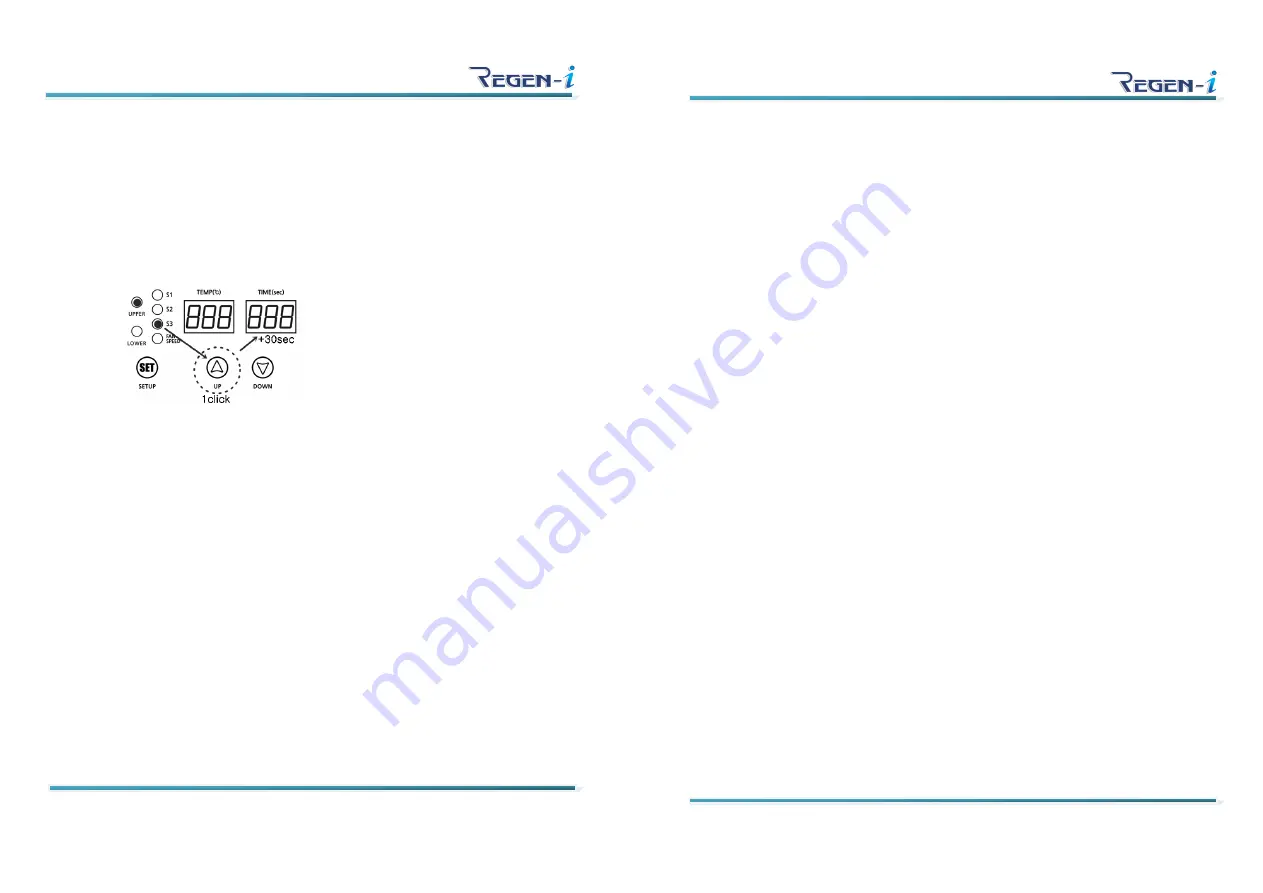
Extension time
: Each time the "UP" button is pressed once in
STEP3, the heating holding time can be further extended by 30
seconds.
③
Stop
: When you press the Stop button to terminate the heating
operation, upper and lower heater will cool down to 40 degree. After
that, cooling function will stop and the system will switch to standby
mode.
④
Restart
: When you resume the heating operation after pressing
program stop button, the heating does not proceed at temperature
higher than 80 degree even if start button is pressed. As the
temperature drops to 80 degrees or less, the heating operation can
proceed.
⑤
Heating Pause of Upper heater:
In order to stop the heating of the
upper heater during operation, if the upper heater is pushed back
about 4 cm, a physical weak jam is confirmed and its power is cut
off.
The fans will continue to operate and "UP" and "OFF" will
illuminate on the temperature display. At this time, the program in
progress is continued, and when the upper heater is pulled forward
again, the pause function is canceled and the Upper heater begins
to rise to the temperature of the current ongoing stage.
5. Maintenance of the products
1) Unplug the power cable when the product is cleaned.
2) Use dry cloths when the product is cleaned.
3) Do not store flammable materials near equipment as this is a heating
device.
4) Tearing down of the products is strictly prohibited. We will not be
held responsible for malfunctions caused by disassembly.
5) When the product is not in use for prolonged period of time, remove
the power plug from electrical outlet and store in a dry place.
6. Troubleshooting
1) When the product does not turn on
①
When smoke is emitted from the upper heater or the lower heater
during operation. Power off immediately and ask for A/S
consultation.
②
Check the power supply.
③
Make sure if the upper heater is pushed backward.
(At the start of heating, the upper heater must be fully pulled to
the front.)
④
Check if it is not a power failure.
2) When temperature does not rise.
①
Check if the temperature rises during heating.
②
Make sure if the upper heater is pushed backward.
(At the start of heating, the upper heater must be fully pulled to
the front.)
③
Check the operation statues of heater.
3) Error message
During malfunction, t
hree times of buzzer sound, “beep” and error
message will be displayed as below.
①
"UP" "th": Defective thermal sensor of Upper heater
②
"LO" "th": Defective thermal sensor of Lower heater
③
"U-H" "OFF": Improper temperature rise of Upper heater
④
"L-H" "OFF": Improper temperature rise of Lower heater
www.regeni.com -8-
www.regeni.com -9-


