background image

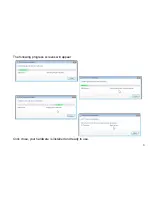
The following progress screens will appear 


Click close, your hardware is installed and ready to use. 


3

Содержание IMAGEBOX

Страница 1: ...hoto prints Additional holders available for purchase 4 5 2 1 3 PARTS OF THE SCANNER 1 Power Status LED This LED indicates whether the scanner is powered on off it also indicates the scan mode selecte...

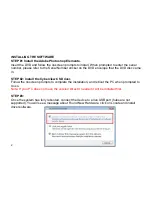
Страница 2: ...DVD disc came in STEP 2 Install the Cyberview CS Driver Follow the onscreen prompts to complete the installation and reboot the PC when prompted to do so Note If your PC does not have the version Dir...

Страница 3: ...The following progress screens will appear Click close your hardware is installed and ready to use 3...

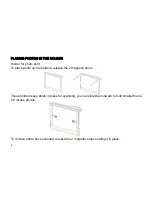
Страница 4: ...o place photo on the holders release the 2 magnetic strips These holders keep photo in place for scanning you can slide them inward to hold smaller than 4 x 6 inches photos To remove photo once scanne...

Страница 5: ...the photo is inserted and locked in place via the 2 magnetic strips place the holder into the slot at the back of the unit Once the Photo is loaded SEE USING THE SCANNER page 8 of this manual to begi...

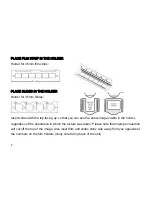
Страница 6: ...facing up so that you can see the entire image visible in the holder regardless of the orientation in which the picture was taken Please note that improper insertion will cut off the top of the image...

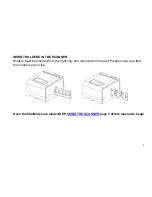
Страница 7: ...N THE SCANNER Holders must be inserted from the right only and removed from the left Please make sure that the numbers are on top Once the film Slides are loaded SEE USING THE SCANNER page 8 of this m...

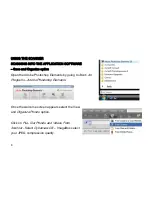
Страница 8: ...Open the Adobe Photoshop Elements by going to Start All Programs Adobe Photoshop Elements Once the welcome screen appears select the View and Organize Photos option Click on File Get Photos and Videos...

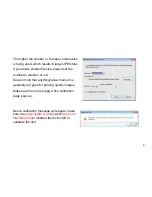
Страница 9: ...et the number to medium or low Keep in mind that anything below medium is generally not good for printing quality images Make sure the unit is empty when calibration page pops up Next a calibration me...

Страница 10: ...ase note this calibration screen only appears on the first use after driver has been installed after that manual calibration may be selected on the tool bar by clicking on the Calibrate button when im...

Страница 11: ...Select Cyberview CS select your JPEG compression quality Next a calibration message will appear make sure the photo holder is empty and there is no film Slide holder inserted then Click OK to calibra...

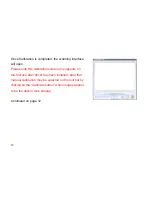
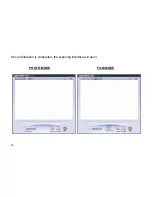
Страница 12: ...Once Calibration is completed the scanning interface will open PHOTO MODE FILM MODE 12...

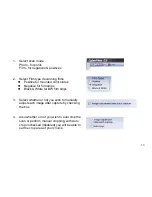
Страница 13: ...lides z Negative for film strips z Black White for BW film strips 3 Select whether or not you wish to manually adjust each image after capture by checking the box 4 Also whether or not you wish to aut...

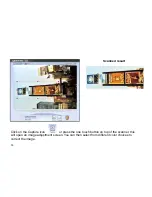
Страница 14: ...ned result Click on the Capture icon or press the one touch button on top of the scanner this will open an image adjustment screen You can then select from different color choices to correct the image...

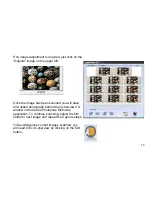
Страница 15: ...canned you will have an Untitled photograph behind the Cyberview CS window in the Adobe Photoshop Elements application To continue scanning adjust the film holder to next image and repeat the Capture...

Отзывы: