4
5
assembly
folding, unfolding and transportation
Open the boxes
When you open the boxes of your new equipment,
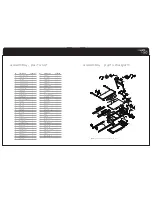
bet sure to inventory all of the parts that are included
in the boxes. If you are missing any parts or have any
assembly questions contact the technical support line.
Gather your tools
Before starting the assembly of your treadmill, make
sure that you have gathered all the necessary tools
you may require to assemble it properly. Having all of
the necessary equipment at hand will save time and
make the assembly quick and hassle-free.
Clear your work area
Make sure that you have cleared away a large enough
space to properly assemble the treadmill. Make sure
the space is free from anything that may cause injury
during assembly. After the treadmill is fully assembled,
make sure there is a comfortable amount of free area
around it for unobstructed operation.
Invite a friend
Some of the assembly steps may require heavy lifting.
It is recommended that you obtain the assistance of
another person when assembling this product.
User Weight Limitation
Please note that there is a weight limitation for this
product. If you weigh more than 100kgs. it is not
recommended that you use this product. Serious
injury may occur if the user's weight exceeds the limit
shown here. This product is not intended to support
users whose weight exceeds this limit.
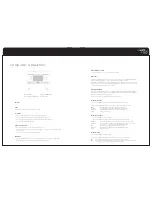
STEP 1
Remove your treadmill from the carton as shown.
STEP 2
Raise the handlebar into the upright position as shown.
STEP 3
Rotate the console to a desired position as shown.
Your treadmill is now ready for use.
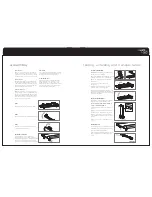
ADJUSTING THE INCLINE
The treadmill has two levels of inclination: 0%
(horizontal) and 6%. The level can be changed by
adjusting the inclination leg. Use the handle beneath the
running deck to lift the treadmill with one hand and
adjust the inclination leg with the other hand as shown.
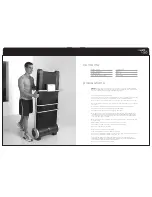
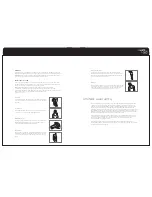
FOLDING THE TREADMILL
IMPORTANT: Before folding up the treadmill be sure
that the power cord is unplugged.
1a.
Hold the handlebar with both hands. Use your foot
to push the release knob to unlock the handlebar.
1b.
Lower the handlebar until it is parallel with the
running deck.
2.
Turn the console towards the top of the
running deck.
3.
Hold the end of the running deck with both
hands and lift it up to the vertical position.
4.
Steady the treadmill and turn the stabilizer 90º anti-
clockwise until it is perpendicular with the bottom of the
running deck. Fold the inclination wheels away into the
bottom of the running deck.
UNFOLDING THE TREADMILL
IMPORTANT: To avoid injury be sure the treadmill is
steady and secure before attempting to unfold.
You can follow the instructions for ‘folding’ in
reverse to unfold your treadmill.
1.
Fold out the wheels and turn in the stabilisers, see
picture 4.
2.
Hold the end of the running deck with both hands
and lower it to the horizontal position, see picture 3.
3.
Push the release knob to unlock the handlebar.
Lift the handlebar to the upright position, see pictures
1a and 1b.
4.
Rotate the console up to the desired position, see
picture 2.
TRANSPORTATION
1.
Follow the instructions for ‘folding’ above to fold the
treadmill down to the position shown in pictures 2/3.
2.
Lift the rear handle with both hands.
3.
Raise the treadmill until it rolls freely on the inclination
wheels. Carefully move the treadmill to the desired
location.
1a.
2.
3.
4.
1b.


