background image


22 

Listening Operation at the device end, speak via the speaker or the pickup, and then you 
can get the audio from the earphone or sound box at the pc-end. 

2.4.2.  PC-END TO THE DEVICE-END 

Device Connection 

Connect the speaker or the MIC to the audio input port in the PC and then 
connect the earphone to the audio output port in the device rear panel. 
Login the Web and then click the Audio button to enable the bidirectional talk function. 
You can see the button becomes orange after you enabled the audio talk function. Click 
Audio  button  again  to  stop  the  bidirectional  talk  function.  Please  note  the  listening 
operation is null during the bidirectional talk process. 

Listening  Operation  at  the  PC-end,  speak  via  the  speaker  or  the  pickup,  and  then  you 
can get the audio from the earphone or sound box at the device-end. 

2.5.  ALARM SETUP 

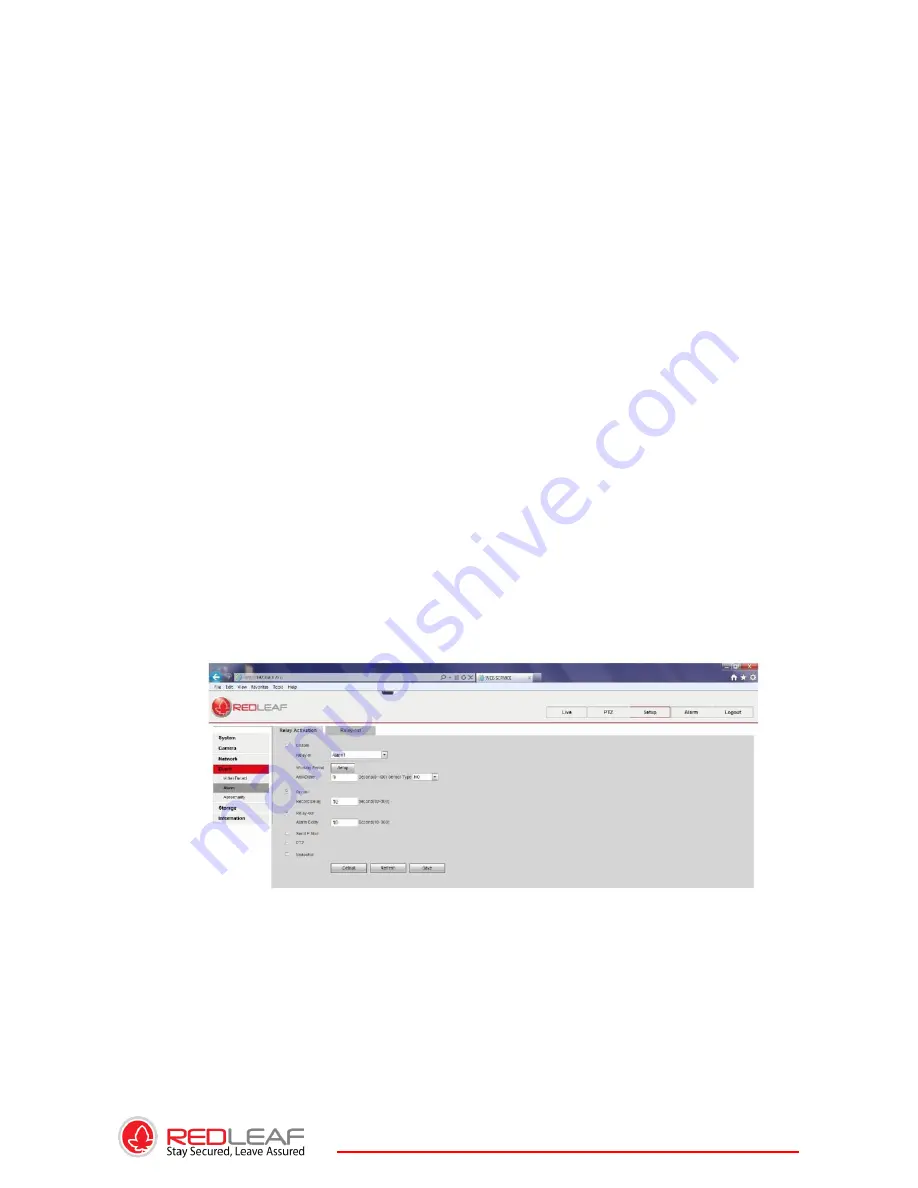
The alarm setup interface is shown as below. See Figure 2-4. 
Connect the alarm input device to the alarm input port. 
Connect  the  alarm  output  device  to  the  alarm  output  port  and  alarm  output  public  port. 
The alarm output port supports NO (normal open) alarm device only. 

Open  the  Web,  go  to  the  Figure  2-4.  Here  you  can  set  the  alarm  input  setup  and  alarm 
output  setup.  Please  set  the  alarm  in  for  the  alarm  input  in  the  rear  panel.  Then  you  can 

select the corresponding type (NO/NC) according to the high/low level type when an alarm 
occurs.  Set  the  WEB  alarm  output.  The  alarm  output  01  is  the  alarm  output  port  of  the 

device rear panel. 


2.5.1.  Alarm Input and Output Connection 

Please  refer  to  the  following  figure for  alarm  input  information.  See  Figure  2-5.  Alarm 
input:  When  the  input  signal  is  idle  or  grounded,  the  device  can  collect  the  different 

statuses of the alarm input port. When the input signal is connected to the 5V or is idle, 
the device collects the logic “1”. When the input signal is grounded, the device collects 
the logic “0”. 

Содержание RLC-BF Series

Страница 1: ...1 ...

Страница 2: ... our IP camera This user s manual is designed to be a reference tool for your system Please read the following safeguards and warnings carefully before you use this series product Please keep this user s manual well for future reference ...

Страница 3: ... ENGINEERS NEEDED All the examination and repair work should be done by the qualified service engineers We are not liable for any problems caused by unauthorized modifications or attempted repair 5 ENVIROMENT This series IP camera should be installed in a cool dry place away from direct sunlight inflammable explosive substances and etc Please keep it away from the electromagnetic radiation object ...

Страница 4: ...pairs 2 INSTALLATION Do not apply power to the IP camera before completing installation Do not put object on the IP camera 3 ENVIROMENT This series IP camera should be installed in a cool dry place away from direct sunlight inflammable explosive substances and etc The working temperature ranges from 10 to 60 Please keep it away from the electromagnetic radiation object and environment Please keep ...

Страница 5: ...rst and then use it to clean the device with the clear dry cloth Finally use the dry cloth to clean the device 5 ACCESSORIES Please open the accessory bag to check the items one by one in accordance with the list below Contact your local retailer ASAP if something is missing or damaged in the bag ...

Страница 6: ...ssion technology which maximally guarantee the audio and video quality This series RLC enclosure has the strong resistance capacity which can guarantee the proper work performance under heavy strike It supports real time monitor and motion detect function It can be used alone or used in a network area When it is used lonely you can connect it to the network and then use a network client end Due to...

Страница 7: ...7 1 3 SPECIFICATIONS 1 3 1 Performance Please refer to the following sheet for RLC performance specification ...

Страница 8: ...8 ...

Страница 9: ...9 ...

Страница 10: ...10 ...

Страница 11: ...11 ...

Страница 12: ...12 ...

Страница 13: ...13 ...

Страница 14: ...14 ...

Страница 15: ...15 ...

Страница 16: ...16 ...

Страница 17: ...17 ...

Страница 18: ...18 2 FRAMEWORK 2 1 Rear Panel This series IP camera real panel is shown as below See Figure 2 1 Please refer to the following sheet for detail information ...

Страница 19: ...19 ...

Страница 20: ...20 ...

Страница 21: ...4 BIDIRECTIONAL TALK 2 4 1 DEVICE END TO PC END Device Connection Please connect the speaker or the MIC to the audio input port in the device rear panel Then connect the earphone to the audio output port in the PC Login the Web and then click the Audio button to enable the bidirectional talk function You can see the button becomes orange after you enabled the audio talk function Click Audio button...

Страница 22: ...TUP The alarm setup interface is shown as below See Figure 2 4 Connect the alarm input device to the alarm input port Connect the alarm output device to the alarm output port and alarm output public port The alarm output port supports NO normal open alarm device only Open the Web go to the Figure 2 4 Here you can set the alarm input setup and alarm output setup Please set the alarm in for the alar...

Страница 23: ...n becomes on when there is an alarm output If the type is NC this button is normal off The button becomes off when there is an alarm output 2 5 2 IR LIGHT CONNECTION Please refer to the following figure for external IR light information See Figure 2 7 IR synchronization input signal When the external IR light is on the signal cable from the board outputs the 3 3V 1mA It outputs the 0V when the IR ...

Страница 24: ...ckwise to secure against the focusing ring firmly Line up the C lens to the installation position of the C CS adapter Turn clockwise to fix the lens Use slotted screwdriver to fasten the screw near the focusing ring and then turn counter clockwise to move the focusing ring out for several millimeters Now you can focus manually and check the video is clear or not If you can t see the clear video yo...

Страница 25: ...kwise and then remove it from the camera Unplug the auto lens cable socket from the auto lens connector If you are using the manual aperture lens please skip to the following step If there is no lens please put the CCD protection cap back to protect the CCD 3 2 SD CARD 3 2 1 INSTALLATION Please follow the steps listed below to install SD card The interface is shown as in Figure 3 4 and Figure 3 5 ...

Страница 26: ...iver to fix the screw to secure the protection cap 3 2 3 I O PORT Install Cable Please follow the steps listed below to install the cable See Figure 3 16 Use the small slotted screwdriver to press the corresponding button of cable groove Insert the cable into the groove and then release the screwdriver Remove CablePlease follow the steps listed below to remove the cable Use the small slotted screw...

Страница 27: ...ame segment 4 2 Operation Double click the ConfigTools exe icon you can see an interface is shown as in Figure 4 1 In the device list interface you can view device IP address port number subnet mask default gateway MAC address and etc Select one IP address and then right click mouse you can see an interface is shown as in Figure 4 2 Select the Open Device Web item you can go to the corresponding w...

Страница 28: ...double click it to open the login interface Or you can select an IP address and then click the Login button to go to the login interface See Figure 4 4 In Figure 4 4 you can view device IP address user name password and port Please modify the corresponding information to login For detailed information and operation instruction of the quick configuration tool please refer to the Quick Configuration...

Страница 29: ...dress subnet mask and gateway of the PC and the RLC respectively RLC default IP address is 192 168 1 108 Subnet mask is 255 255 255 0 Gateway is 192 168 1 1 Use order ping IP camera address to check connection is OK or not 5 2 LOGIN AND MAIN INTERFACE Open IE and input IP camera address in the address bar For example if your camera IP is 192 168 1 108 then please input http 192 168 1 108 in IE add...

Страница 30: ... the control When system is upgrading it can overwrite the previous Web too If you can t download the ActiveX file please check whether you have installed the plug in to disable the control download Or you can lower the IE security level See Figure 5 3 After you logged in you can see the main window See figure 5 4 Please refer to the Web Operation Manual included in the resource CD for detailed op...

Страница 31: ...31 6 FAQ ...

Страница 32: ...hat the use of these substances or elements will not result in any severe environmental pollution any bodily injury or damage to any assets The consumer is not authorized to process such kind of substances or elements please return to the corresponding local authorities to process according to your local government statutes Note This manual is for reference only Slight difference may be found in t...

Страница 33: ...ustomers needs for cutting edge security technologies Founded in 2002 RedLeaf internationally provides professional IP based video security solutions for surveillance remote monitoring and other security applications including network security cameras video servers video decoders video management software and related accessories ...

Отзывы: