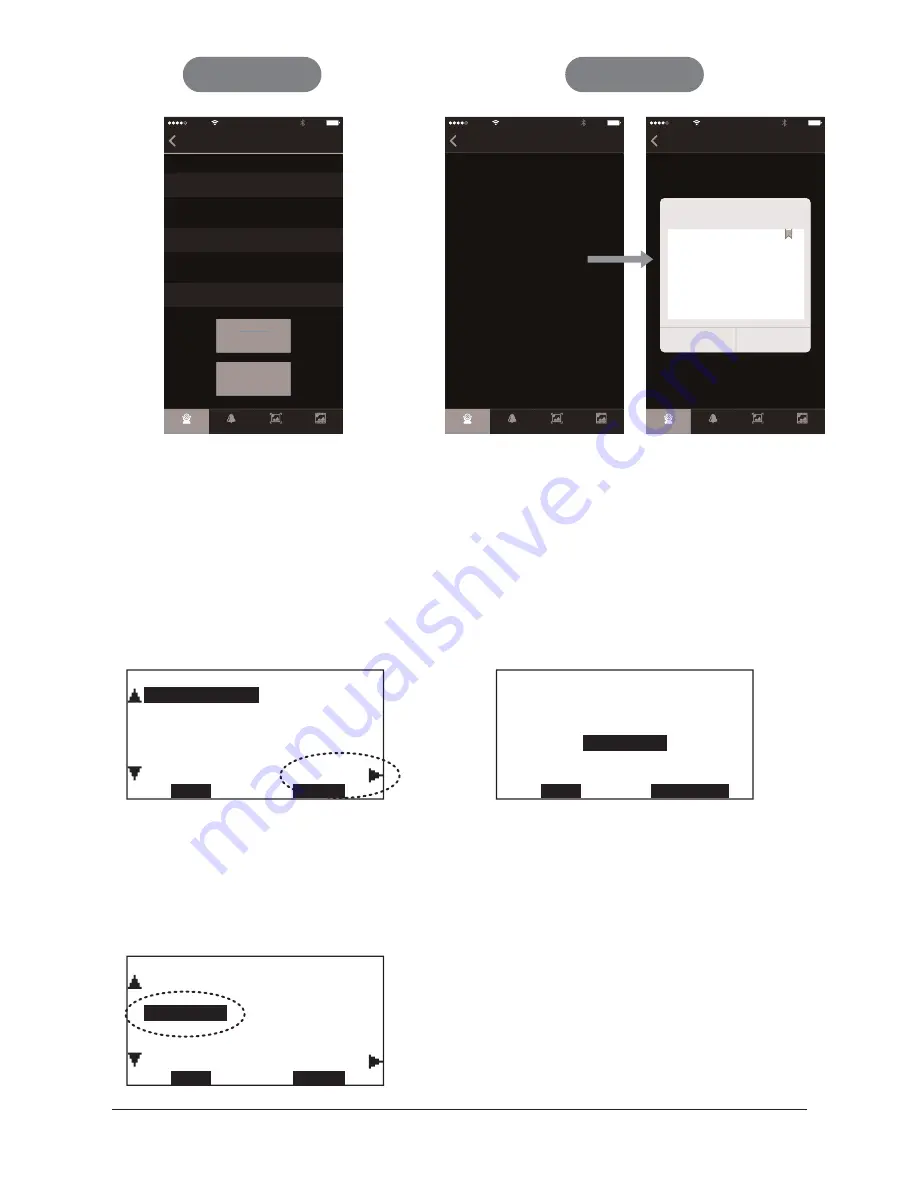
Select your home WiFi SSID and input WiFi
password, Tap on “Config” when you hear the
network searching sound from the hardware.
A WiFi connected sound will indicate that Zumi has
linked to home WiFi. Select “Finish” to go back to
the first page.
Click “Search Camera” and Choose your device ID
from the device list pop-up. Follow the instruction to
link up Zumi to the main panel (refer to part 4.3).
Press “Check” that it is successfully connected on
the app.
Go to the Add Sensor mode of the BOLTEK smart
panel – “Settings”
>
”Add / Delete Sensor”
>
”Add
Mode”. Refer to BOLTEK Manual for detailed
information.
Trigger Zumi by producing motions such as a
hand-wave before the camera lens. A beep
indicates that Zumi has successfully enrolled to the
Smart Panel. Press DONE to go back.
4
4.3 Link up to the Smart Panel
4.4 Successfully added a device to the app
WiFi Setup
Search Camera
DELETE
ADD MODE
BACK
ADD/DELETE SENSORS
01
02
03
MAGNET1
PIR1
REMOTE1
DELETE
ADD MODE
BACK
ADD/DELETE SENSORS
01
02
03
04
MAGNET1
PIR1
ZUMI1
REMOTE1
DONE
ADD MORE
ADD SENSORS
YOU HAVE JUST ADDED
03 ZUMI1
Add Camera & Wi-Fi
IP Camera
Carrier
100%
Video
Event
Photo
IP Cam
Wi-Fi Setup
Search Cameras
Cancel
Refresh
Search Result
Zumi
XXXX-000000-XXXXX
Add Camera & Wi-Fi
IP Camera
Carrier
100%
Video
Event
Photo
IP Cam
Cancel
Refresh
Search Result
Zumi
XXXX-000000-XXXXX
Add Camera & Wi-Fi
IP Camera
Carrier
100%
Video
Event
Photo
IP Cam
Wi-Fi Setup
Search Cameras
Add Camera & Wi-Fi
IP Camera
Carrier
100%
Video
Event
Photo
IP Cam
Wi-Fi Setup
Search Cameras
Video
Event
Photo
IP Cam
Onekey Con
fi
g
Back
Carrier
100%
Home-WiFI
SSID
Config
Finish
••••
Password
WPA2-PSK
Safe Mode
Video
Event
Photo
IP Cam
Onekey Con
fi
g
Back
Carrier
100%
Home-WiFI
SSID
Config
Finish
••••
Password
WPA2-PSK
Safe Mode


