6
ENGLISH
RCF S.P.A. THANKS YOU FOR PURCHASING THIS PRODUCT, WHICH HAS BEEN
DESIGNED TO GUARANTEE RELIABILITY AND HIGH PERFORMANCES.
This device can be either installed into a 19” rack cabinet (1 unit) thanks to its rack ears or
put on a desk (after taking its rack ears off by removing the 4 screws on each side).
-
Use 2 new AAA (1.5 V) non-rechargeable batteries, better if alkaline.
-
Do NOT use old and new batteries at the same time.
-
Do NOT put together different models of batteries.
-
Do NOT attempt to charge non rechargeable batteries.
-
Verify the polarity of batteries is correct (inserted properly, following the indication on
the relevant compartment).
-
Remove batteries when empty or in the case the device will not be used for a long time.
-
Do NOT short-circuit batteries (i.e. connecting the 2 opposite poles together with
metallic wires).
-
Throw empty batteries into dedicated garbage cans, according to your country laws
about ecology and environment protection.
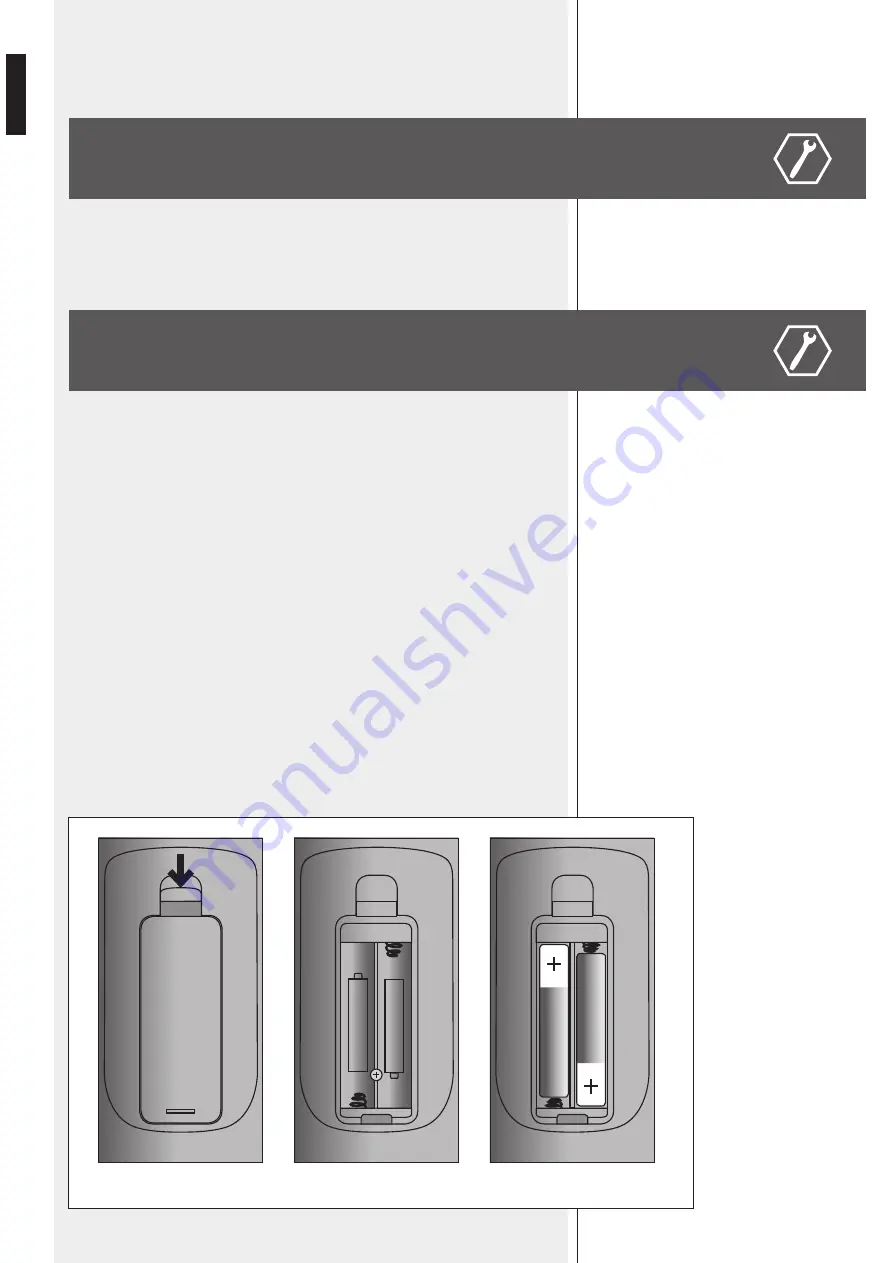
The battery compartment is on the bottom of the remote control rear side.
Push (slightly) the lever and pull the battery compartment cover to remove it (picture 1).
Remove old batteries (if present), by raising them from their positive pole.
The right polarity is indicated in the battery compartment (picture 2).
Insert 2 new AAA type (1.5 V) non-rechargeable batteries, better if alkaline. Assure the
polarity is correct when inserting. Battery insertion: first push its negative pole against the
compartment spring, then push down its positive pole (to fix the battery; picture 3).
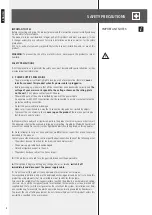
INSTALLATION
INSERT / REMOVE / CHANGE
THE REMOTE CONTROL BATTERIES
PICTURE 1
+
AAA 1,5 -
- AAA 1,5 +
PICTURE 2
PICTURE 3


