Connections and Setup
Chapter 1
13
HDMI cable
• If you're done
connecting devices to
your TV, go to page 16
to complete the Initial
Setup.
• If you experience HDMI
problems, go to the
HDMI Troubleshooting
section on page 41.
Connecting the Device
High-Defi nition Multimedia Interface (HDMI) technology is an uncompressed digital connection
that carries both video and audio data by way of an integrated mini-plug cable.
Use these buttons
to view the picture
of the device you’ve
connected to the TV.
Using the example of a set-top box:
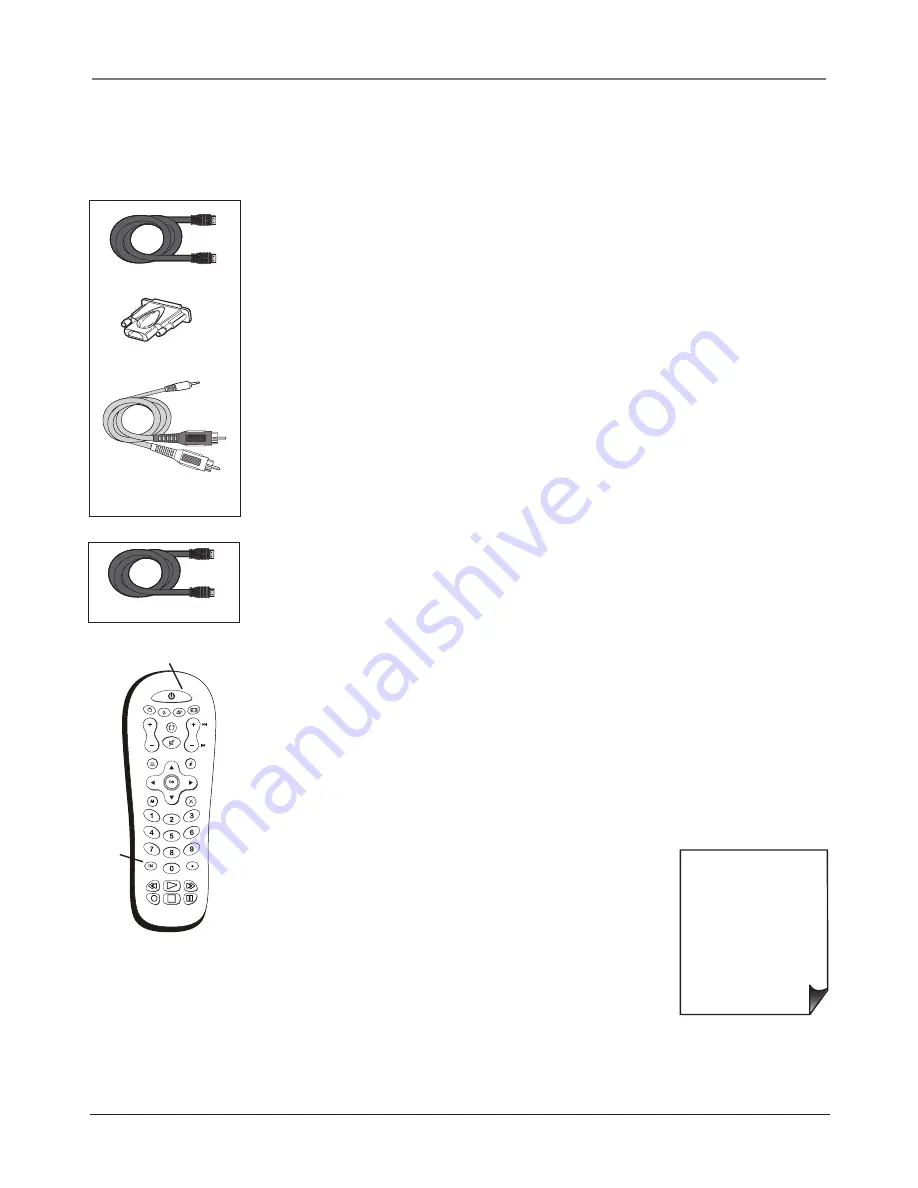
• If your set-top box has a DVI jack, connect an HDMI cable and an
HDMI/DVI adapter.
A.
Connect an HDMI cable to the HDMI1 Input jack on the back of the TV.
B.
Attach an HDMI/DVI adapter to the end of the HDMI cable, then connect the
adapter to the DVI Out jack on the set-top box.
C.
Connect audio using a 3.5 mini headphone to Audio left/right cable since the DVI
cable does not transfer sound. Connect the 3.5 mini headphone to the PC INPUT
AUDIO jack on the back of the TV and the Audio left and right cables to the R and L
jacks on the back of the device.
INPUT
SUB CH
SOUND
FAVORITE
SLEEP
CC
PRESETS
MENU
CLEAR
GUIDE
MUTE
GO BACK
VOL
CH
ON•OFF
SAT•CBL DVD•VCR
TV
FORMAT
INFO
INPUT
button
ON•OFF button
HDMI/DVI adapter
–OR–
•
If your set-top box has an HDMI output jack, connect an HDMI cable.
Connect an HDMI cable to the HDMI INPUT on the back of the TV and to the HDMI
Out jack on the back of the device.
HDMI cable
3.5 mm stereo mini pin
to Audio left/right
Viewing the Picture from the Connected Device
The device in this connection is connected to the HDMI INPUT jack. To view this device:
1. Plug in the TV (see page 15 for details) and the device, if they aren't already plugged
in.
2. Turn on the TV and the device you want to view, for example a set-top box.
3. Press the INPUT button on the remote control and press the up or down arrow button
to highlight, depending on which input you connected to,
HDMI
1
or
HDMI 2
from
the input list. Press OK to tune to the input. To go back to viewing TV channels, press
the CH+ or CH- button.
Содержание L26WD22
Страница 4: ...This page intentionally left blank ...
Страница 46: ...This page intentionally left blank ...
Страница 47: ...This page intentionally left blank ...


