ViewSmart 200/2050/2150 Controller User's Manual
Document: UM-1021
Revision Level B
9
Figure 2.0
2.2
CHANGING MENU VARIABLES USING THE KEYPAD
Upon entering a menu, a pointer controlled by the
UP/DOWN
keys indicates the selected
variable. Some are simple
YES/NO
or
ON/OFF
entries toggled by pressing the
EDIT
key. Others, such as
Channel ID
and
Eunits
fields may have many ASCII character
possibilities. Allowed ASCII characters are as follows:
ABCDEFGHIJKLMNOPQRSTUVWXYZ[\]^_`abcdefghijklmnopqrstuvwxyz blank
space !”#$%&`()*+,-./0123456789:;<=>?@. Notice the often used
blank
character is
located after lower case
z
and before the exclamation point
!.
EDIT
places a cursor
under the item and
UP/DOWN
scrolls through each allowed entry. The
NEXT
key
moves the cursor to the next position within a field. When the field is complete,
EDIT
clears the cursor and loads the field into non-volatile memory where it is retained
indefinitely. Without a cursor present, the
NEXT
key closes open menus in reverse order
and returns the LCD to the data display.
2.2.1
ViewSmart 200 SETUP CONFIGURATION MENUS
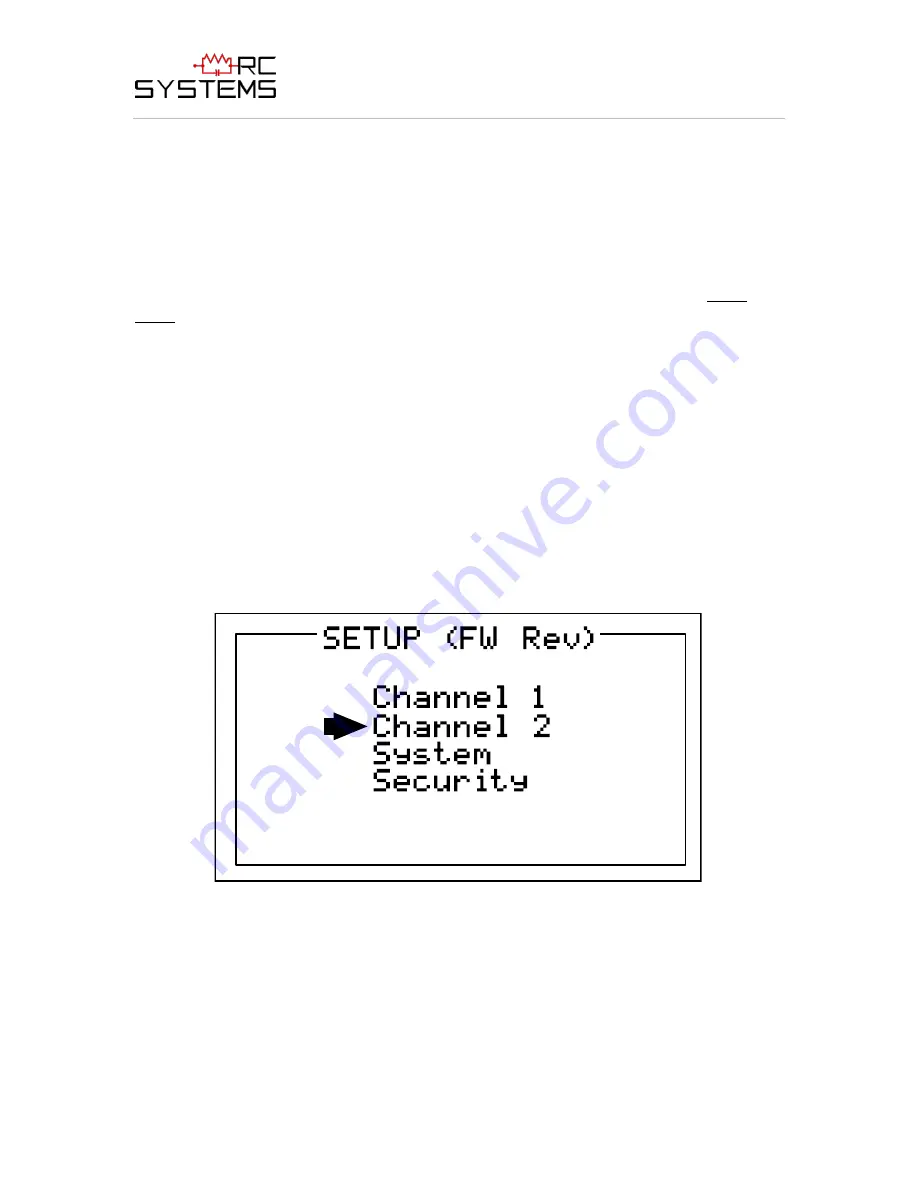
The
SETUP
menu shown in the middle of Figure 2.0 and in Figure 2.1 below is reached
by pressing
EDIT
with any data display present. This is the entry-level screen to ALL
Channel
,
System
and
Security
menus. It also shows the revision of firmware operating in
the ViewSmart 200. Use the
UP/DOWN
keys to move the pointer to the desired menu
and press the
EDIT
key.
Figure 2.2
2.2.2
CHANNEL SETUP ENTRY MENU
The
CHANNEL
menu shown below in Figure 2.2 allows configuration of all variables
for the selected channel. These are
Alarm 1
,
Alarm 2
,
Alarm 3
,
Configure
and
Calibrate
.


