WHAT’S NEEDED
PRODUCT REQUIREMENTS
• USB Type A port
RAZER SYNAPSE REQUIREMENTS
• Windows® 10 64-bit (or higher)
• Internet connection for software
installation
LET’S GET YOU COVERED
You’ve got a great device in your hands,
complete with a 2-year limited warranty
coverage. Now maximize its potential and
score exclusive Razer benefits by registering at
razerid.razer.com
Got a question? Ask the Razer Support Team at
support.razer.com
S/N:
Your product’s serial
number can be
found here.
GETTING STARTED
CHARGING YOUR MOUSE
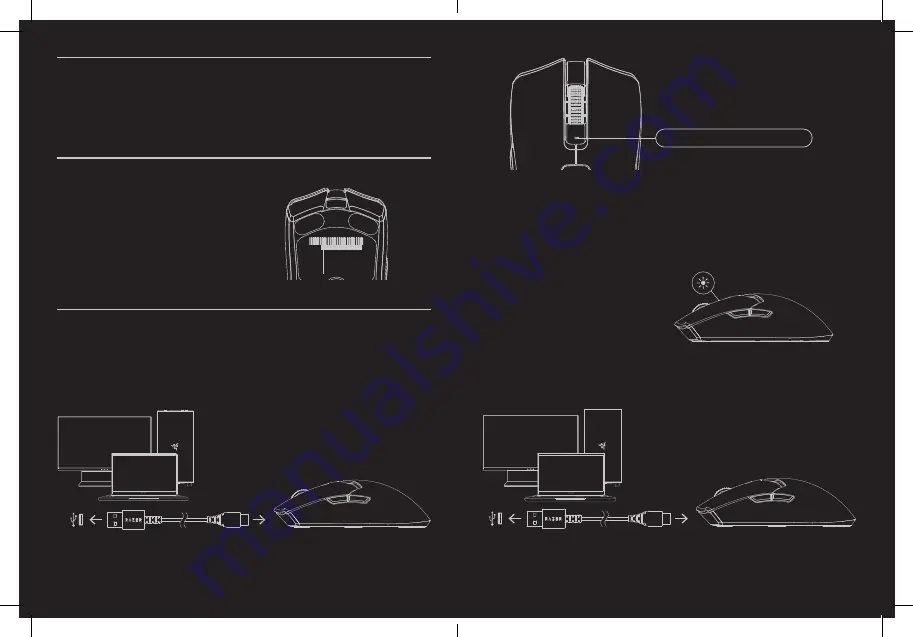
Plug the charging cable from any of your PC’s USB ports to the Razer Viper V2 Pro. For best
results, please fully charge the mouse before using it for the first time. A depleted battery will be
fully charged in approximately 4 hours.
While charging, the status indicator will show the battery percentage of the mouse:
Red
0%
Breathing
Static
100%
Orange
Yellow
Green
The Razer Viper V2 Pro requires a USB connection that can supply sufficient power
to charge the device. The charging process may be affected when connecting to a
non-powered USB hub or non-powered USB port mostly found on keyboards and peripherals.
It’s recommended to always connect the mouse directly to any of the
USB ports of your PC.
LOW POWER INDICATOR
The status indicator will blink red twice in
repeated intervals to indicate that its battery’s
power is less than 5%. This lighting sequence
will repeat until the battery is drained or the
mouse is connected to a PC via the charging
cable.
CONNECTING YOUR MOUSE
A. VIA WIRED MODE
Connect the mouse to any of your PC’s USB ports using the charging cable to use it in wired
mode.


