


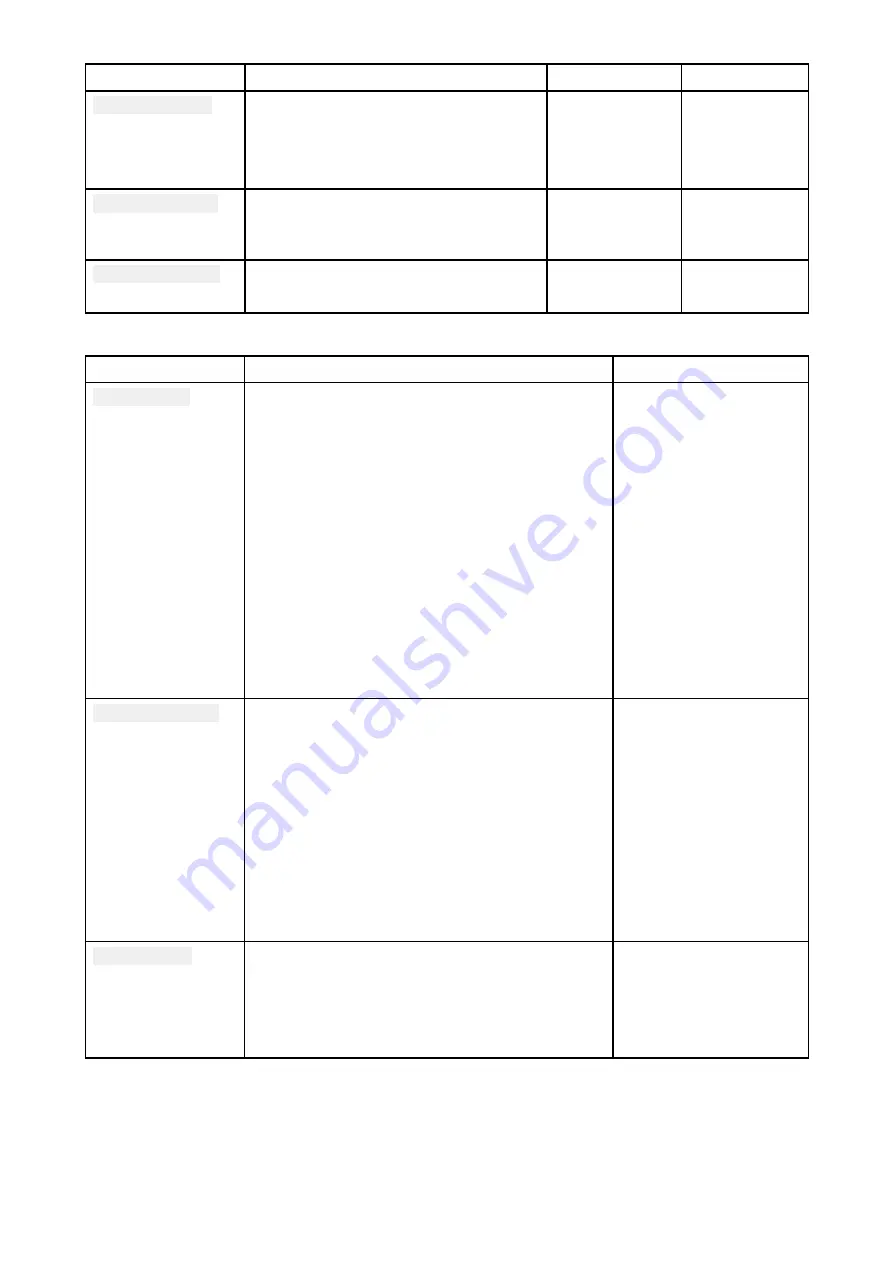
Settings
Description
Options
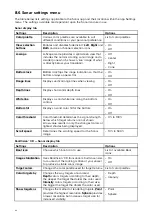
Vendor
Safe water from
Determines the depth at which the
Safety contour is displayed.
The Safety contour cannot be set less
than the Shallow contour or greater
than the Deep contour.
Numeric value
LightHouse
(Vector)
Deep water from
Allows you specify the depth at which
Deep water begins.
Numeric value
• Navionics
• LightHouse
(Vector)
Deep water color
Allows you to specify Deep water color
• White
• Blue
Navionics
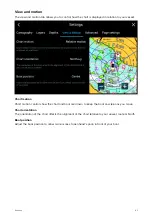
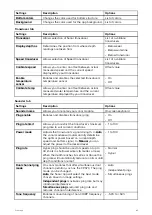
View & Motion tab
Settings
Description
Options
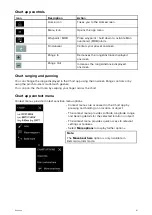
Chart motion
Relative motion
In Relative motion the vessel icon remains fixed
onscreen and the chart area moves relative to
your position.
In Relative motion mode you can adjust your
vessel’s fixed position using the Boat position
setting.
True motion
In True motion the chart is fixed and your vessel
icon moves around the chart, as your vessel’s
position reaches the edge of the screen, the
chart is redrawn to reveal the area in front of your
vessel.
Auto range
In Auto range the largest possible scale is
maintained that will display both your vessel and
the destination/target waypoint.
• Relative motion
• True motion
• Auto range
Chart orientation
North-up
In North-up the top of the screen always points
towards north and as your vessel’s heading
changes the vessel icon rotates accordingly.
Head-up
In Head-up the top of the screen always points
towards your vessel’s current heading and
as your heading changes the chart rotates
accordingly.
Course-up
In Course-up the top of the screen always points
towards your destination and as your destination
changes the chart rotates accordingly.
• North-up
• Head-up
• Course-up
Boat position
The boat position determines the position of your
vessel icon onscreen. The default is Center but
you can adjust this to provide a greater distance
in front of your vessel.
Your boat position can only be changed when
Chart motion is set to Relative motion.
• Center
• Partial offset
• Full offset
72


