


Chapter 6: Using the Web Interface
161
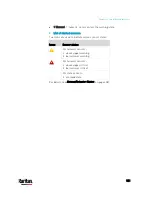
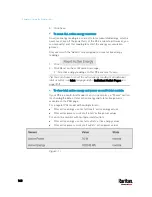
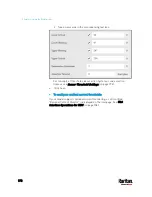
To configure the thresholds of total active energy and power:
For a multi-inlet model or an in-line monitor, a "Thresholds" section is
also available on the PDU page. See
Setting Thresholds for Total Active
Energy or Power
(on page 165).
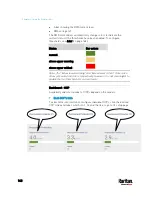
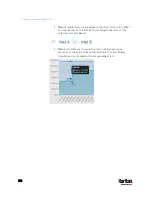
Internal Beeper State
The PDU page indicates the internal beeper state.
Available beeper states:
States
Description
Off
The beeper is turned off.
The beeper is turned on.
Active
"Activation Reason" is displayed, indicating why
the beeper sounds an alarm.
For example, if the beeper is turned on because of
a specific event rule "XXX," the activation reason
looks like:
Event Action triggered by rule: XXX
Scenarios when the beeper sounds an alarm:
Any overcurrent protector on the PX3, including fuses and circuit
breakers, has tripped or blown. See
Beeper
(on page 128).
You have set an event rule that turns on the internal beeper when a
specific event occurs, and that event occurs now. See
Event Rules
and Actions
(on page 312).
On the PX3 supporting residual current monitoring (RCM), the
beeper also sounds when there is an RCM alarm. See
PX3 Models
with Residual Current Monitoring
(on page 704).
Tip: To check the internal beeper state via CLI, see
PDU Configuration
(on page 455).
Содержание PX3-3000 series
Страница 5: ......
Страница 18: ...Contents xviii Index 841...
Страница 66: ...Chapter 3 Initial Installation and Configuration 42 Number Device role Master device Slave 1 Slave 2 Slave 3...
Страница 93: ...Chapter 4 Connecting External Equipment Optional 69...
Страница 787: ...Appendix J RADIUS Configuration Illustration 763 Note If your PX3 uses PAP then select PAP...
Страница 788: ...Appendix J RADIUS Configuration Illustration 764 10 Select Standard to the left of the dialog and then click Add...
Страница 789: ...Appendix J RADIUS Configuration Illustration 765 11 Select Filter Id from the list of attributes and click Add...
Страница 792: ...Appendix J RADIUS Configuration Illustration 768 14 The new attribute is added Click OK...
Страница 793: ...Appendix J RADIUS Configuration Illustration 769 15 Click Next to continue...
Страница 823: ...Appendix K Additional PX3 Information 799...
Страница 853: ...Appendix L Integration 829 3 Click OK...


