Chapter 6: Using the Web Interface
294
2. Click the desired asset sensor in the left pane. The page specific to
that asset sensor opens in the right pane, showing the asset sensor
settings and information of all rack units (tag ports).
Note: You can also access this dialog by double-clicking the asset
sensor shown on the Dashboard page.
3. Click Extended Device Info, where the asset sensor data is
displayed.
4. Click Close to quit the dialog.
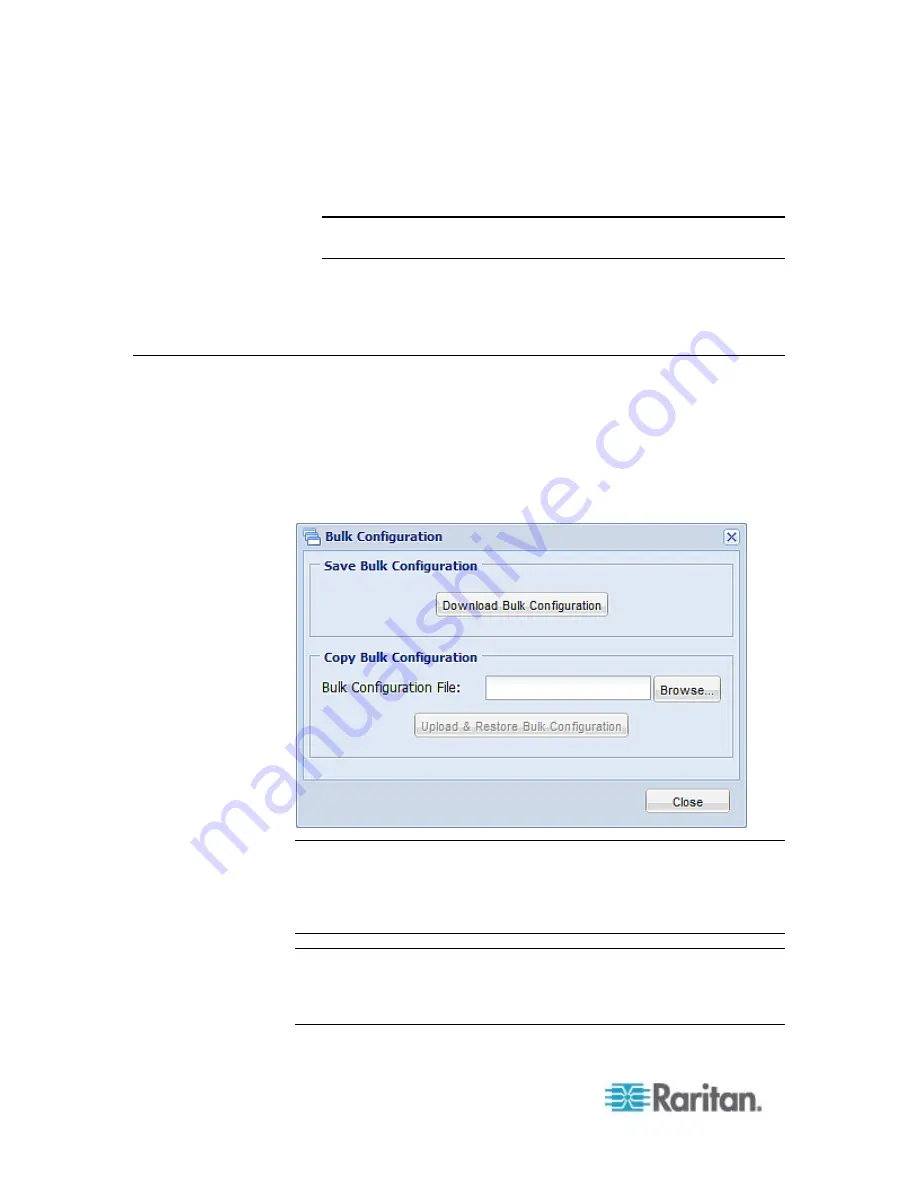
Bulk Configuration
The Bulk Configuration feature lets you save the settings of a configured
PX device to your PC. You can use this configuration file to copy that
configuration to other PX devices of the same model and firmware
version.
You must have the Administrator Privileges or "Unrestricted View
Privileges" to save and copy the PX configurations.
Note: No device-specific data is saved to the Bulk Configuration file,
such as environmental sensor or certain network settings. To back up or
restore a specific PX device's all settings, use the Backup/Restore
feature instead. See
Backup and Restore of PX Device Settings
(on
Tip: For the alternative to configure multiple PX devices, see
Bulk
Configuration or Firmware Upgrade via DHCP/TFTP
(on page 514).
For the other alternative, see
Configuration or Firmware Upgrade with
a USB Drive
(on page 503).
Содержание PX2-1000 SERIES
Страница 5: ......
Страница 71: ...Chapter 4 Connecting External Equipment Optional 52...
Страница 231: ...Chapter 6 Using the Web Interface 212 8 Click OK...
Страница 570: ...Appendix G LDAP Configuration Illustration 551 5 Click OK The PX_Admin role is created 6 Click Close to quit the dialog...
Страница 589: ...Appendix I RADIUS Configuration Illustration 570 Note If your PX uses PAP then select PAP...
Страница 590: ...Appendix I RADIUS Configuration Illustration 571 10 Select Standard to the left of the dialog and then click Add...
Страница 591: ...Appendix I RADIUS Configuration Illustration 572 11 Select Filter Id from the list of attributes and click Add...
Страница 594: ...Appendix I RADIUS Configuration Illustration 575 14 The new attribute is added Click OK...
Страница 595: ...Appendix I RADIUS Configuration Illustration 576 15 Click Next to continue...
Страница 627: ...Appendix K Integration 608 3 Click OK...
Страница 647: ...Index 629 Z Zero U Connection Ports 74 Zero U Products 2...


