


KX III Quick Setup Guide
5
QSG-DKX3-v3.0.0-0B-E
255-62-0003-00-RoHS
a. Enter the IP address of the Primary Time server.
b. Enter the IP address of the Secondary Time server.
Optional
Note: If DHCP is selected for the Network Settings on the
Network page, the NTP server IP address is
automatically retrieved from the DHCP server by default.
Manually enter the NTP server IP address by selecting
the Override DHCP checkbox.
6. Click OK.
QS R ule
Step 5: Launching the KX III Remote Console
Log in to your KX III Remote Console from any workstation
with network connectivity that has Microsoft .NET
®
and/or
Java Runtime Environment
®
installed.
To launch the KX III Remote Console:
1. Launch a supported web browser.
2. Enter the either:
The URL -
http://IP-ADDRESS
to use the Java-based
Virtual KVM Client
Or
http://IP-ADDRESS/akc
for the Microsoft .NET-based
Active KVM Client
IP-ADDRESS
is the IP address assigned to your KX III
You can also use HTTPS, or the DNS name of the KX III
assigned by your administrator (if applicable).
3. KX III always redirects the IP address from HTTP to
HTTPS.
4. Enter your username and password. Click Login.
Access and Control Target Servers Remotely
The KX III Port Access page provides a list of all KX III ports,
as well as the connected target servers, their status, and
availability.
Access a Target Server from the KX III
To access a target server:
1. On the KX III Port Access page, click the Port Name of the
target you want to access. The Port Action Menu is
displayed.
2. Choose Connect from the Port Action menu. A KVM
window opens with a connection to the target.
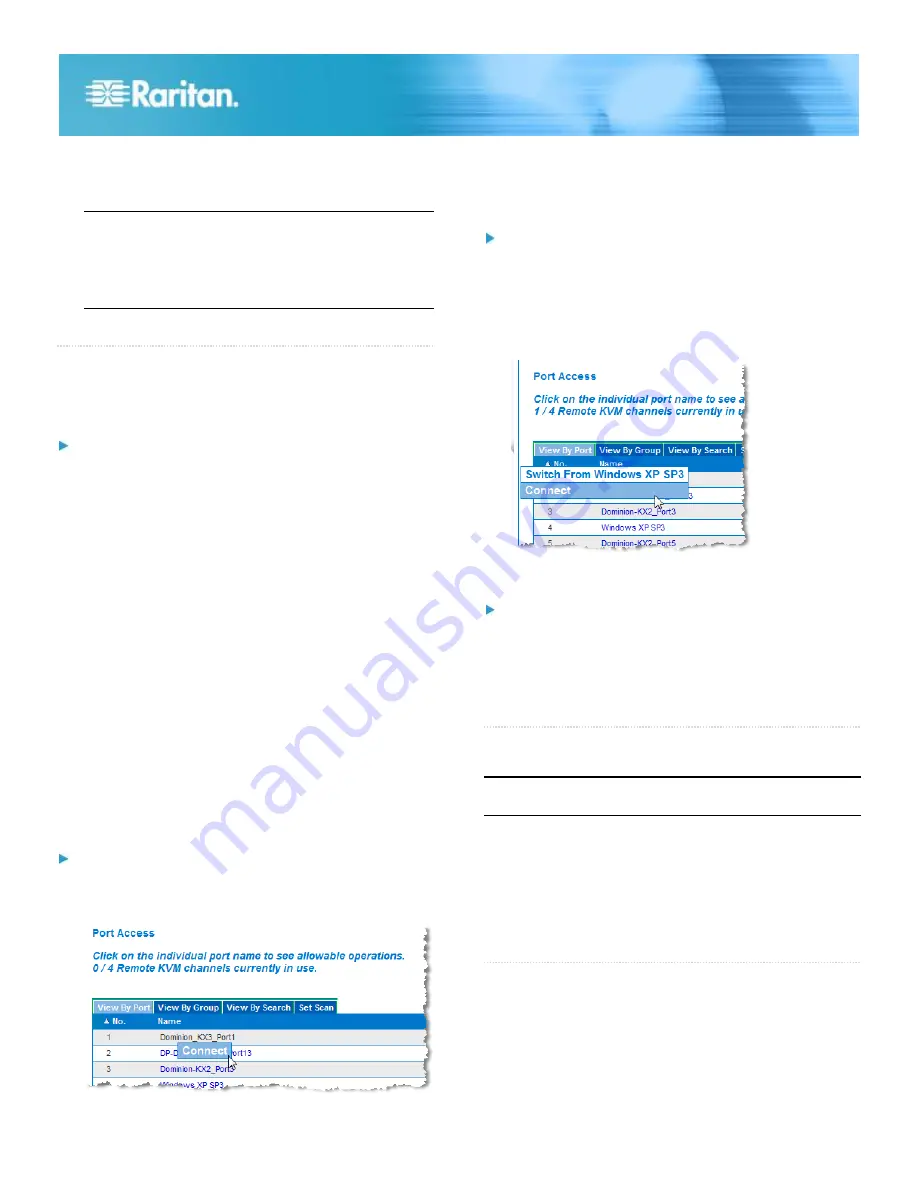
Switch between Target Servers
To switch between KVM target servers:
1. While already using a target server, access the KX III Port
Access page.
2. Click the port name of the target you want to access. The
Port Action menu appears.
3. Choose Switch From in the Port Action menu. The new
target server you selected is displayed.
Disconnect from a Target Server
To disconnect a target server:
On the Port Access page, click the port name of the target
you want to disconnect from, then click Disconnect on Port
Action menu when it appears.
Or
Close the KVM client window.
QS R ule
Step 6: Configuring the Keyboard Language
(Optional)
Note: This step is not required if you are using the
US/International language keyboard.
If you are using a non-US language, the keyboard must be
configured for the appropriate language.
Additionally, the keyboard language for the client machine and
the KVM target servers must match.
Consult your operating system documentation for additional
information about changing the keyboard layout.
QS R ule
Step 7: Create and Install an SSL Certificate
Raritan strongly recommends you install your own SSL
Certificate in each KX III device.
This security best practice reduces the number of Java
®
warning messages, and avoids man-in-the-middle attacks.


