Operating Instructions D50+ | P50+ | SHERAprint 50
65
│
96
Rapid Shape GmbH
│
DOCR000438
7.13
Changing Printing Material
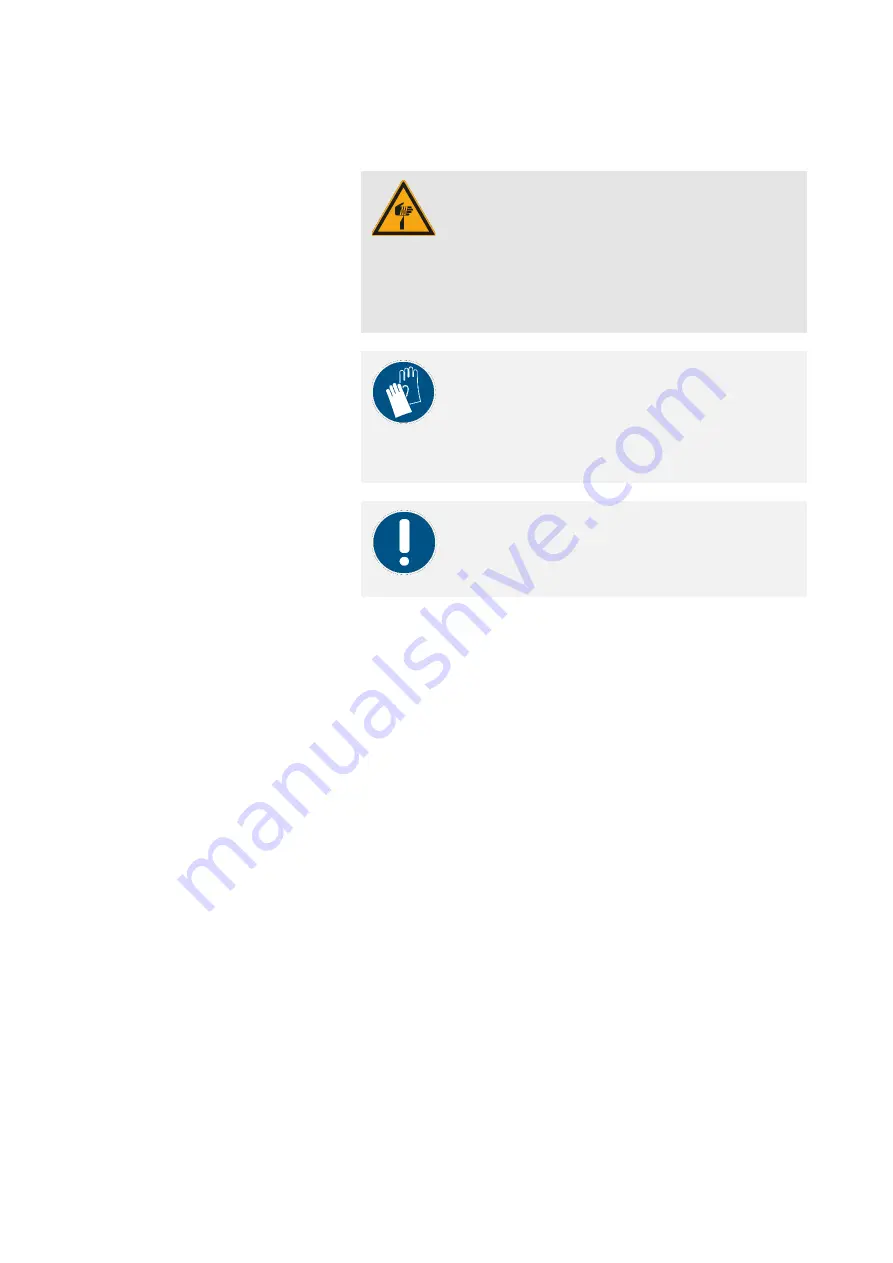
CAUTION!
Risk of injury due to sharp objects!
The knife on the separation unit has a sharp edge that
can cause slight hand injuries through direct contact.
–
The edge should never be touched directly.
Only hold the knife by the knurled nuts and with
the blade away from your body.
NOTE!
Wearing protective gloves protects the skin from contact
with skin damaging materials. During work steps in
which you work with printing materials or cleaning
agents, we always recommend wearing protective
gloves.
NOTE!
To prevent soiling the machine, the knife is always to be
removed first before removing the reservoir from the
machine!
If the material is to be changed (other indication), all the related
components need to be cleaned to avoid mixing materials and possibly
colours.
Proceed as follows to clean the components in case of changing the
printing material:
1.
Wear protective gloves on your hands.
2.
Spread out several paper towels on the work surface.
3.
Open the upper hood.
4.
Remove the collection basket and clean it. Then set the cleaned
basket aside.
→
Chapter 10.1.6
5.
Open the knife protection device: Grasp the knife protection
device by the retaining tab and pull it towards your torso as far
as it will go. Now lift the device slightly and pull it completely out
of the machine. (Pay close attention to the pins to the left and
right of the knife protection device while doing so).
6.
Clean the knife protection device with isopropanol and a paper
towel and then set it aside.
7.
Remove the knife and clean it. Then set the cleaned knife aside.
→
Chapter 10.1.3
Remove the drip guard and clean it. Then set the cleaned drip
guard aside.
→
Chapter 10.1.4
8.
Remove the build platform and clean it. Then set the cleaned
platform aside.
→
Chapter 10.1.2
9.
Pull the material reservoir out of the machine. To do so, press
the reservoir down slightly and then pull it out of the machine.
10.
Now perform a full cleaning of the reservoir. Afterwards, set the
cleaned reservoir aside.
→
Chapter 10.1.5


