5
4.
Check your audio sources by playing back files and monitoring the meters inside each green
input block. Check the microphones in the same way.
Note:
Condenser microphones will need +48V phantom power and less gain than dynamic
microphones.
5.
Use the Master Remote DR6 to assign a source for each zone and check the Output meters.
After checking all signals, unmute all zones by pressing
Unmute
on the upper right menu.
6.
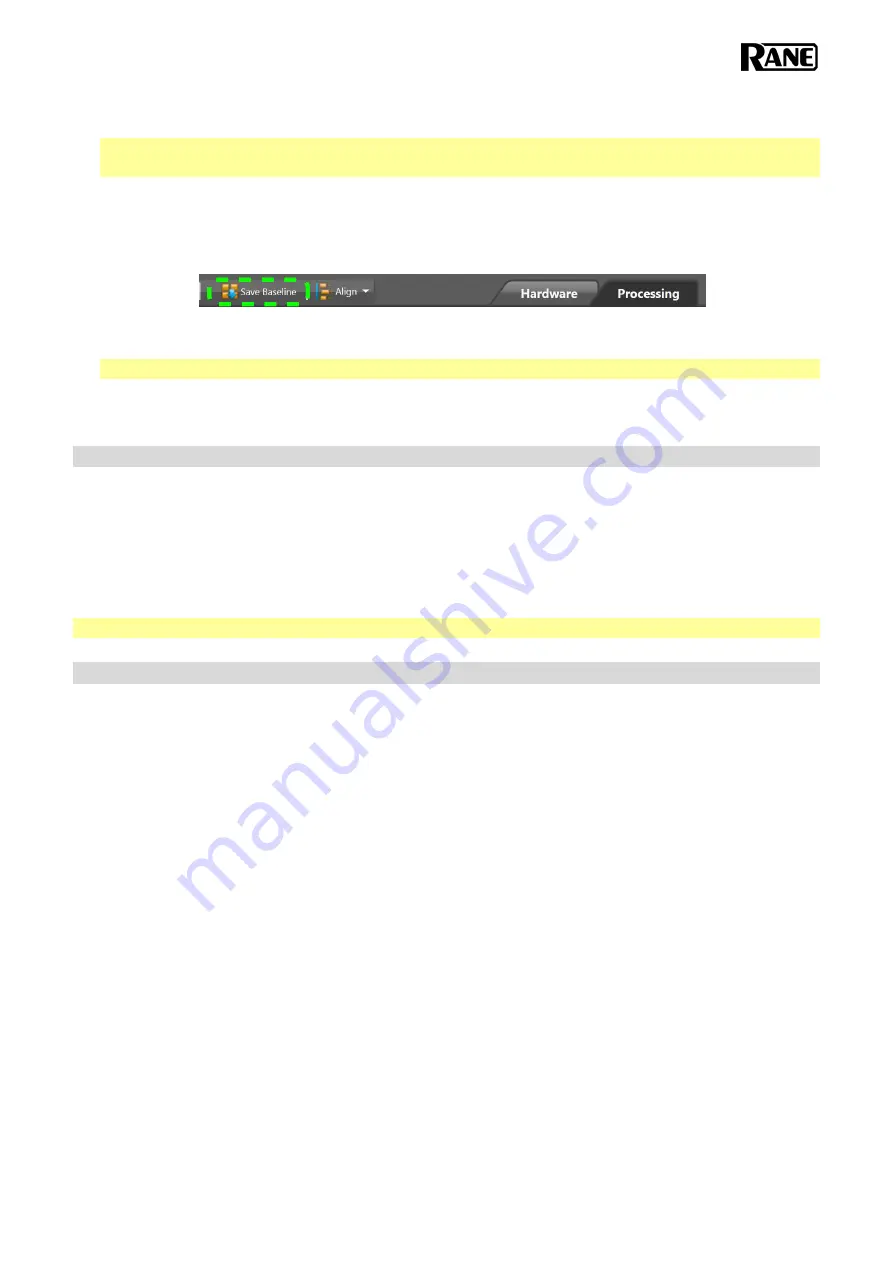
Save the customization by pressing
Save Baseline
on the upper right menu (by default, Rane
DSP will recall the Baseline if power is lost).
7.
Press
Save As
and add the name of your venue and date, i.e.
“
1010X_Restaurant_FrenchCuisine_July_2018”
.
Note:
Turn the power amplifier
ON
and slowly adjust the volume to set levels for each zone.
8.
Press
Disconnect
inside Halogen. Terminal 1010x will always remember the last configuration
applied. Now your system is ready to be used.
Web Remote Control
To remotely access and adjust the same parameters available for the Master Remote DR6, you can
connect Terminal 1010x to a local network and use a Web browser to control it.
Connect the
Computer Ethernet Port on the rear of Terminal 1010x to a router (preferably wireless).
Once the
Ethernet Link
LED
is lit, Terminal 1010x will display an IP address on the front display.
Type in the IP address into a Web browser from a smartphone or portable device connected to the
same network.
Tip:
Bookmark the URL to remember it for quick access.
Security Access
By default, the template comes with two different levels of security:
Username:
admin
Password:
1234
This gives you full access, control of all zones, sources, levels, EQ, paging, and muting.
Username:
user
Password:
0000
This gives you access to
all zones, sources, selections, and level adjustments.
v1.0


