


N-Series
3D Printer
/ Quick Start Guide
B
Hardware Installation
(continued)
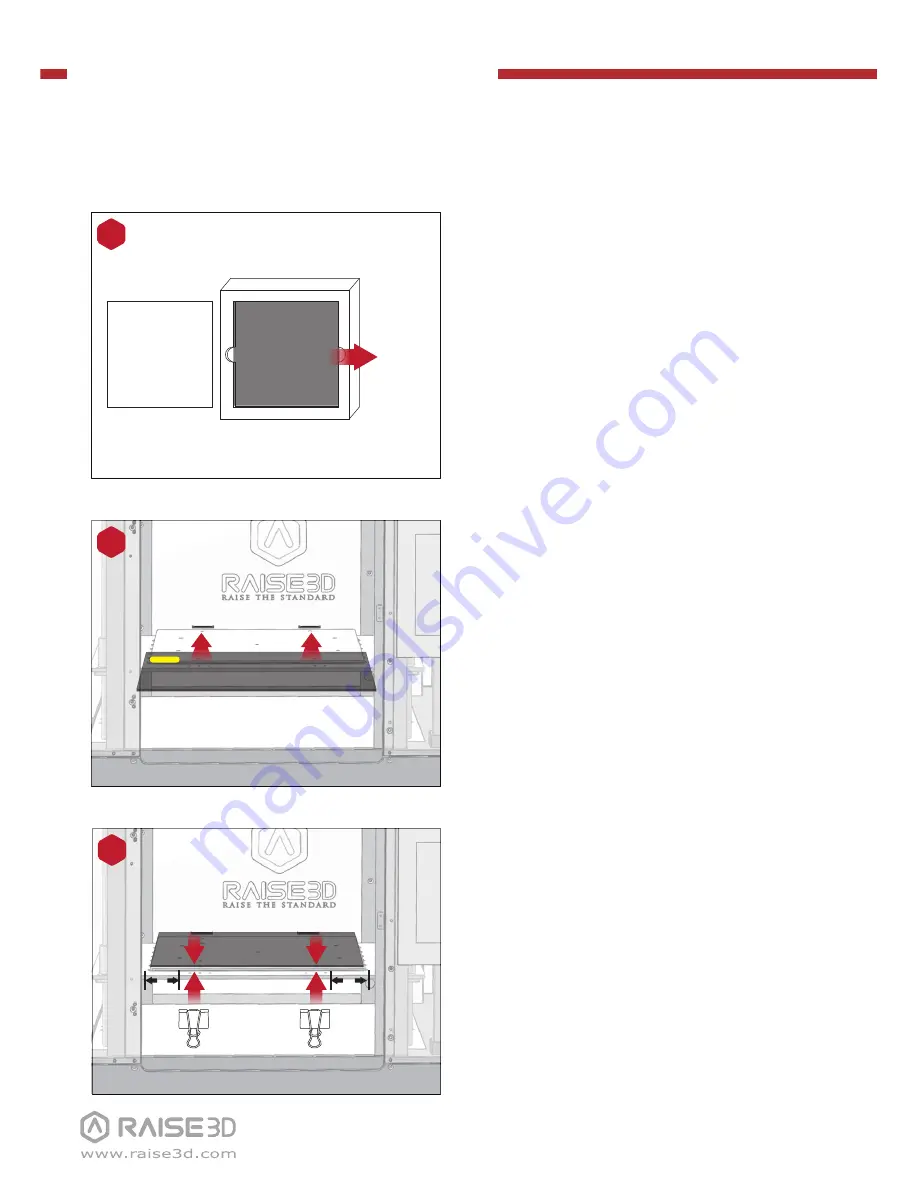
Remove the remaining build plate clips
from the accessory box and secure them
to the glass and heated bed plate.
NOTE:
The best distance between the glass clip
and the edge of print platform is 5cm.
10
5cm
5cm
Gently slide the glass plate. Make sure it
snaps into the build plate clamps at the
back.
NOTE:
Place the surface which posted with
BuildTak upwards, while the yellow label is at the
back left corner. Make sure it snaps into the build
plate clamps in this way.
9
Remove the glass build plate from the
protective foam.
8
Protective Foam
Cover
Build Plate
Remove!


