GET DIRECT ACCESS TO YOUR REAL-TIME
ENERGY INFORMATION IN THREE
EASY STEPS:
STEP 1: REGISTER WITH YOUR UTILITY
You will need to provide your MAC Address and Install Code from
the Information Label on the bottom of your EAGLE-200. It may take
some time for your utility to enable your meter to connect to your
device. It is important to wait until this is complete before
proceeding to the next step.
STEP 2: PLUG IN YOUR EAGLE-200
Connect the Ethernet cable to your router (to use WiFi instead, see
the
EAGLE-200 User Manual
on our website), and plug in the power
adapter.
Use only the included adapter to power your EAGLE-
200. If another adapter is used, it may cause permanent damage
to your EAGLE-200
.
It should take about two minutes for your EAGLE-200 to boot up.
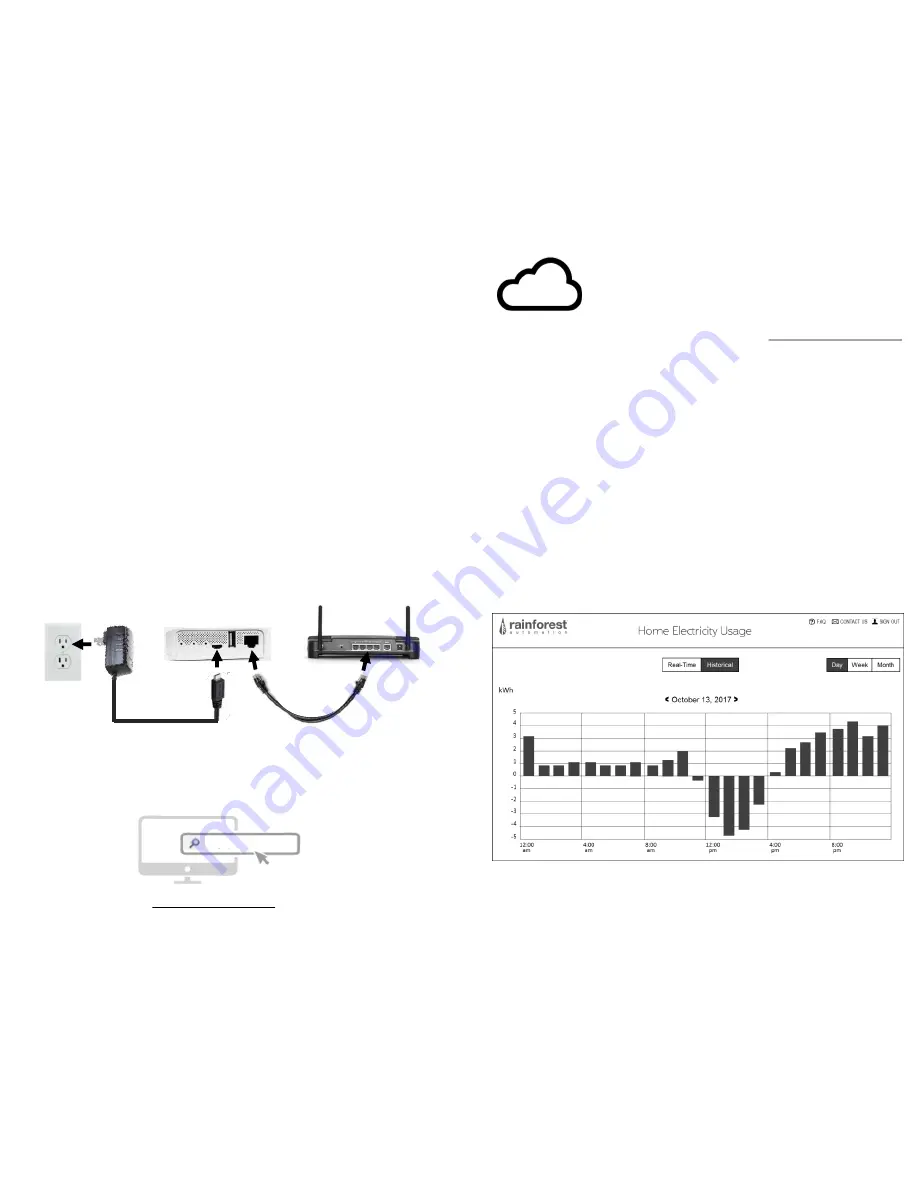
STEP 3: CONNECT TO THE CLOUD
Create your Cloud Account and connect to your EAGLE-200 to start
viewing your energy data.
rainforestcloud.com
•
Click on “Register” in the top right of the screen.
•
Fill in the “Account Registration” form and click “Register”.
•
Check your email to find the message from Rainforest Automation
with the subject line “EAGLE Cloud Account activation”. Click the
“SETUP PASSWORD FOR MY ACCOUNT” link in the email.
•
Set up your password and click “Activate Account”.
•
Click on “Settings” in the top right of the screen.
•
Click “Add New EAGLE”.
•
Enter the Cloud ID and Install Code from the label of your EAGLE
and click “Add EAGLE”.
•
Close the window and click “Home” in the top right of the screen to
see your real-time data.
SEE THE FULL EAGLE-200 USER MANUAL ON OUR WEBSITE:
rainforestautomation.com/eagle200_support
CONNECTING TO THE CLOUD
Use your Web Browser to go to rainforestcloud.com


