This mode allows for up for Privacy Zones (masks) to cover areas that are not be viewed or recorded
Up to for zones can be selected (Mask 1, 2, 3, 4)
After turning the mask on, select SET AREA to create the mask
To create a mask area (press Enter to switch between the colors below):
* When the mask is Red it can be adjusted in size Up and Left
* When the mask is Blue it can be adjusted in size Down and Right
* When the mask is Black you can return to the menu by moving in any direction
You can select the COLOR of the masks at the bottom of the menu
1. TITLE : Turning this mode ON will allow the camera to display and ID number or title
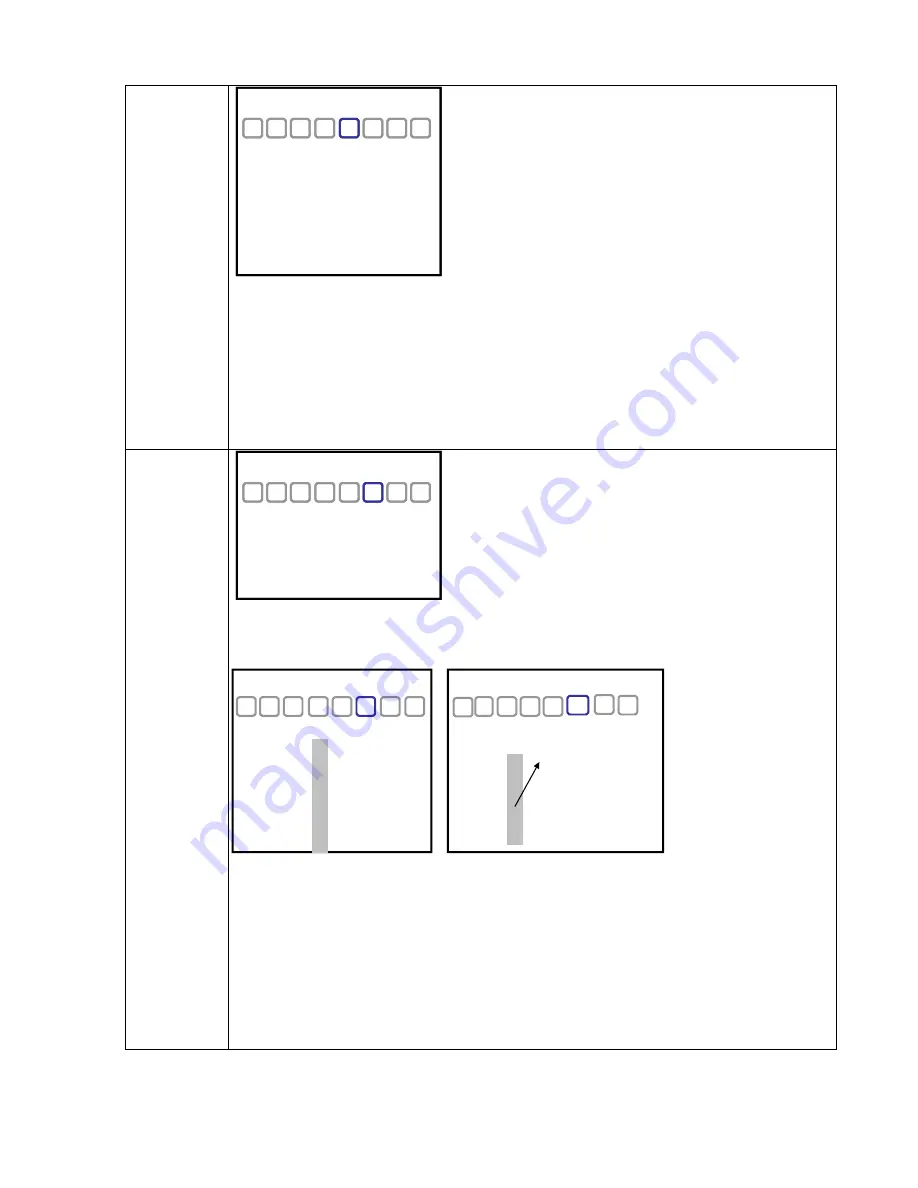
- EDIT : after pushing the SET UP button, each character appears with the vertical order as shown below.
PRIVACY
PRIVACY
MASK1 OFF
SET AREA
↓
MASK2 OFF
SET AREA
↓
MASK3 OFF
SET AREA
↓
MASK4 OFF
SET AREA
↓
COLOR BLACK
SYSTEM
TITLE ON
EDIT
↓
POSITION TOP_L
FACTORY SET
↓
BACKBOARD ON
SPLIT OFF
* To erase a character, choose the empty mark among the characters
* Note : move the cursor all the way right after finishing before hitting enter (SET UP button).
- POSITION : the location of the title can be adjusted here
2. FACTORY SET : If push SET, all camera values retun to the factory default values.
3. BACKBOARD : OSD backboard (background) can be turned ON or OFF.
4. SPLIT : it splits the monitoring picture into two pictures.
for erasing a wrong entry
SYSTEM
This is delete (empty )mark
PRIVACY
MASK1 OFF
SET AREA
↓
MASK2 OFF
SET AREA
↓
MASK3 OFF
SET AREA
↓
MASK4 OFF
SET AREA
↓
COLOR BLACK
SYSTEM
TITLE ON
EDIT
↓
POSITION TOP_L
FACTORY SET
↓
BACKBOARD ON
SPLIT OFF
SYSTEM
[C A M ]
O
P
Q
R
S
T
U
]
▲
↓
■
<TITLE wording>
<Erasing word>
SYSTEM
[C A M ]
Содержание CLD54D
Страница 1: ...CLD54D DNL54D User Manual www rainbowcctv com v1 0 CLD54D DNL54D User Manual...
Страница 2: ......
Страница 3: ......
Страница 4: ......


