Start
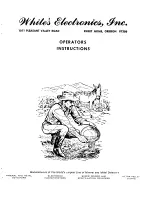
To start the RD1100, press the power button on the Display Unit. The
first time you turn the system on, it will run through a start-up wizard to
configure the system, then it will restart. Once bootup is complete, and
every subsequent bootup, you will see the following screen:
Data Collection
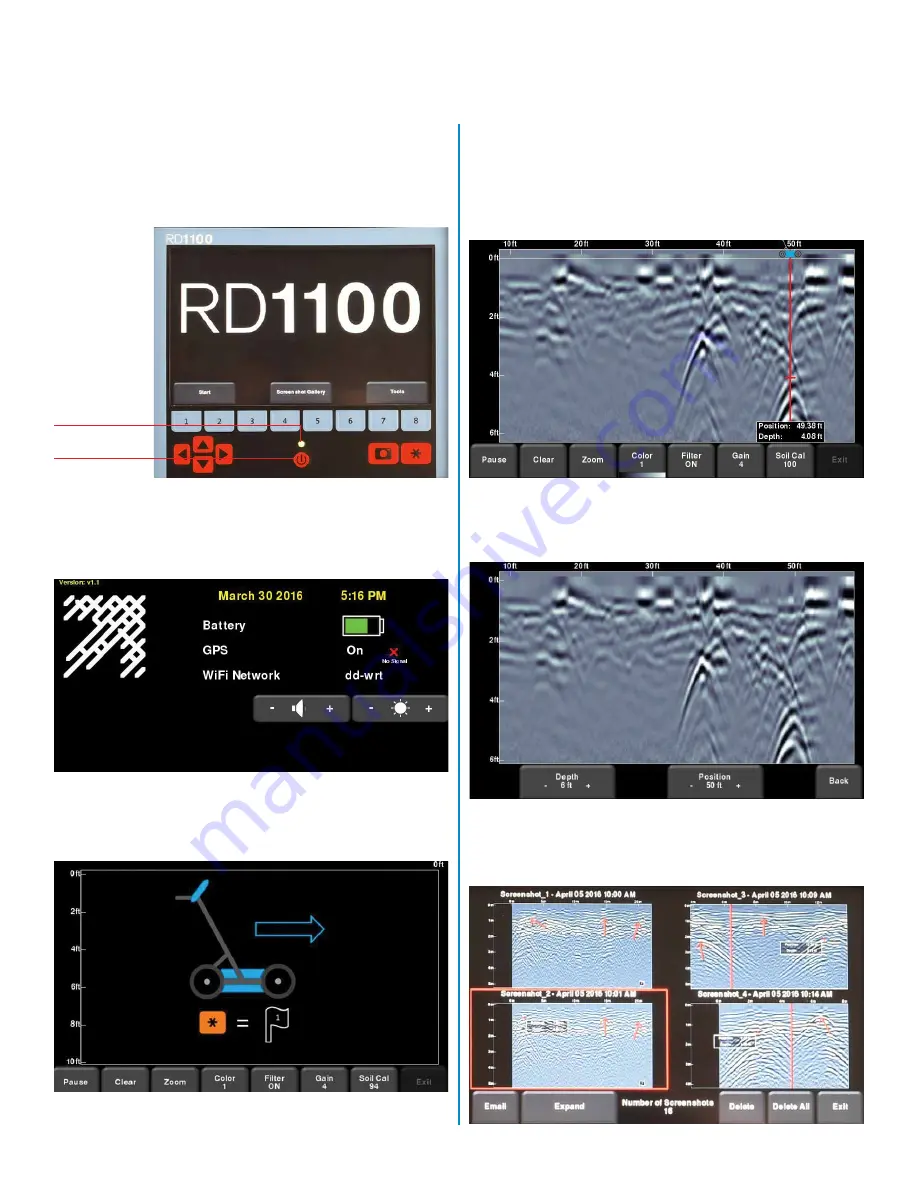
From the main screen, press Start to start acquiring data.
The menu at the bottom of the screen allows you to change viewing
parameters, such as gain, filter, colour and zooming (for depth and
horizontal position).
Swipe your finger from the top of the screen towards the bottom. This will
show a drop-down menu displaying date, battery level, GPS status and
Wi-Fi status. To close the drop-down menu, touch anywhere on the screen
below the menu.
You are ready to start collecting data by simply pushing the system.
The data scrolls from right to left.
When you cross an object of interest, move the system back along the
same path until the red vertical line is exactly over the response (typically
a hyperbola). Now the unit is physically over that object. You can put a
mark on the ground and continue surveying.
Press the Camera button on the display unit to save an image of the data
on the screen. This is saved as a screenshot (.JPG) file. These images
can be accessed via the Screenshot Gallery from the main screen.
RD1100
Quick Start Guide
– Operation
LED light
Power button