background image

Charging Using a USB Power Source

•  Connect the USB charging cable to a USB power 

source and to the micro USB input (USB IN) on the side 

of the radio.

•  The internal battery will charge fully in approximately 

8 hours.

•  The radio may be used while charging.

Listening to Your Radio

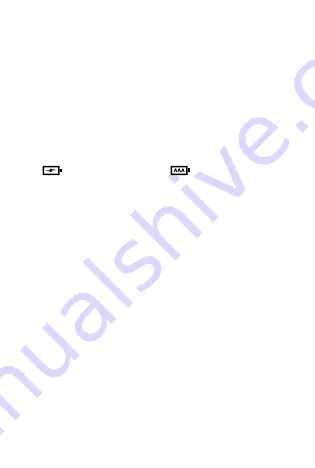
1.  Set the battery switch on the front of the radio 

to your desired power source, selecting either   

         (internal battery) or          (alkaline batteries, 

sold separately).

2.  Turn the VOLUME control dial on the side of the 

radio to turn on the radio and adjust the speaker 

volume to a comfortable listening level.

3.  Select AM, FM, WX, or ALERT on the front panel 

switch to choose between AM radio, FM radio, 

NOAA weather radio, or NOAA weather alert. 

Note: 

When ALERT is selected, the radio will remain 

silent until a weather alert is issued in your listening area.

4.  Tune to the desired station using the rotary 

TUNING control on the side of the radio and enjoy.

5.  For FM and weather radio, extend and position 

the antenna as required for best reception. 

The TUNE LED indicator will illuminate with a 

bright, steady red color when the radio is tuned 

in to a station.

6

Содержание 1201850

Страница 1: ...1201850 User s Guide Rechargeable AM FM Weather Emergency Crank Radio...

Страница 2: ...adio Package Contents Radio Charging Cable User s Guide Features Receives AM FM and NOAA weather stations NOAA weather alert keeps you up to date in emergencies Powered by an internal rechargeable bat...

Страница 3: ...r Output USB A 5V 1A Power Input Micro USB 5V Internal Battery 3 7V 1 000 mAh Li ion Alkaline Batteries 3 AAA not included Battery Life 20 hrs listening time internal 60 hrs listening time alkaline Es...

Страница 4: ...ot required to use the radio However we recommended having batteries on hand as a secondary power source in the event of an emergency Alkaline Battery Notes Dispose of used batteries promptly and prop...

Страница 5: ...you turn the crank handle the CHARGING LED on the front panel will illuminate to indicate that the battery is charging Note that if the radio is on this LED will illuminate continuously Charging Usin...

Страница 6: ...ontrol dial on the side of the radio to turn on the radio and adjust the speaker volume to a comfortable listening level 3 Select AM FM WX or ALERT on the front panel switch to choose between AM radio...

Страница 7: ...uding smartphones 1 Set the power switch on the front of the radio to your desired power source selecting either internal battery or alkaline batteries sold separately 2 Connect your device to the USB...

Страница 8: ...g Do not expose this product to extreme temperatures or pressure Do not store in a hot vehicle Do not heat or place near a fire Avoid airtight enclosures to prevent over pressurization Do not charge b...

Страница 9: ...ent off and on the user is encouraged to try to correct the interference by one or more of the following measures Reorient or relocate the receiving antenna Increase the separation between the equipme...

Страница 10: ...mage f costs of product removal installation set up service adjustment or re installation and g claimsbypersonsotherthantheoriginalpurchaser Should a problem occur that is covered by this warranty tak...

Страница 11: ...NUE OR PROFIT AND ANY INDIRECT SPECIAL INCIDENTAL OR CONSEQUENTIAL DAMAGES EVEN IF RADIOSHACK HAS BEEN ADVISED OF THE POSSIBILITY OF SUCH DAMAGES Somestatesdonotallowlimitationsonhowlonganimplied warr...

Страница 12: ...Directive which protects the environment by restricting specific hazardous materials and products 2020 General Wireless Operations Inc All rights reserved RadioShack is a registered trademarkofGenera...

Отзывы: