


Chapter 3 Getting Started
© 2009, ATI Applied Technology, LLC. All rights reserved. Prepared in the United States of America. QuickPhones is a trademark of ATI Applied Technology,
LLC, in the United States and/or other countries.
9
1.
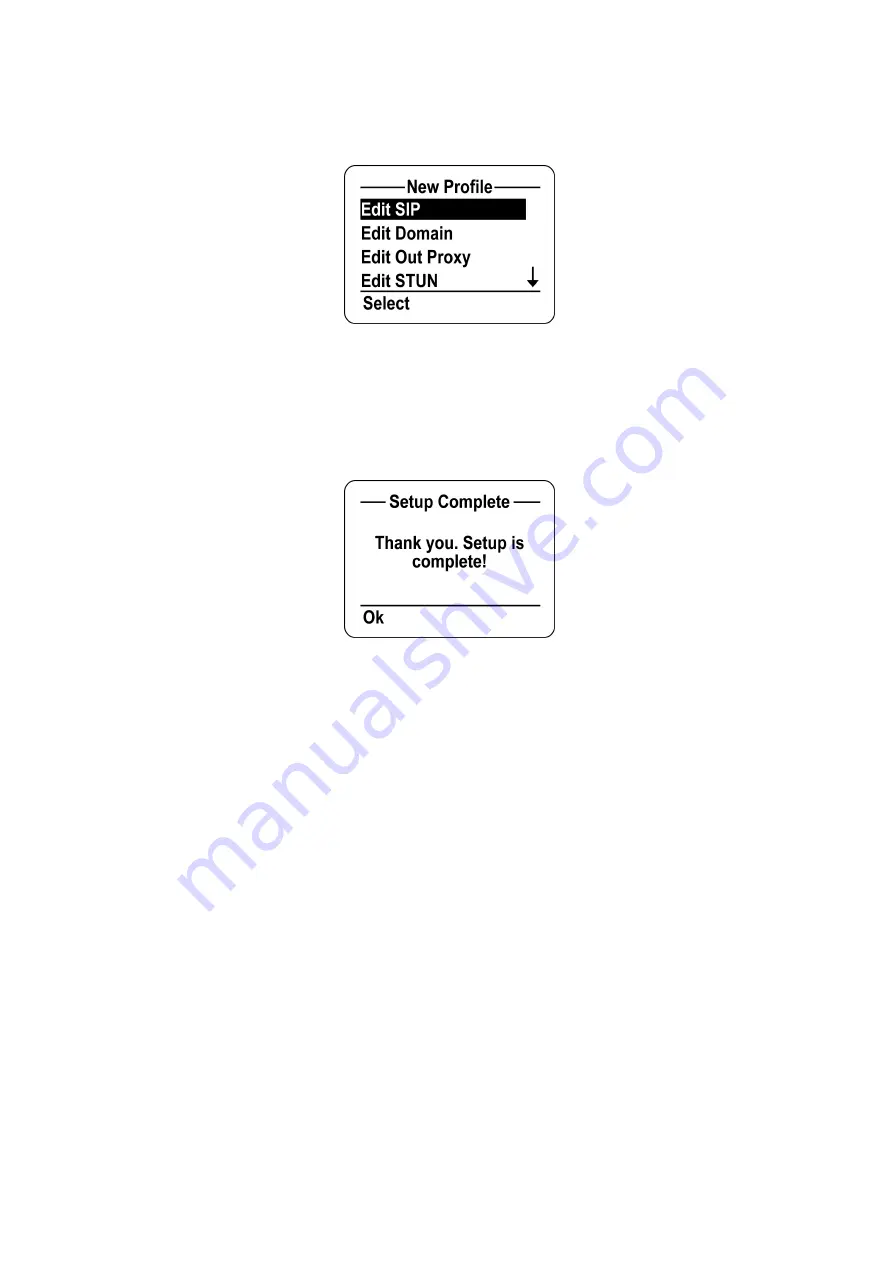
Press the
Ok
soft key to continue.
2.
Contact your network administrator for the information needed to configure your SIP profile.
3.
If you need to set up a profile later: From the phone’s main screen, select
Menu
->
Phone Settings
->
Profile
Settings
->
New Profile
S
S
e
e
t
t
u
u
p
p
C
C
o
o
m
m
p
p
l
l
e
e
t
t
e
e
Once setup is complete, press the "
Ok"
soft key to start using your phone.
All manuals and user guides at all-guides.com
Содержание QuickPhones QA-341
Страница 2: ...All manuals and user guides at all guides com ...
Страница 14: ...All manuals and user guides at all guides com ...


