Scalar i6000 Installation Guide
171
•
Sender Address
—for example, [email protected]
The library uses this address in the “From” field of e-mail messages that it sends out, indicating the
originator of the message. If you type, for example, “scalari6000”, the library appends the domain
information (for example, “@mycompany.com”). If you type, for example,
“[email protected]”, the library does not append any additional information.
3
To test the e-mail configuration, type an e-mail address in the
Recipient
box of the
Test Current
Configuration
area and click
Test email
.
4
Confirm that the library displays a message indicating that the test completed successfully and sends
a test message to the specified e-mail address.
5
The subject of the test message should be “Test email from Scalar i6000” and the message text should
include the library name, version, and serial number, along with the date and time that the message was
sent.
6
Click
OK
.
Proceed to
Setting up Notification
The
Notification
command allows you to send e-mail to specific individuals whenever certain conditions
occur. The information in the e-mail notification provides details about the issue and the library conditions
at the time of the error.
1
Complete the steps in
on page 170, unless you have already done so.
2
Click
Setup
→
Notification
→
System Setup
.
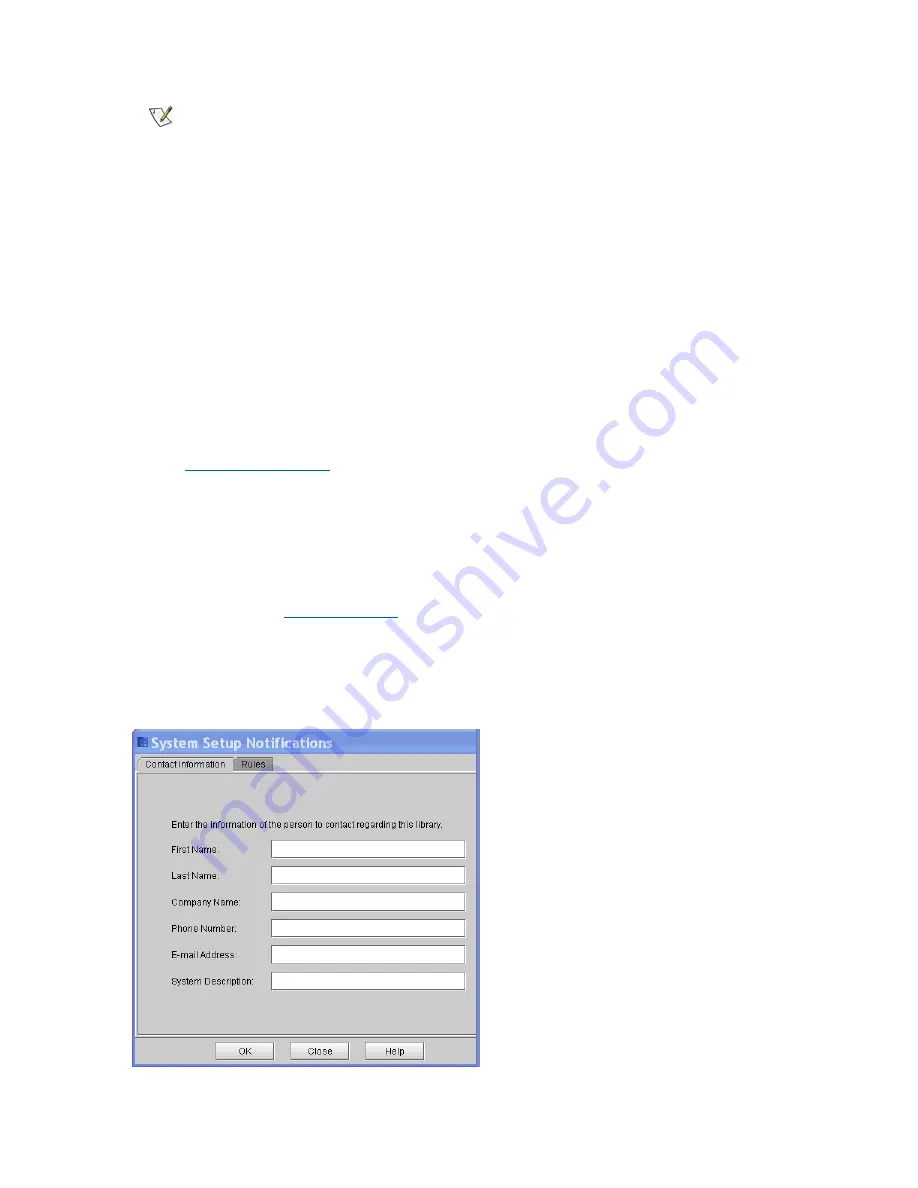
The
System Setup Notification
dialog box appears with the
Contact Information
tab displayed.
Enter the contact information you want included in an e-mail notification if an error occurs in the library.
Note
The password specified must be valid for the specified account at the
named SMTP server.
Содержание Scalar i6000
Страница 1: ...6 66881 01 A Scalar i6000 Installation Guide Installation Guide Installation Guide Installation Guide...
Страница 20: ...8 About This Guide and Your Product...
Страница 38: ...26 Installing a Stand Alone Control Module...
Страница 104: ...92 Installing a Multi Module Library...
Страница 156: ...144 Installing Cartridges...
Страница 164: ...152 Setting up Your Library for Access...
Страница 242: ...230 Configuring the Library...
Страница 304: ...292 Adding Optional Hardware eight 2 5 mm screws...
Страница 318: ...306 Adding Optional Hardware...
Страница 336: ...324 Installation Testing and Verification Figure 35 Example Test Log Output...
Страница 356: ...344 Testing and Calibrating the Digital Level...
Страница 362: ...350 LBX Board and Terminator...
Страница 380: ...368 Glossary...
Страница 384: ...372 Index...


