


Chapter 6: Replication
Receive NAS
Quantum DXi6900 User’s Guide
148
1. On the target system, select a snapshot in the
Snapshots List
and click
Recover
.
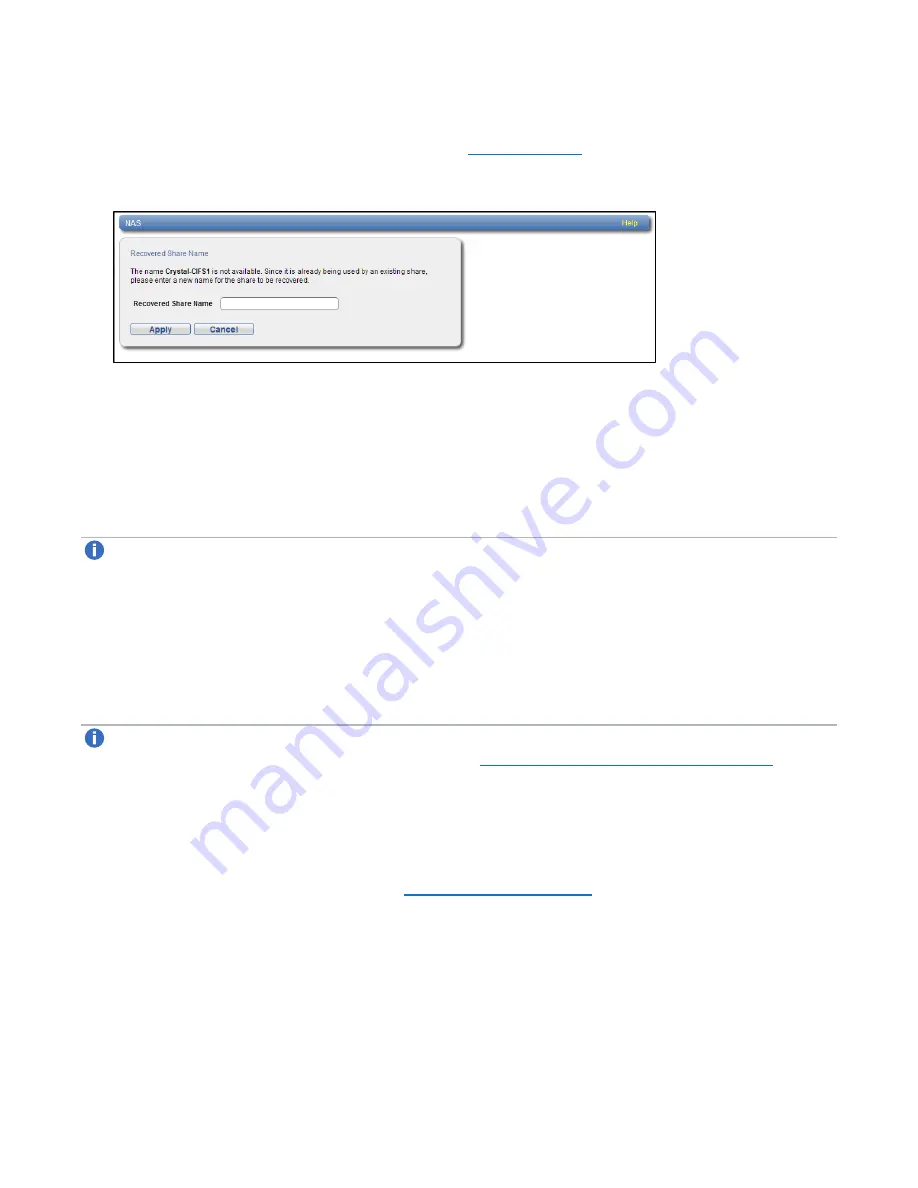
The
Recovered Share Name
).
Figure 89:
Recovered Share Name Page
2. (Optional) In the
Recovered Share Name
box, type a new name for the recovered share. (The default
name is the original share name.)
3. Click
Apply
.
The share is recovered on the target system. All data stored on the share at the time the snapshot was
saved is available. The original export protocol of the share (NFS or CIFS/SMB) is retained in the
recovery process.
Note:
After you recover a share, if you want to continue backing up data to the share, you must remap
your backup application to point to the target system instead of the source system.
Performing a Failback For a Share
Perform a failback of a NAS share if a source system that was previously unavailable becomes available
again. When you failback a share, you select a received snapshot. The DXi6900 copies the snapshot from
the target system back to the source system. You can then perform a recover operation to recreate the
share on the source system just as it was at the point in time when the snapshot was saved.
Note:
Before you can failback a share, on the original source system, you must add the original target
system to the list of allowed replication sources (see
Adding a Replication Source on page 275
). This is
because, during failback, the original target is acting as a source when it sends a snapshot to the
original source.
1. To perform a share failback:
On the target system, select a snapshot in the
Snapshots List
and click
Failback
.
The
Failback Target
).


