DPM5500 Quick Start Guide
8
7
The DPM5500 system is configured by default to accept
IP addresses from a DHCP server. If you need to change
the IP Address, select
Use the following IP settings
and enter the network information. One of the LAN
settings must be configured for the domain server.
When you have finished configuring the local area
connection settings, click
Next
to continue. The
DPM5500 reboots.
The system takes several minutes to reboot.
8
Re-enter the DPM5500 IP address in the web browser
to access the configuration wizard.
9
Click the
Start Wizard
link to continue the
configuration wizard.
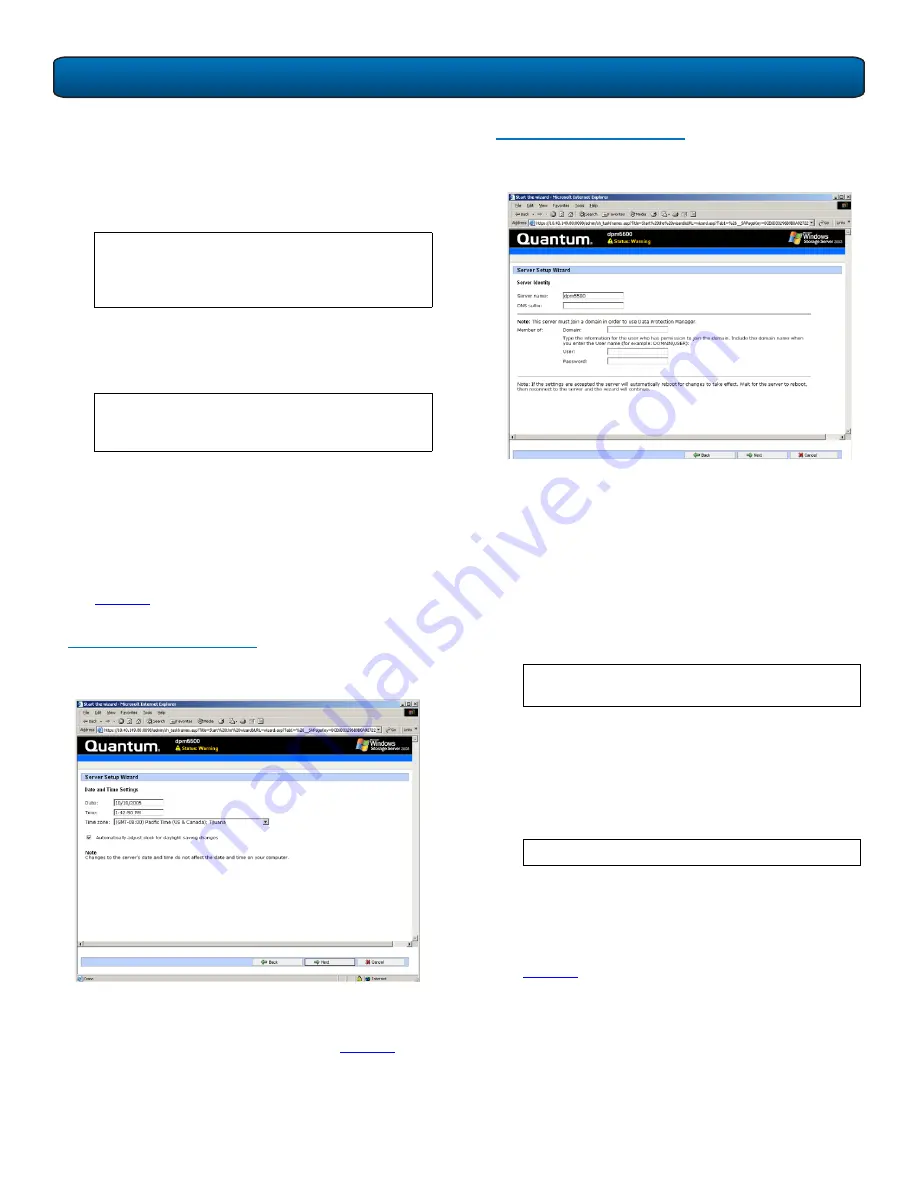
The
Date and Time Configuration
screen displays (see
figure 13
).
Figure 13 Date and Time
Configuration
10
Enter the date and time information and click
Next
to
continue.
The
Server Identity
screen displays (see
figure 14
).
N
OTE
:
Local Area Connection
and
Local Area
Connection 2
correspond to Ethernet ports 1
and 2 located on the back of the DPM5500
chassis.
N
OTE
:
If the network settings were unchanged, the
DPM5500 will not reboot. Continue with the
next step.
Figure 14 Server Identity
Configuration
11
Enter the following server identity information:
•
Server name or accept the system generated server
name. This name must be unique from any other
DPM5500 systems on the same network.
•
Domain name, user, and password information.
This allows the DPM5500 to access the domain
server.
12
Click
Next
to continue. The DPM5500 reboots. The
system takes several minutes to reboot.
13
Re-enter the DPM5500 IP address in the web browser
to access the configuration wizard.
The system prompts you to log in.
14
Enter
Administrator
for the user name and
Quantum
-
DPM
for the password.
The
Server Setup Wizard
displays.
15
Click the
Start Wizard
link to continue the
configuration wizard.
The
Administrator Account
screen displays (see
figure 15
).
N
OTE
:
If you receive a security warning from
Windows, click
Yes
to continue.
N
OTE
:
The password is case sensitive.


