810-1902-03 Rev D TM1 Installation Guide
8
Mounting the Monitor
NOTE:
If the desired valve is not 1 ½” NPT, then the appropriate hardware must be installed.
NOTE:
Whenever installing or un-installing the monitor, the cover must be installed and secured.
The cover only needs to be removed when wiring the monitor, servicing it or connecting to the
service port with a USB cable.
1) Ensure the transformer valve is closed and remove any existing plug on the valve. Position a
container to collect any oil after removing the plug. Remove any debris from the threads.
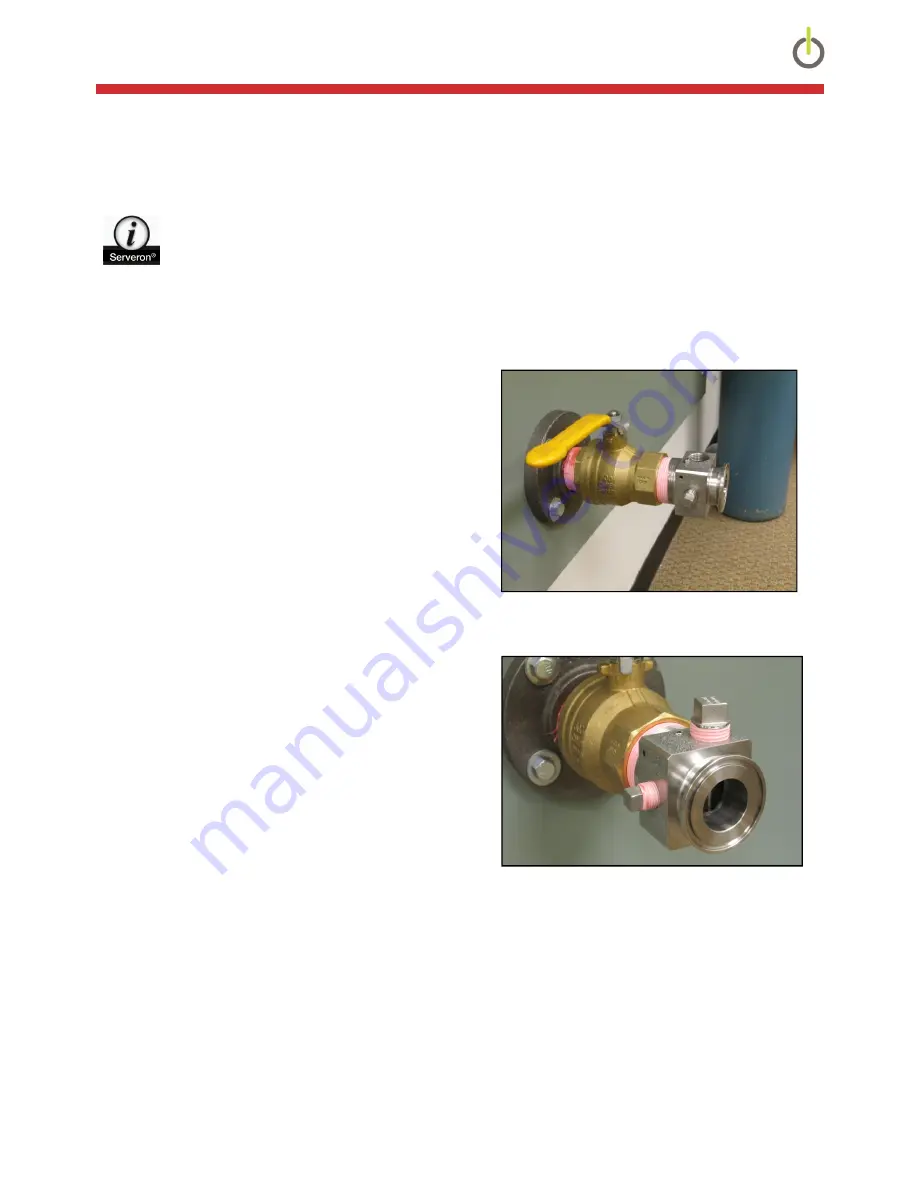
2) Wrap the threads of the supplied stainless-steel
uni-tee with Teflon tape and apply a thin layer
of pipe-thread sealant. Insert the tee into the
transformer valve and tighten, ensuring the ½”
NPT plug is oriented vertically as shown in (
Fig
1
).
Figure 1: Tee Orientation
3) Remove the ¼” NPT plug from the tee and
apply Teflon tape and pipe-thread sealant to the
threads, then re-install in the tee (
Fig 2
). If the
optional Moisture Kit will not be installed,
remove the ½” NPT plug and apply Teflon tape
and pipe-thread sealant to it as well. Then re-
install in the tee. If the Moisture Kit will be
installed, remove the ½” NPT plug from the tee
entirely.
Figure 2: 1/2” and ¼” NPT plug


