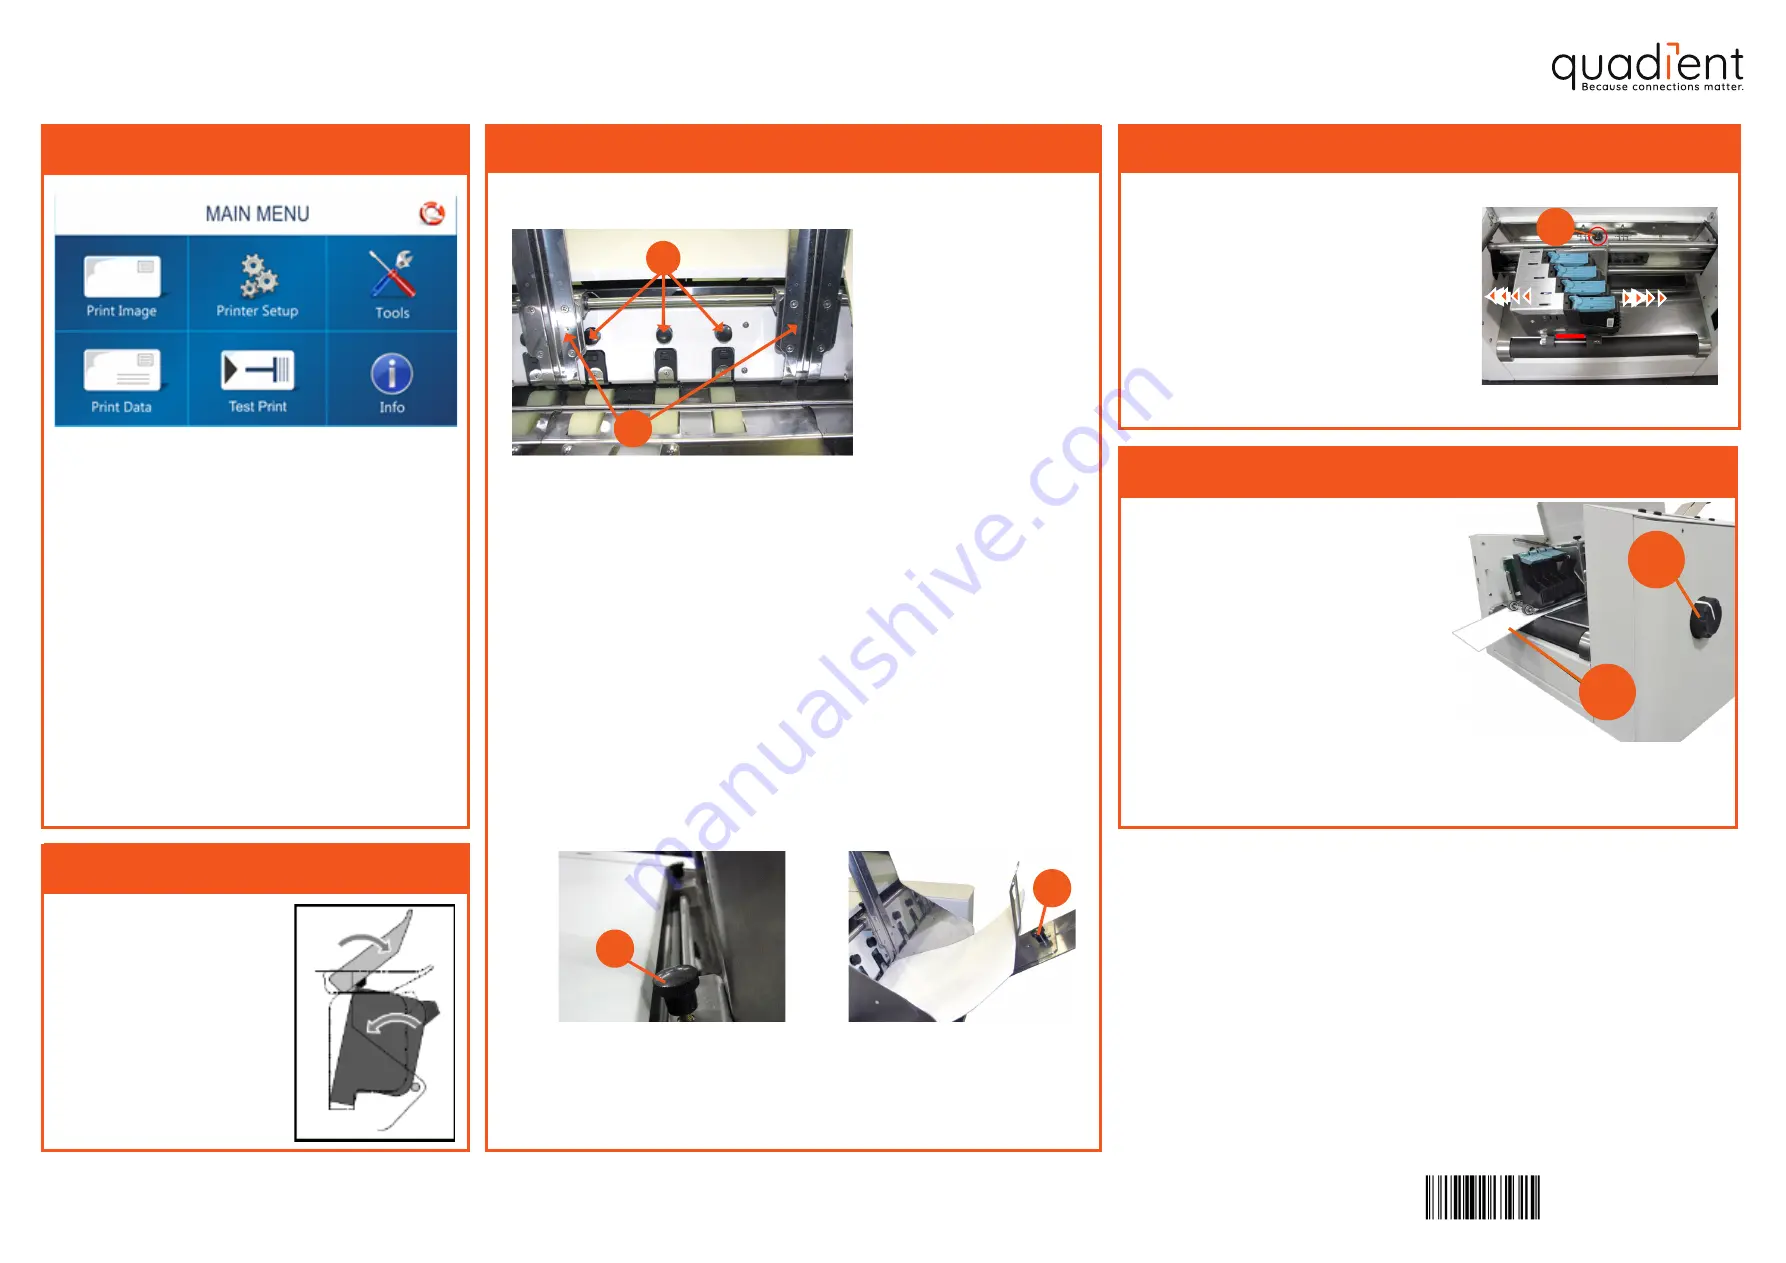
2 - Position Print Units
1.
Loosen locking knob
(a)
.
2.
Position Print Unit as needed to
achieve the desired print location
on media being fed.
3.
Secure locking knob
(a)
.
1 - Set Up the Media Transport System
Install inkjet cartridges
1.
Loosen the Media Side
Guide Locking Knobs
and move Media Side
Guides
(b)
to their ou-
termost positions.
Sheet Separation & Guide Adjustments
2.
Loosen Separator Locking
Knobs
(a)
and raise all Se-
parators. Tighten Locking
Knobs to hold Separators
in raised position.
3.
Place one piece of Media in
center of Feed Table and po-
sition it under the Separators.
4.
Loosen Separator Locking
Knobs
(a)
for Separators
that have Media under-
neath them.
For additional information on your adressing system please consult the
user guide:
kb.quadient.com/as450_ug_en
•
Print Image
: Select, Import or Delete an
image.
•
Printer Setup
: Set Printer parameters to
adjust the Printer.
•
Tools:
Run Ink Cost Estimator, Ink Status,
Diagnostic tests, Network, and Screen
Calibration.
•
Print Data
: Display information about the
job printing.
•
Test Print
: Print a test page using current
adjustments and print parameters.
•
Info
: Display information about the Printer.
Main menu
To adjust media thickness:
1.
Turn Media Thickness Knob
(a)
fully
2.
Slide a piece of media
(b)
under
Printheads
3.
Adjust the Media Thickness Knob
(a)
counter-clockwise until the bottom
of the Print Unit just touches the
media. Then remove the media.
4.
Position the Exit Pressure Roller
Assembly so it rides on the media.
5.
Turn Printer ON.
3 - Media Thickness Adjustment
To install inkjet cartridges,
open latch lever fully, place
cartridge into pen stall and
push until it bottoms out in
pen stall. Close latch lever.
a
b
a
5.
Tighten Separator Locking
Knobs
(a)
and adjust Media
Side Guides (b) so they are
about 0.8 mm from sides of
Media.
b
a
6.
Tighten Media Side Guide
Locking Knobs
(c)
to secure
Media Side Guide positions.
c
7.
Place a stack of Media into
the hopper then tighten
Locking Knob
(d)
.
d
AS-450
Quick start Guide
A0136344/A - 29/10/2020
1/4


