


Waterproof Drones - The HexH2O and QuadH2O professional waterproof drones
Waterproof Multirotors
https://www.quadh2o.com
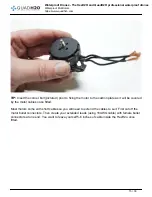
TIP: If you are not using the DJI BTU we recommend mounting the LED using velcro so it can be
easily removed when hooking up to your assistant software.
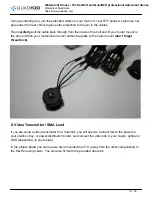
13. Mounting your batteries
Your batteries will fit nicely in the floor of the HexH2o; either one lipo (fit sideways) or two lipo’s
(next to each other running front to back). Keep them in place using velcro. Position them to ensure
your centre of gravity is maintained.
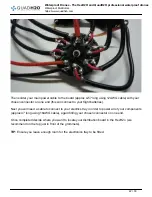
14. Hook everything up
You should now be ready to make a test flight! Fit your electronics tray, props, battery etc. and go
have a fly.
Note: at this stage you just want to ensure everything is set up correctly first and do a couple of
test/configuration flights (OVER LAND). Only attempt to fly over water once you are happy
everything is configured and you are watertight.
Important Notes
This build guide does not cover things like setting up the Flight Controller (NAZA), calibrating the
IMU, GPS or calibrating your ESCs etc. For more info on that please consult the manufacturers
manuals.
Always ensure you carefully remove the dome and rear hatch by rotating each clip; quarter turn
ANTI-clockwise to open and work your way around opposing corners. Do not turn clockwise to
open as this will over tighten the clips you may damage the frame paintwork.
HAPPY FLYING
Remember if you get stuck along the way please JUST ASK! We are here to help
29 / 30


