Attero Tech by QSC
Synapse D32Mi
User Manual
QSC, LLC 2020
614-00053
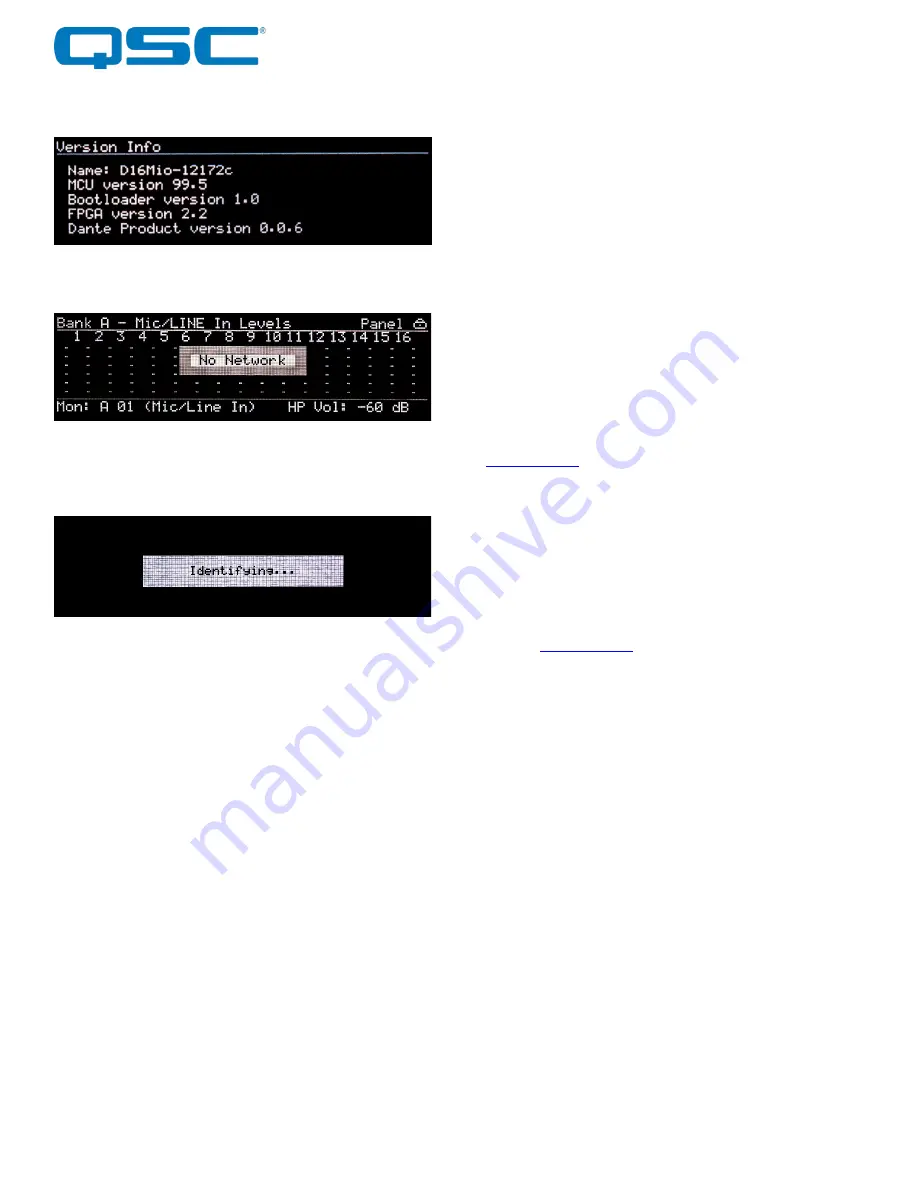
3.1.5 – Version View
The Version view gives version information about the various
parts of the device.
3.1.6 – No Network
If the D32Mi becomes disconnected from the Dante network at
any time, that will be indicated on various views. The metering
views will show a “No Network” message while the Network view
will show “No link” for all indicated interfaces.
3.1.7 – Identify
The “Identify Device” option allow devices on the network to be
visually located. This feature will flash the Status/Power LED, and
display the above message on the front panel display of the
selected device in unIFY Control Panel. See the unIFY Control
Panel manual for more information on using this function.
*NOTE
: On Synapse devices, the front panel controls will not
operate until the Identify function is disabled.
3.2 – Headphone monitoring
The D32Mi has a headphone output that can be used to monitor
audio signals in the device. The currently selected channel for
monitoring is shown in the bottom left corner of any of the
metering views. Selecting a channel can be done from any of the
metering views. The headphone output has both volume and
mute controls available.
3.2.1 – Headphone Volume
The current volume level is indicated in the lower right corner of
the display on any of the metering views. The volume is controlled
with the monitor volume knob just to the right of the output jack
itself. Turning the knob clockwise increases volume while turning
it counter-clockwise decreases the volume level.
3.2.2 – Headphone Mute
The headphone volume knob also acts as a mute control. The
state of the mute is indicated by the mute LED just to the left of
the volume knob. The LED will be red while the mute is active and
off otherwise. To toggle the mute state, push the volume knob to
activate its button.
3.3 – Factory Reset
Should it be necessary, the D32Mi has a factory reset option.
Activating it affects both Dante™ and non-Dante™ settings of the
device. All Dante™ settings are reset including device name and
channel names, the Ethernet port mode will be defaulted back to
redundant mode and the IP address setup will be reset to get an
IP address dynamically.
The factory reset switch is accessed through a small hole on the
front panel. The active the factory reset insert a paperclip or small
screw driver into the factory reset hole and press and hold the
factory switch for five seconds. Once the switch has been in for
long enough, if the screen was active, the screen will blank,
releasing the switch after 5 seconds will then start the factory
reset process.
3.4 – Firmware Updates
If a firmware update for the DM16Mio is released, it may be
applied in the field by the end user or installer. The update
process takes advantage of the smart firmware update tool in
unIFY. The unIFY Control Panel application is available from the
To apply the update, download the appropriate SFU file for the
D32Mi, select the smart firmware update option under the Tools
menu and follow the instructions. Further assistance for doing
updates is provided in the unIFY Control Panel manual.
3.5 – Third Party Control
The D32Mi offers some support for real time third party control.
The commands the DM16Mio support and the protocol it uses are
all outlined in the unIFY 3
rd
party software API document available


