IP Sharing User’s Manual
1. Software Installation and Configuration
1.1 Configuring the IP Sharing
The IP sharing can be configured to meet various usage conditions. Some of the
factory default settings may suit your usage; however, the other settings may need
changing. Before using the IP sharing, you may check the basic settings to guarantee
that it will work in your environment.
The configuration of this product is done through an administration interface (UI). You
need a Notebook PC or desktop PC connected to this product directly or through a
switching hub and run the UI as a remote configuration terminal. Please connect one of
the ends of RJ-45 to the LAN RJ-45 socket of this product and the other one to a
network port of your computer host.
Note: When your PC is rebooted, the power of IP sharing must be turned ON and the
indicator lamps of WAN and LAN must be bright in ready state.
1.2 Connecting to the IP Sharing
One RJ-45 is supplied with the IP Sharing. Auto crossover function is designed into this
product so you can use a straight-through or crossover Ethernet cable. Before installing
this software, plug one end of the cable into the WAN port of this product and the other
one into the Ethernet port of your ADSL or Cable modem.
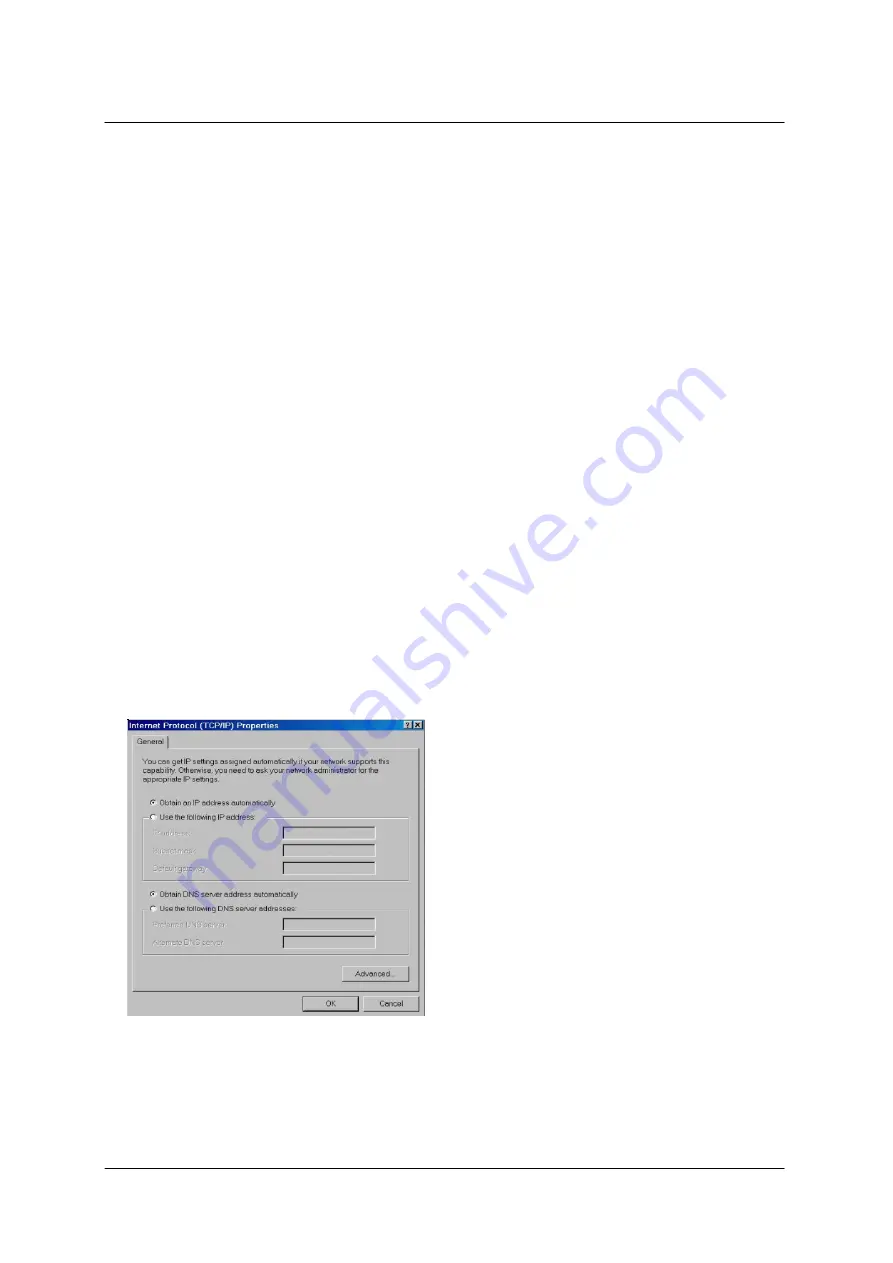
1.3 Getting IP Automatically
The IP Sharing is provided with a DHCP
server, so the easy method is to set your
PC to get its IP address automatically and
reboot your computer. Further, the correct
IP address, gateway, and DNS may be
obtained from the IP Sharing.
Note:
When you connect this product to the WAN port of your ADSL/Cable modem, this
product will act as a router and provide virtual IP address. If you want to share a virtual
IP or virtual IPs, be sure to connect to the LAN port. When you finish the configuration,
this product should be turned ON and ready.
1
1


