25
8.
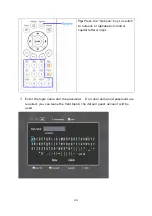
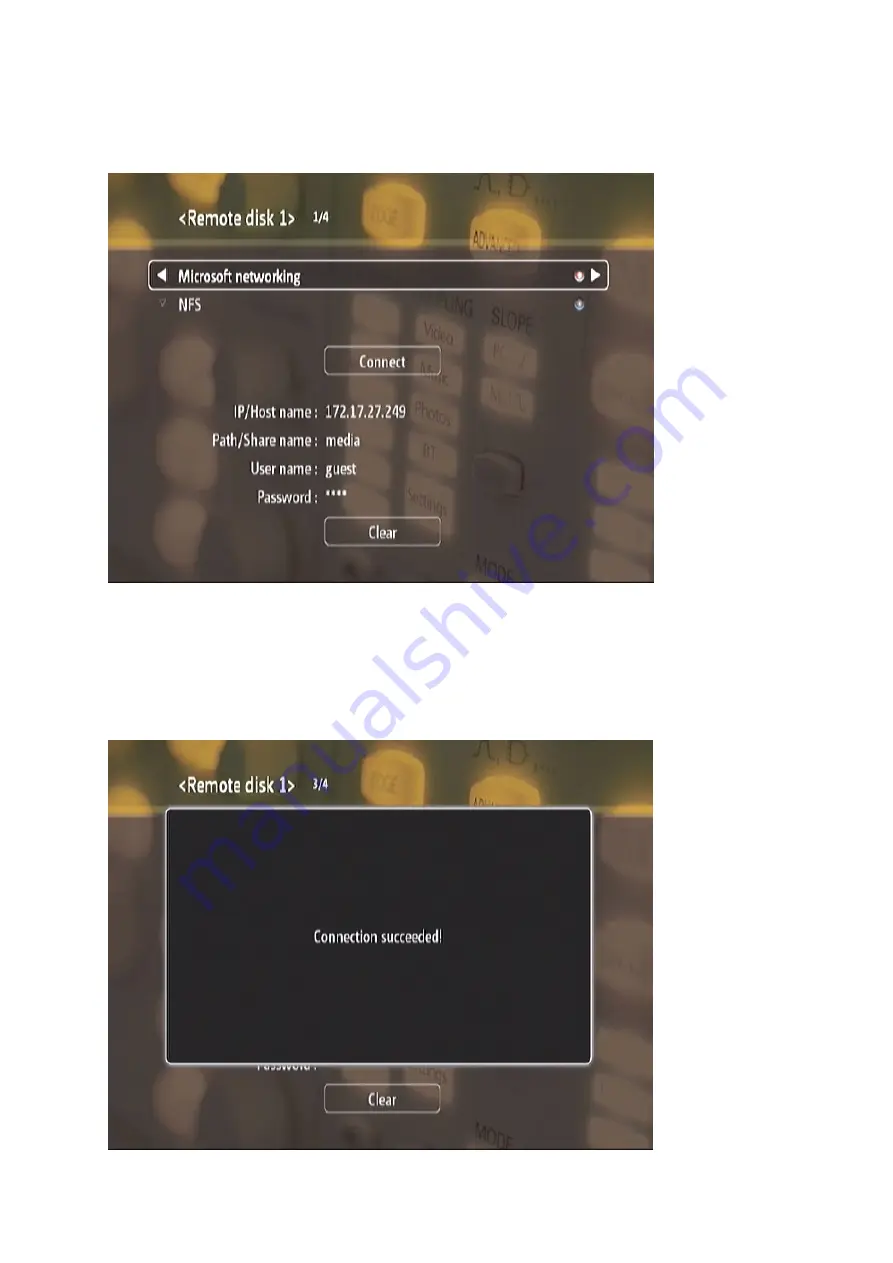
Select “Connect” and press “OK” to connect to the network share.
9.
If the information entered is correct and your network connection is working
properly, you will see the “Connection succeeded!” message. If you see the
“Connection Failed!” message, please verify the information entered and
make sure your network connection is working properly.
Содержание NMP-1000
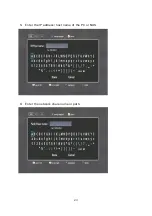
Страница 23: ...23 5 Enter the IP address host name of the PC or NAS 6 Enter the network share name or path ...
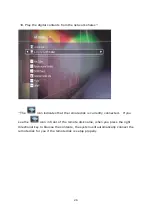
Страница 28: ...28 d Play the digital contents from the local disk ...
Страница 37: ...37 5 2 1 Language Select a desired language for the user interface ...
Страница 39: ...39 5 2 3 Sleep timer This feature enables you to set the timer to shut down the NMP 1000 ...
Страница 49: ...49 5 3 1 Wired network The system uses dynamic IP DHCP by default To use a static IP select Static IP ...
Страница 57: ...57 The auto search result will list the available computers or NAS ...
Страница 59: ...59 Select a remote disk connection you would like set up with ...
Страница 61: ...61 5 5 Preferences You can customize the user interface and configure the media playback features ...
Страница 70: ...70 5 5 7 Slideshow timer Define the number of seconds each image file photo is shown in a slideshow ...
Страница 73: ...73 5 5 9 YouTube Location Select the location content preference for YouTube See Section 6 5 for more details ...
Страница 91: ...91 Select Add Flickr contact and enter the Flickr contact name ...
Страница 99: ...99 4 When the management screen is shown you can use QGet to manage the download tasks ...
Страница 119: ...119 9 3 10 View Network Settings This page shows the current network settings and status of the NMP 1000 ...
Страница 125: ...125 ...
Страница 139: ...139 You can choose to map the shares of the NMP 1000 as your network drives on Windows OS from the Tools menu ...
Страница 145: ...145 Backup Select the files and folders for backup ...

