background image


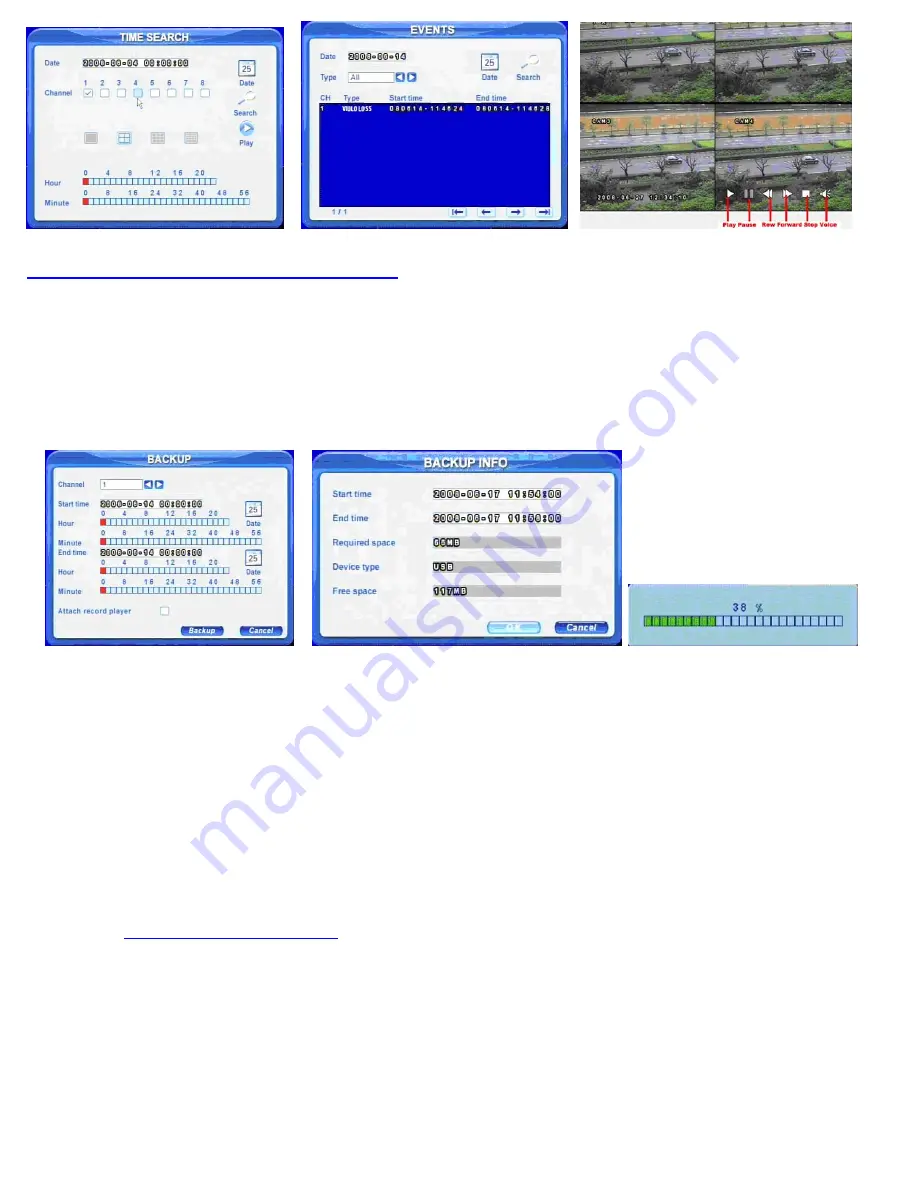
                            Pic 7.3                                                               Pic 7.4                                                                   Pic 7.5 
 

Part 8 – Setting up the DVR to Backup Files 

 
Insert a USB flash drive into the USB port on the front of the DVR. Press the BACKUP button on the DVR (number 14 on the Front Panel in Part 
2), if the system is password protected it will ask you to enter a user name and password. This will bring up the BACKUP screen shown as Pic 
8.1. Use the Direction Keys (number 5 on Front Panel in Part 2) to select the Date icon and hit the ENTER key (number 6 on Front Panel in Part 
2).  Select the date of the files you want to backup. The days with files will be highlighted.  Then use the Direction Keys to select the Start time 
and End time, and put a checkmark in the Attach record player box if you want to include a copy of the record player with the backup, and then 
select the Backup key. This will display the BACKUP INFO screen shown as Pic 8.2 which will show the start and end time, the space required 
for the backup, the device you are backing up to, and how much space is available on the device. Select OK and the backup will start and a 
progress bar will be displayed, shown as Pic 8.3. Once the backup is completed a dialog box will display telling you it has been completed. 

NOTE: If you stop recording while backi

p the files, the backup will go faster. 

ng u


                               Pic 8.1                                                                   Pic 8.2                                                                Pic 8.3 


If you have questions:  


Contact Us: 


Mailing Address:                                    Customer Service:


DPS Inc.

                                                  Phone: 877-998-3440 x 538 

          8015 E. Crystal Dr                                   Email: [email protected] 
          Anaheim, CA 92807 


Tech Support:


.q-see.com


Website:


http://www


    Phone: 877-998-3440 x 539 

     Email: [email protected] 


R

R

E

E

V

V


0

0

8

8

2

2

2

2

0

0

8

8


Fax:


          714-998-3509 


Содержание QSTD2408

Страница 1: ... NS ST TA AL LL LA AT TI IO ON N G GU UI ID DE E F FO OR R H H2 26 64 4 D DV VR R 8 8 C CH H M MO OD DE EL L Q QS ST TD D5 50 08 88 8C C 5 50 00 0 Part 1 Package contents Part 2 Front Panel Layout Part 3 Rear Panel Layout ...

Страница 2: ...Part 4A Connecting the QD28414 Cameras Part 4B Connecting the QSC48030 Cameras Part 4C Connecting the QPSCDCA Cameras Part 5 Connecting to Monitor ...

Страница 3: ... use external sensor alarms refer to sections 2 3 2 and 3 3 5 of the user s manual for informati on how to set these up To setup any type of recording you need to select RECORD in the SYSTEM menu RED square in Pic 6 1 which will bring up the RECORD screen Pic 6 2 Here you can enable recording on the channels you want to record RED box in Pic 6 2 and select the quality frame rate and resolution for...

Страница 4: ...e the entire screen motion sensitive Next select how sensitive you want the area to be by selecting a number in the Sensitivity box 1 is the least sensitive and 8 is the most sensitive Select the Save option to save the settings Repeat the procedure for the other cameras Part 7 Setting up DVR to Playback Files Press the SEARCH key on the DVR number 17 on the Front Panel in Part 2 if the system is ...

Страница 5: ... box if you want to include a copy of the record player with the backup and then select the Backup key This will display the BACKUP INFO screen shown as Pic 8 2 which will show the start and end time the space required for the backup the device you are backing up to and how much space is available on the device Select OK and the backup will start and a progress bar will be displayed shown as Pic 8...

Отзывы: