12
13
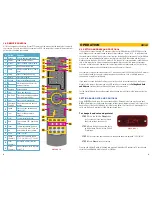
Going to a preset point
Once you’ve set your preset points, you can use
the remote to direct the camera to those spots.
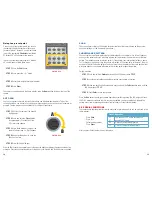
For preset points 1 through 8, you will only need
to push the appropriate
Shortcut
button labeled
P1 through P8 at the bottom of the remote.
To point your camera at preset points 9 through
80, you will need to follow these steps:
STEP 1.
Press the
Shot
button.
STEP 2.
Press press the “
-/--
” button.
ESC
2
1
3
5
4
6
8
7
9
-/--
C
0
DISP
RUN
SHOT
CAM
SPEED
AUTO
PRESET
HOME
SETUP
PATTERN
A
DELETE
B
S1
F1
S2
F2
S3
F3
S4
F4
P1
P5
P2
P6
P3
P7
P4
P8
OPEN
CLOSE
IRIS
FOCUS+
FOCUS-
ZOOM+
ZOOM-
ENTER
PICTURE 2-3
STEP 3.
Enter the two-digit preset point number.
STEP 4.
Press
Enter
.
The camera can be directed to the Home point by using the
Home
button located at the top of the
remote.
AUTO PAN
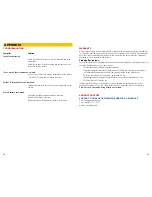
You can set up your camera to constantly move back and forth between two points. This action,
called an auto pan, can be useful in surveying a wider area than can be seen by a single camera, for
example. The two points can have different focus settings (if applicable).
A
B
STEP 1.
Position the camera at the desired
starting point.
STEP 2.
Press and hold the
Preset
button
for approximately 3 seconds until the
Set-
message appears.
STEP 3.
Press the
A
button at the top of the
remote. The message
Lt-A
will appear.
STEP 4.
Repeat for the end point, using the
B
button this time.
STEP 5.
Press
A
to begin the pan.
Pressing
B
will cause the camera to pan in the opposite direction, skipping the area covered by the
other pan. Pressing any directional key will stop a pan cycle. Points A and B and be reset as needed.
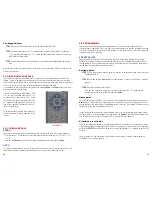
PICTURE 2-4
SCAN
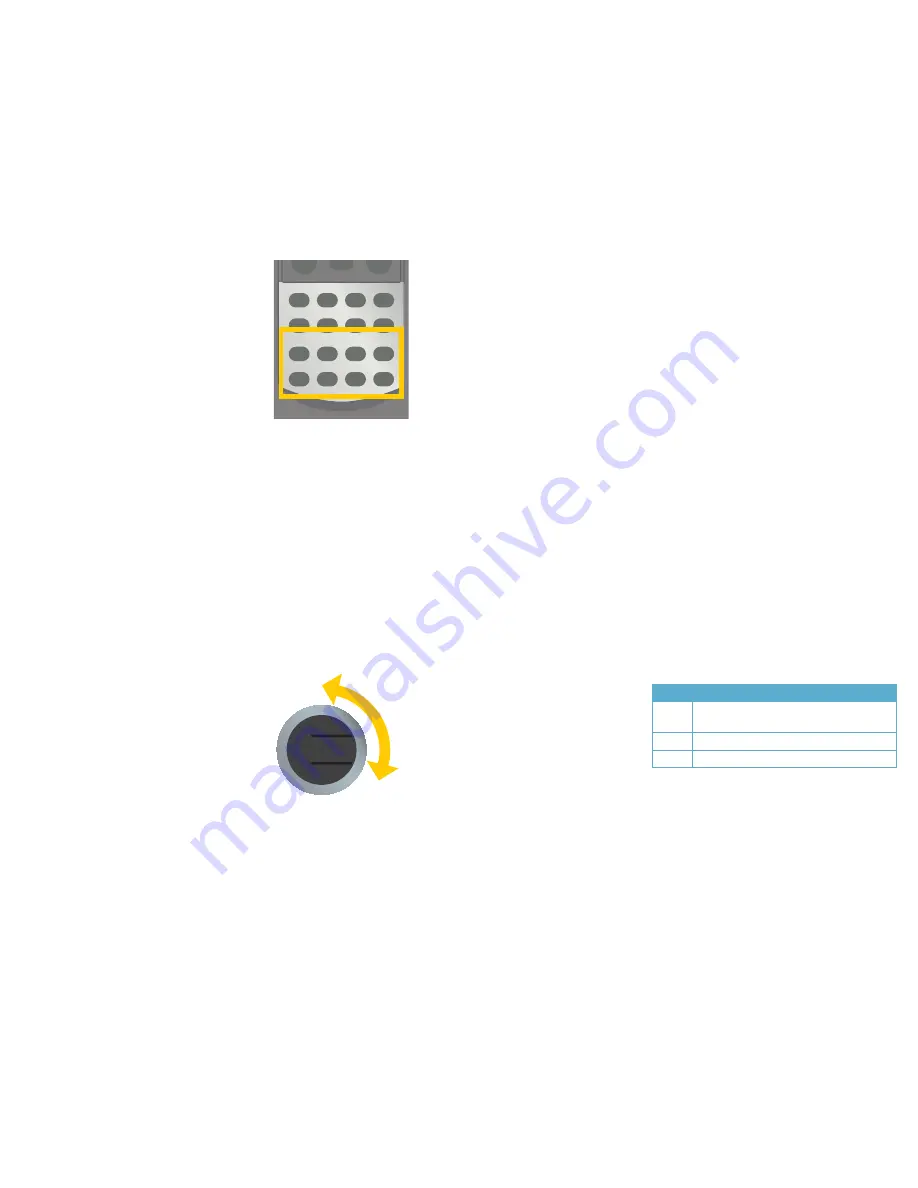
The scan pattern is simply a 360-degree horizontal rotation of the camera based on the position -
and zoom settings - of the Home point (see above.)
SURVEILLANCE PATTERN
You can create a surveillance pattern that will be recorded by the camera for it to follow. It does not
use any of the preset points you may have created, but rather copies the exact motions of the intial
pattern. This includes pauses at selected points. If, for example, your intial pattern includes a pause
for 10 seconds at a particular spot, the pattern will include a 10-second delay at that point. You may
have up to 16 points along the pattern. You do not have to end the pattern at the same position from
which you began as the camera will return to the starting point to repeat the pattern.
Setting a pattern
STEP 1.
Press and hold the
Pattern
button until the LED display reads
PstA
STEP 2.
Create your surveillance pattern by directing your camera as desired.
STEP 3.
When you have finished your pattern, press and hold the
Pattern
button again until the
LED display reads
PstO
STEP 4.
Press
Enter
to save your pattern.
Press the
Run
button to have your camera begin the surveillance pattern. The LED display will read
the
PrUn
message to indicate that it is running your pattern. You may override and interrupt the
pattern at any time by pressing a directional control, zoom or Preset shortcut button.
2.5 SPECIAL FUNCTIONS
There are several additional functions which are saved as presets and which can be accessed in the
same manner:
Press
Shot
Press
-/--
Enter function number
Press
Enter
After you press Enter, the function will take place.
Preset Operation
93
97
Camera pans 360° before reversing and
panning 360° again
94
Clears all settings except presets
95
Clears all settings including presets


