


50
Figure 10.4
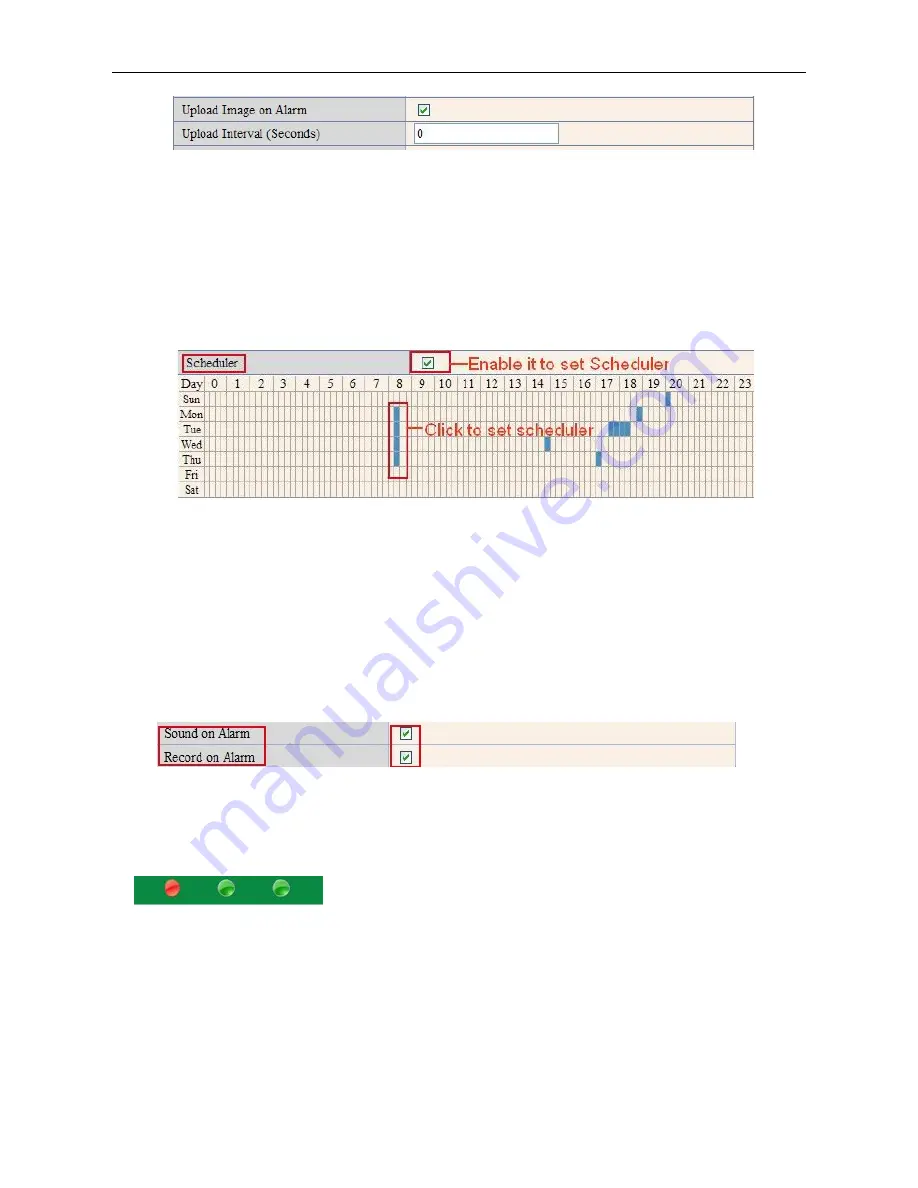
Scheduler
Here you can set the camera alarm during the time you set. Choose Scheduler and set the date & time range.
(Figure 10.5) From Monday to Sunday, and every day divided into 24 hours, each hour divided into 4 quarters.
Left click the frame of the time range, it will turn to blue color, which means the time you choose to be armed.
Click it again, it will turn back to gray, which means delete the scheduler.
NOTE
: Make sure the date & time settings are correct first. (Figure 8.3).
ATTENTION
: If you don’t choose
Scheduler
, the camera will alarm anytime when motion triggered.
Figure 10.5
Sound on Alarm
When motion is detected, there will be a beep sound during the alarm, you can control this sound here.
If Enabled, there will be sound once alarmed.
If Canceled, there will be no sound once alarmed.
Record on Alarm
If you want the camera do recording for every alarm, choose Record on Alarm to enable it.
If you do not want the camera do recording once alarm triggered, cancel it here
.
Figure 10.6
Once an alarm has occurred, there will be indication as below:
1. The corresponding status light turns Red and keeps blinking.
Figure 10.7
2. If you set
Sound on Alarm
, you can hear a beep sound from your computer you use when alarmed. (Figure
10.6).
3. If you set
Record on Alarm,
the camera will record automatically for approx one minute. You can find the
record file in the folder which you set. (Figure 10.9).
4. If you set
Send Mail on Alarm
, you will receive e-mail alarm alert once motion is detected. (Figure 10.0).
5. You can also set
Scheduler
to enable the camera to send e-mails during a special time range you want.
(Figure 10.5).


