


• OSD Time:
To adjust the clock.
• U/D ZOOM:
Press“<” or “>” button, to adjust the proportion of the image up
and down to Zoom in or Zoom out.
• L/R ZOOM:
Press“<” or “>” button, to adjust the proportion of the image left
and right to Zoom in or Zoom out.
• USB Upgrade:
When the need for the native data application software
upgrade, copy the file to the U disk, again through the USB cable to connect
with upgrade USB port, press “>” key to confirm, After the upgrade, monitor
will automatically restart.
• Reset:
Press“>”, Back to original setting.
• Language:
language for OSD: Chinese / English.
• Aspect Ratio:
To change the display to ratio panoramic view, automatic,
just scan, zoom 1, zoom 2, 16: 9, 4:3.
• NO Signal:
Color options of screen background when no signal: black
screen, white screen, red screen, green screen, blue screen.
• OSD Trans.:
To adjust the level of transparent.
• OSD H:
To adust the OSD position in horizontal.
• OSD V:
To adust the OSD position in vertical.
• Camera Mode:
the monitor video has real-time images. NO black screen,
NO delay, perfect without distortion.
• ZOOM ALL:
press“<” or “>” button, to adjust the image to Zoom in or
Zoom out.
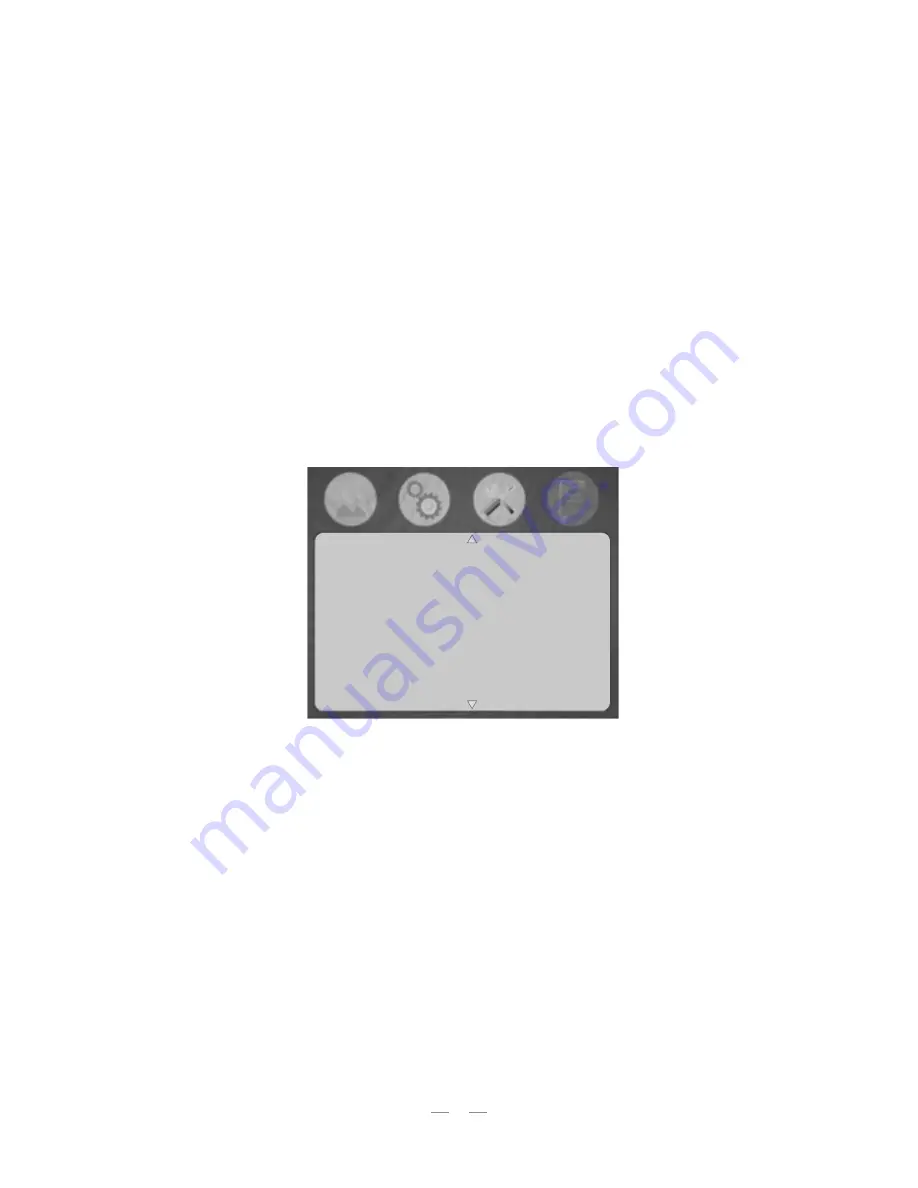
Menu of page two
Osd Time
U/D ZOOM
L/R ZOOM
USB Upgrade
Reset
SW Version: V 1.5
Off
0
0
9
Содержание PLCMHD80
Страница 1: ...PLCMHD80 MODE MENU F1 F2 F3 F4 ...


