background image

06

 P

U

R

E

-P

R

O


 R

E

V

E

R

S

E


O

S

M

O

S

IS


S

Y

S

T

E

M

09

 P

U

R

E

-P

R

O


 R

E

V

E

R

S

E


O

S

M

O

S

IS


S

Y

S

T

E

M

PRO

P

URE

DRINKING   WATER   S YS TEM

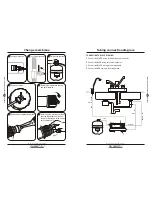
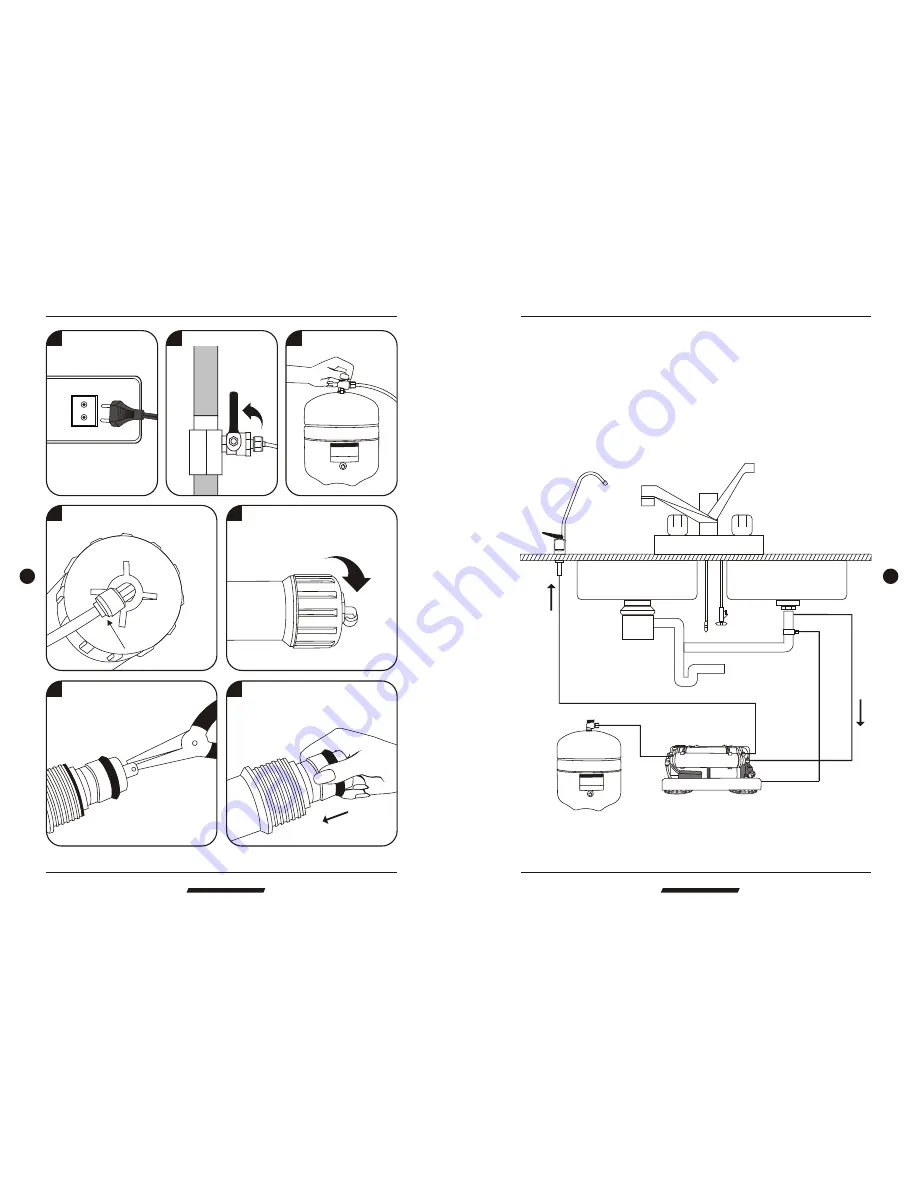
Tubing connection diagram

Faucet

Tank

Drain

Input water

A

B

C

D

PRO

P

URE

DRINKING   WATER   S YS TEM

PR

O

P

U

R

E

D

R

IN

K

IN

G

   W

A

TE

R

   S

YS

TE

M

PR

O

P

U

R

E

D

R

IN

K

IN

G

   W

A

TE

R

   S

YS

TE

M

6

  Remove the membrane by a pincer.

7

  Install the membrane by carefully 

    pushing the spigot end into the 
    socket at the far end of the housing 
    until completely in.

Change membrane 

CONNECTING THE COLOR TUBING:

A. Connect the WHITE tubing to the water supply connector. 

B. Connect the BLUE tubing to the sink top faucet. 

C. Connect the BLACK tubing to the drain saddle. 

D. Connect the RED tubing to the storage tank.

M100 In-Line Filter RO Systems

M100 In-Line Filter RO Systems

1

  Unplug electricity.

2

  Turn off water source.

3

  Switch off water tank.

4


Remove the tube.

5

  Remove the membrane housing 

    cap anticlockwise.

Содержание M100-P

Страница 1: ...ents Selected filters 04 Cartridge filters 05 The parts of M100 P 06 Tubingconnection diagram 07 Installation diagram 08 Change filters 09 Change membrane 10 Operation regulation 12 FAQ 14 Maintenance...

Страница 2: ...king water The newly designed M series is user friendly with design simplicity in mind It requires no tools for filter changes Use in line filter cartridge design makes filter changes fast clean and e...

Страница 3: ...less coffee and still get the full flavor Concentrated beverages like orange juice will taste tangier You will probably be drinking a lot more water as well since many people drink soda Kool Aid conc...

Страница 4: ...of water produced A high level of TOTAL DISSOLVED SOLIDS can be overcome with additional water pressure 4 Membrane Different membranes have different characteristics Some produce more water than other...

Страница 5: ...y foruse H Change filters regularly every 6 to 12 months and have the membrane checked annually Caution 0 1 Do not usehot water over45 C 2 Do not freezethe machine 3 Switch off electricity and water s...

Страница 6: ...TER SYSTEM PRO PURE DRINKING WATER SYSTEM Operation regulation The parts of M100 P 2 Turn on watersource ToRO system 3 Switch on water tank M100 In Line Filter RO Systems M100 In Line Filter RO System...

Страница 7: ...carefully pushing the spigotend into the socket at thefar end ofthe housing until completely in Change membrane CONNECTING THE COLORTUBING A Connect theWHITE tubing tothe water supplyconnector B Conn...

Страница 8: ...totank Then connect color tubing Drill a 1 4 hole into the drain pipe Mount drain saddle aligning holes Installation diagram 6 Turn on water source andwater tank drain out1 Gallon ofwater to purify r...

Отзывы: