


PureLink VIP-200 User Manual V1.0
5
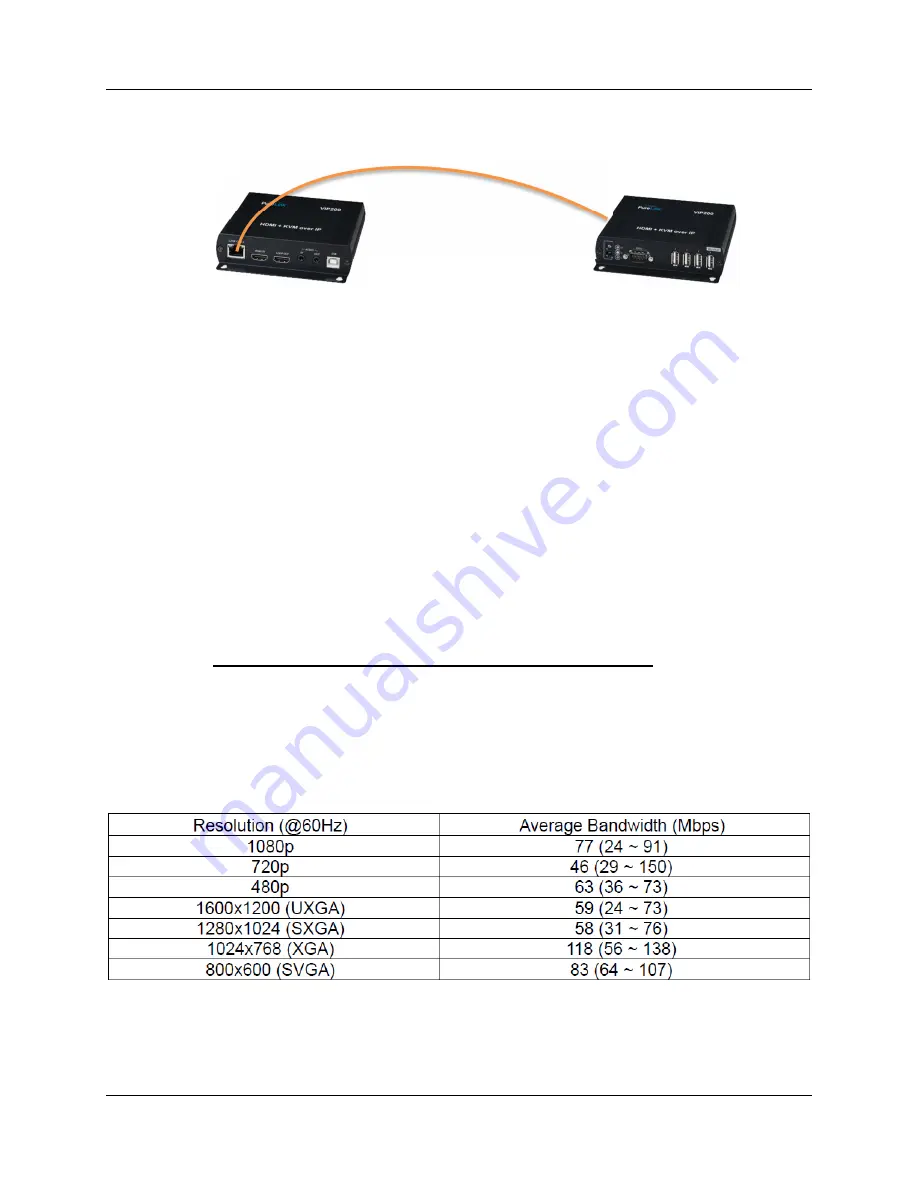
One Transmitter to One Receiver Setup (point to point extension)
Point to Point direct connection via CAT5e or better cable (Auto IP mode recommended)
The Transmitter and Receiver ship in Auto IP mode, which allows them to discover each other with no
configuration required. While it is possible to reconfigure the transmitter and receiver to Manual IP
or DHCP IP mode, there is no value to making these changes, unless you need them to be on an
existing network and not connected point to point (direct).
•
Connect the transmitter and receiver together using a CAT5e or better cable.
•
Connect your source to the input of your transmitter
•
Connect a display to the output of your receiver
•
If desired, connect your confidence monitor to the loop out of the transmitter (VIP200H-tx)
•
Connect the power adapters for each unit, and apply power. The system will go through a
normal bootup sequence that takes approximately ten seconds to display the image.
KVM Operation
The receiver has four USB ports, the first two operate at 1.1 speeds, the third and fourth ports operate at
2.0 speeds. Please use ports 3 and 4 when using a mouse or keyboard via USB to ensure ultra low
latency.
Typical reference streaming rates
Use of USB may add up to 50 mpbs to stream rate, depending on the USB device(s).