


13
SiriusXM
®
Only SiriusXM
®
brings you more of what you love to listen to, all in one
place. Get over 140 channels, including commerical-free music plus
the best sports, news, talk, comedy and entertainment. Welcome to the
world of satellite radio. A SiriusXM Connect Tuner and Subscription are
required. For more information, visit www.siriusxm.com
ACTIVATING YOUR SiriusXM SUBSCRIPTION
After installing your SiriusXM Connect Tuner and antenna, power on your
source unit and select SiriusXM mode. You should be able to hear the
SiriusXM Preview channel on Channel 1. If you cannot hear the preview
channels, please check the installation instructions to make sure your
SiriusXM Connect tuner is properly installed.
After you can hear the Preview channel, tune to Channel 0 to find
the Radio ID of your tuner. In addition, the Radio ID is located on the
bottom of the SiriusXM Connect Tuner and its packaging. You will need
this number to activate your subscription. Write the number down for
reference.
Note: the SiriusXM Radio ID does not include the letters I, O, S or F.
In the USA, you can activate online or by calling SiriusXM Listener care:
• Visit www.siriusxm.com/activate now
• Call SiriusXM Listener Care at 1-866-635-2349
For Canadian Subscriptions, please contact:
• Visit www.siriusxm.ca/activatexm
• Call XM Customer Care at 1-877-438-9677
As part of the activation process, the SiriusXM satellites will send an
activation message to your tuner. When your radio detects that the
tuner has received the activation message, your radio will display:
“Subscription Updated”. Once subscribed, you can tune to channels in
your subscription plan. Note, the activation process usually takes 10
to 15 minutes, but may take up to an hour. Your radio will need to be
powered on and receiving the SiriusXM signal to receive the activation
message.
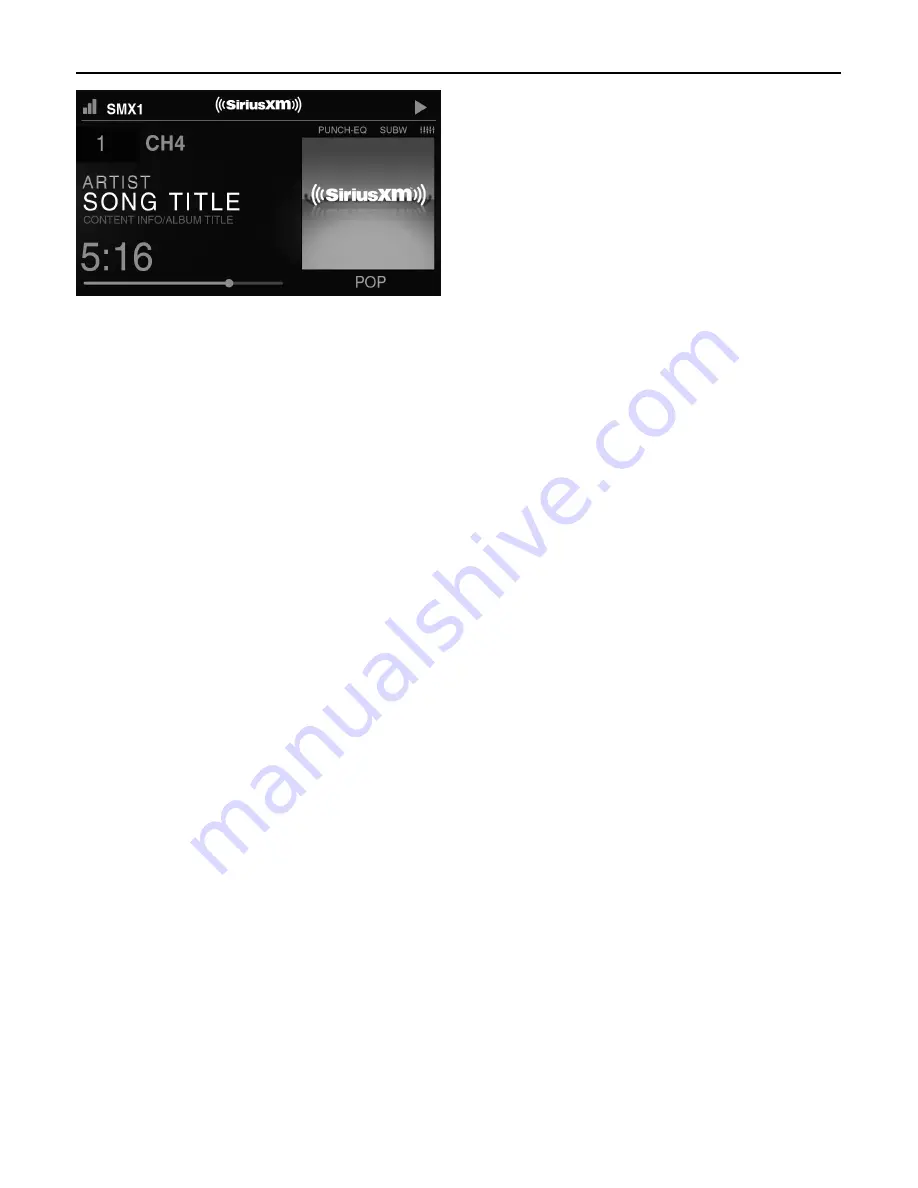
SETTINGS
To access the SiriusXM SETTINGS, short press the MENU when
using the SiriusXM
source. This will give you access to the settings
specific to SiriusXM (SXM>PRESETS>ADD PRESETS>REMOVE
PRESETS>CHANNELS>CATEGORY).
SiriusXM PRESET BANDS (SXM)
Short press the encoder button to access the SiriusXM PRESET options
(SXM1>SXM2>SXM3). Using this feature allows you to have separate
satellite preset groups to choose from. Use the FWD and REV buttons to
scroll through the TUNER groups.
PRESETS
Short press the encoder button to access the PRESETS list. Using this
feature allows you to see what PRESETS are saved on the unit.
ADD PRESETS
Short press the encoder button on the ADD PRESETS option. You will
need to be on both the channel and PRESET group you want to add first
(SXM1>SXM2>SXM3). Using this feature allows you to save channels
to the unit. Once selected, use the rotary encoder to select the PRESET
number (1-6) you want the channel saved to.
REMOVE PRESETS
Short press the encoder button on the REMOVE PRESETS option.
You will need to be under the PRESET group you want to adjust first
(SXM1>SXM2>SXM3). Using this feature allows you to remove saved
channels on the unit. Once selected, use the rotary encoder to select the
PRESET number (1-6) of the channel you want removed.
CHANNEL
Short press the encoder button on the CHANNEL option to select this
feature. This feature displays a complete listing of channels.
CATEGORY
Short press the encoder button on the CATEGORY option to select
this feature. This feature allows you to search channels based on their
CATEGORY type.
DIRECT TUNING
Short press the encoder button on the DIRECT TUNING option to select
this feature. This feature allows you to directly tune to a channel if you
already know the channel number. Rotate the encoder until you reach
the desired number and press to enter your selection. Repeat until the
channel number is completed.
PARENTAL CONTROLS
Short press the encoder button on the PARENTAL CONTROL option
to select this feature. This feature allows you to easily lock and unlock
channels with mature content. To turn this feature on, short press the
encoder on PARENTAL CONTROLS to select. You will be asked to enter a
code to activate it. Enter “1111” for your code. Once the code is entered
correctly, this will give you access to the PARENTAL CONTROL features
(LOCK CHANNELS>CHANGE MY CODE). Use the encoder knob to scroll
through the options and short press to select.
LOCK CHANNELS
Short press the encoder button on the LOCK CHANNELS option to select
this feature. This feature allows you to select certain channels to be
locked out for listening. When trying to listen to locked channels, you
will need to enter the correct access code to listen to them. Use the rotary
encoder to input code.
CHANGE MY CODE
Short press the encoder button on the CHANGE MY CODE option to
reset the PARENTAL CONTROL access code. Use the rotary encoder to
input the code.
Camera Operation
This feature allows you to connect an external camera and view it through
the PMX-8DH or other display. A reverse trigger is provided to activate
the camera when putting the vehicle in reverse or you may select the
camera from the source menu.
Operation


