Pulse fitness 224B-AAB Скачать руководство пользователя страница 1

224B-AAB

Group Cycle

User Manual

STUDIO/CIRCUIT

Содержание 224B-AAB

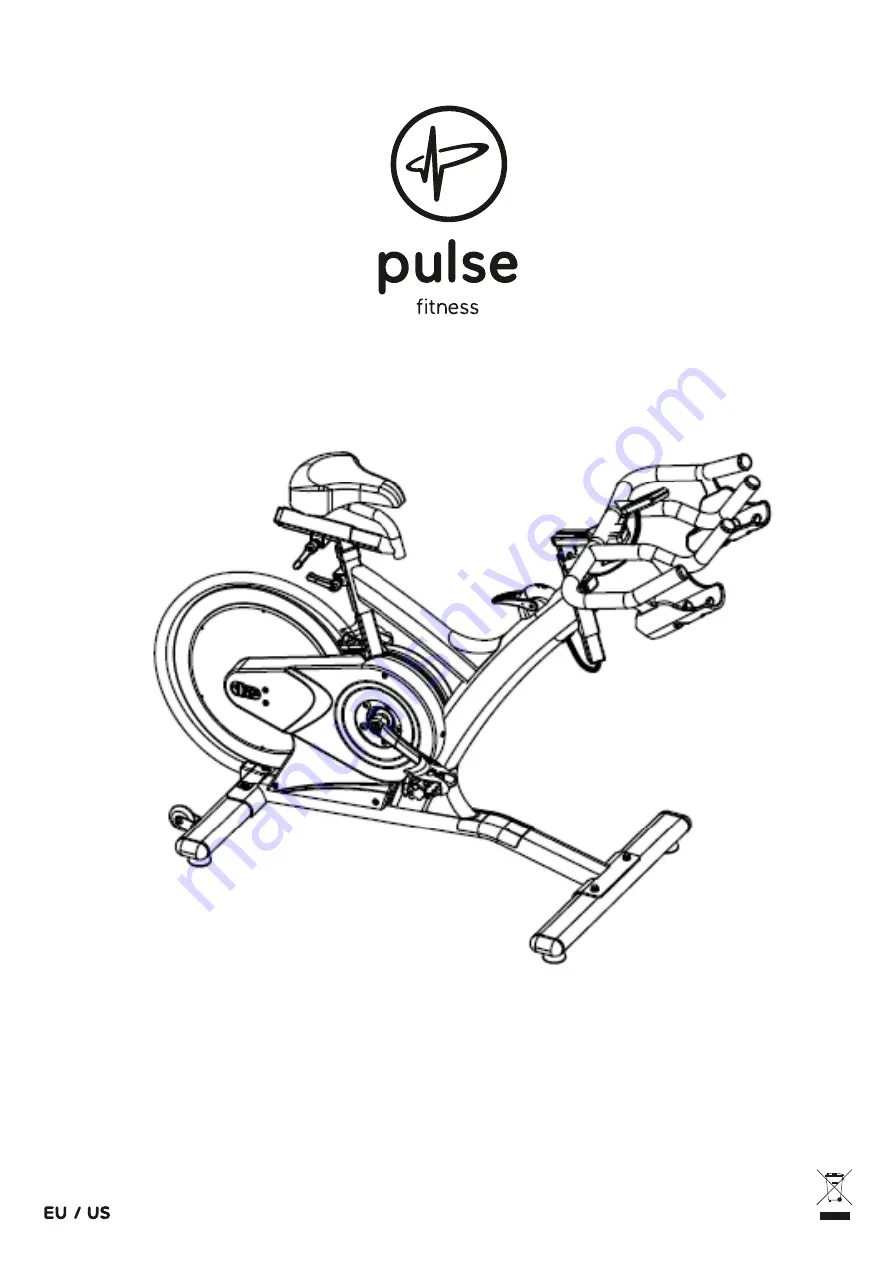
Страница 1: ...224B AAB Group Cycle User Manual STUDIO CIRCUIT...

Страница 2: ...2...

Страница 3: ...may cause permanent damage to your bike Please verify that all parts associated with this product are in good condition and accounted for During the assembly process please be sure to follow each ste...

Страница 4: ...ed in this manual DO NOT use accessories that are not recommended 6 Do not place sharp objects near the machine 7 Any person with physical or coordination limitations should not use the machine withou...

Страница 5: ...me using the bolts 71 to fixed Step two Attach the handlebar post 22 by inserting it into the head tube of the frame Make sure the release lever 6 is loose enough so the handlebar post can slide down...

Страница 6: ...Slide the seat slider 42 into the seat post 43 adjust to desired position and secure with the release lever 6 on the bottom of the seat post 43 Step four Attach the pedals 11 into the crank arms 20 21...

Страница 7: ...crank at 90 degree Gently insert the pedal in the crank arm Turn the pedals clockwise as tightly as you can with your hand Use the wrench to ensure it is tightened securely Please always tighten by ha...

Страница 8: ...ork with Level 1 16 loosen to tighten The flywheel should rotate freely without resistance when you loosen the Tension knob fully Level 1 More experienced riders may wish to increase the overall resis...

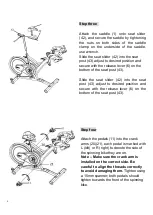
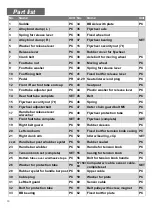
Страница 9: ...9 Exploded Drawing...

Страница 10: ...46 Spring PC 16 Flywheel adjuster bolt PC 47 Outer chain guard bolt M5 PC 17 Handle bar release lever w washer PC 48 Flywheel protection tube PC 18 Front foot tube complete SET 49 Flywheel complete S...

Страница 11: ...cal movement of the handlebar The handlebar position can also be adjusted forwards or backwards Undo the adjuster lever located below the handlebar slider Slide the handlebar assembly forwards and bac...

Страница 12: ...ebar post and clean tube X 7 Remove seat and clean tube X 8 Check brake pads for wear align X 9 Check brake adjustment X 10 Check security of all knobs release lever X 11 Check toe straps for signs of...

Страница 13: ...key to switch any mode TIMER HR Hi Lo and Unit Under Setting function mode press and hold MODE key for 6 sec to return main screen display Under the screen display of CLOCK press and hold SET Key for...

Страница 14: ...s warranty is limited to the repair or replacement of the defective part at no cost The supplier shall in no event be responsible for consequential special damages and any parts failures breakages or...

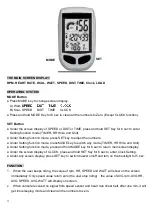
Страница 15: ...15...

Страница 16: ...135 2044 1...

Отзывы: