


PS Engineering
PMA450C Audio Selector Panel and Intercom System
Installation and Operator’s Manual
200-450-0800
Page 2-8
July 2022
2.6.1.1
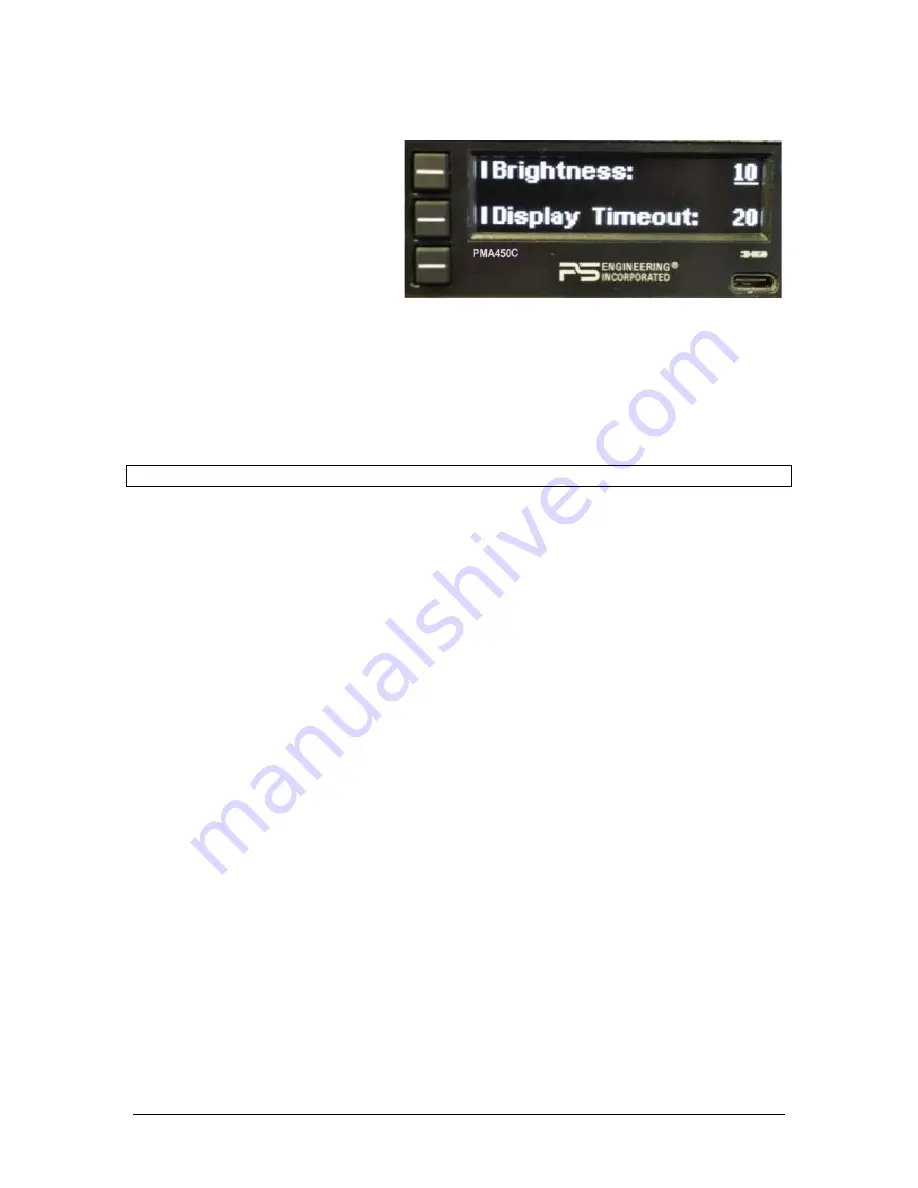
Brightness
Adjusting the Brightness level requires se-
lecting either of the two line select buttons
and then turning the inner knob. Counter-
clockwise to lower the number (level of
Brightness) and clockwise to increase the
number (level of Brightness).
To change the display:
Press the line select for the desired item.
Turn the small, inner knob to change the
brightness as desired.
OLED will change in real time while adjustments are made.
It will stay in this screen until the menu times out and returns to the adjustment home screen.
2.6.1.2
Display Timeout
This is a feature that allows the end user to adjust how quickly the screen menu timeout (revert to main
menu), factory setting is 8 seconds.
NOTE
: A long press (> 1 second) will also back up one menu level.
This allows adjustment of the timeout screen and can be configured from 1 second to 30 seconds when turning
the inner knob.
For a user that is unfamiliar with the product, this will give them enough time to learn the system. After being
familiar then the user can speed up the timeout screen as needed.
It will stay in this screen until the menu times out and returns to the adjustment home screen.
To exit the home screen and return to normal operation, turn the PMA450C off, and back on again.
2.6.2
Rename “Switched” Inputs
The system is factory set to default as ADF, & DME as shown.
The three inputs are from top to bottom:
1.
Switched input #1 J1, Pin 7 wrt Pin 8 (Default ADF)
2.
Switched input #2 J1, Pin 21 wrt Pin 22 (Default DME)
3.
NOTE: In PMA450C --0901 (No Marker) Switched #1, or #2 can be renamed to MKR for a re-
mote audio input.
The customer will have access to rename. Maximum 9 letters per line and
A thru a and 0 thru 9
will be
available.
•
Press the line select for desired input.
•
Turn the large outer knob to select the letter to change. A cursor appears under the active letter po-
sition.
•
Turn the small, inner knob to increment or decrement the letter.
•
You can select 9 alphanumeric digits.
•
To add a blank space:
o
Blank spaces can’t be added to the end of a string, but you can add a temporary character
and go back and change it to a space:
o
ADFA1
o
Change extra “A” to space ADF 1
It will stay in this screen until the menu times out and returns to the adjustment home screen.


